Happy weekend, guys!
One of the most frequently asked questions I get from new clients is, “what about milk?”
This usually demands a multi-part answer. If the client is asking whether or not it’s OK to have some dairy once in a while, I’ll need to listen to her level of transition and get a sense of her goals. I’m no great fan of cow’s milk dairy, but I certainly believe that there can be a place for organic (if not raw and organic) dairy in a transitional diet.
If she’s looking to reduce dairy in her diet, and she’s asking what kind of milk substitute I recommend, the answer is always the same: nut milk. Yes, soymilk is an option, too: I certainly recommend it over cow’s milk dairy. But it’s heavily processed, and most women find that it can lead to bloating and gas – in addition to the fact that many women (myself included) like to take it easy with soy.
And when there are such delicious things as hemp and almond milk in the world, why bother with soymilk?
Nut milk is heavenly. It’s sweet, mild, and gentle on the belly. It’s light enough to serve as a neutral base in smoothies and soups — unlike soy milk, which tends to have a distinctive aftertaste — yet pleasantly sweet. Best of all, it digests seamlessly — unlike conventional dairy, which so many among us (especially those of you who are lactose intolerant) find difficult to stomach.
There are a number of good brands of nut milk on the market. I enjoy Blue Diamond, which is a good value and a nice, sweet taste. Pacific Foods makes a wonderful variety of almond and hemp milks (I like the vanilla flavor). And my current favorite is a brand called That’s Nut Milk, which is as close to homemade as you can find on the markety.
But truth be told, there’s very little reason to spend money on a store bought brand. Nut milk is one of the very easiest raw food products to make at home! Sure, if you don’t have the energy or time, a store bought brand is fine. But I think you’ll find that investing just a little effort in homemade nut milk pays off in a big way. You can adjust flavors, sweetness, and best of all, you can feel a sense of pride in having created your nut milk from scratch. And if you purchase nuts from the bulk bin at your local health food store, you’ll also be able to save money.
Here’s what it takes to make nut milk:
Almonds
Water
Sweetener/flavorings if desired
A blender (regular or high speed)
Yes. That’s it. And there’s barely any recipe to remember — only a ratio. It takes one cup of nuts to four parts water to make a batch of nutmilk. To this, you add the seasonings you like: for plain nutmilk, add a dash of salt, no more. For vanilla almond milk (my usual) add a few dates and a teaspoon of vanilla. And so on.
Tonight, I was in the mood for some vanilla almond milk. So I followed my favorite recipe:
Vanilla Almond Milk (yields 2-3 cups or so)
1 cup almonds, soaked 8-12 hours beforehand if it’s possible
4 cups water
6 dates or 1/4 cup agave
1 tsp pure vanilla extract (or the contents of a vanilla bean)
Procedure:
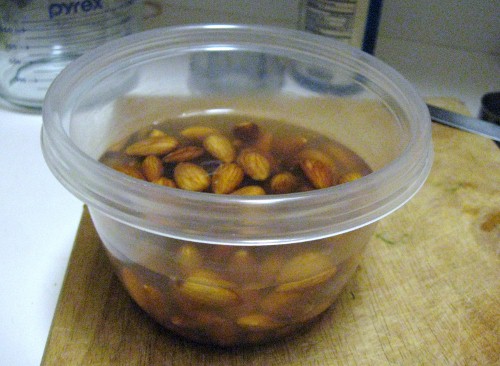
Begin by soaking your nuts in some water, if you can. Eight hours is ideal, but an hour is fine if that’s what you’ve got!
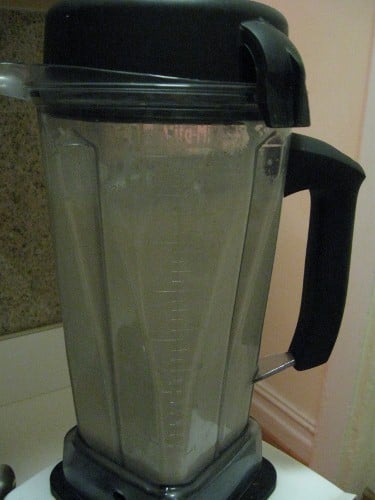
Next, rinse off your almonds and discard the soak water. Add the almonds and the other ingredients (water, dates, vanilla) to a regular blender or a VitaMix. Blend them on high speed:
Let it go for a minute or so.
At this point, you can serve the nut milk exactly as is — you’ll simply have to give it a good shake before pouring!
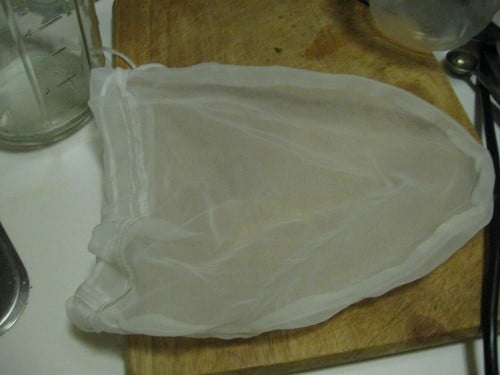
If you prefer a smooth texture, though, you’ll want to give it a strain. To do this, you’ll need a large container, and some cheesecloth. Or if you plan to make nut milk on a regular basis, go ahead and invest in a nut milk bag!
They’re cheap, conveniant, and can be used again and again (unlike cheesecloth) to strain nut milks and soups. You can purchase them from One Lucky Duck and other raw stores on the web.
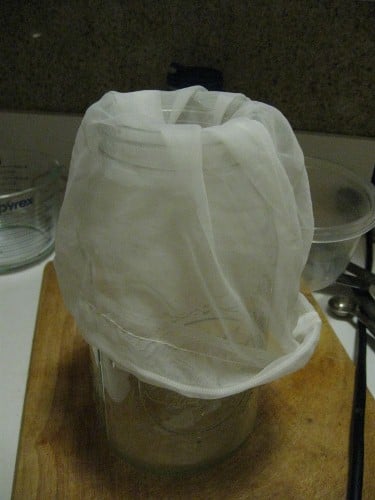
To use, simply place the the nut milk bag or cheesecloth over the mouth of your container, leaving a generous overhang and allowing the strainer to droop about halfway down into the container. I used a large mason jar as my container:
To fasten the bag/cheesecloth in place, use a rubberband around the mouth of the container:
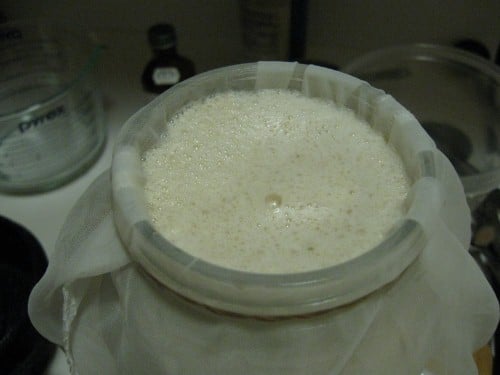
Next, pour all the almond milk into the container, so that it drips through the cheesecloth and into the container below:
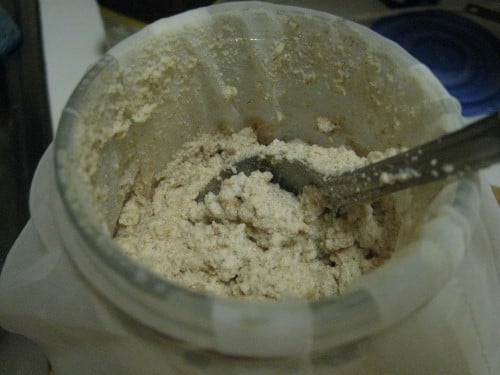
Take off, do some errands, read a good book, watch a movie, or whatever. Within forty-five minutes (or, ideally, an hour or two), all of the liquid will have been strained, and you’ll be left with almond pulp, like so:
You can use this for raw cookies, for nut pates, or simply as a nut-butter-like treat.
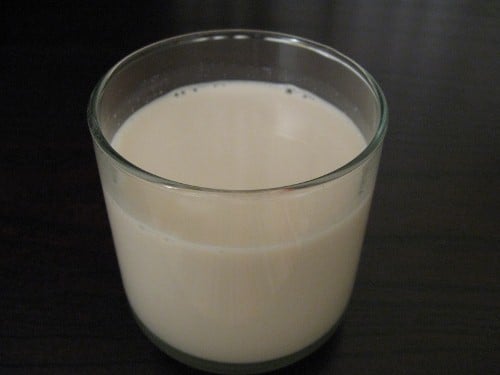
Meanwhile, you’ll have three or so cups of fresh, delicious almond milk, ready to enjoy in smoothies, in soups, or plain! It should last about 2-3 days in the fridge. I’ve seen it last longer — if it tastes at all sour to you, you’ll know its time has come.
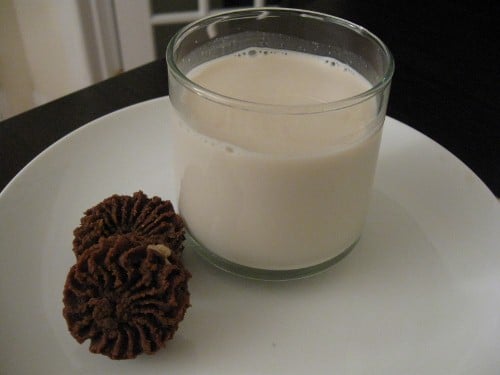
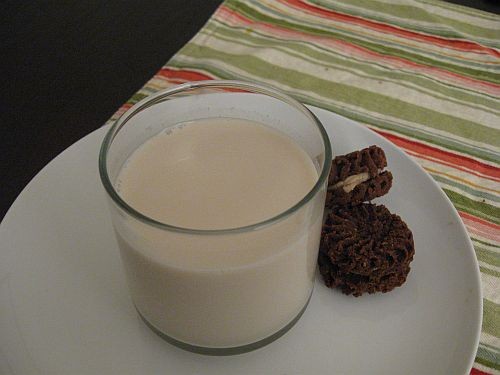
Tonight, I opted for a classic treatment:
Cause sometimes we all just need some cookies and (nut)milk.
Let’s see that again:
If you’re wondering, those are the amazing raweos! Introduced to me by Melissa, these are now among my very favorite raw treats 🙂
There are tons of ways to enjoy nutmilk. You can make it with cashews (for a super neutral taste), with hemp seeds (protein rich and distinctive), macadamias, or pecans. And you can adjust seasonings to taste. My favorite varities?
Chocolate nut milk: To the recipe for vanilla almond milk, add 2 tbsp raw cacao nibs or unsweetened cocoa powder
Cinnamon milk: To the recipe for vanilla almond milk, add 1 tsp cinnamon and a dash of nutmeg
Chai milk: To the recipe for vanilla almond milk, add 1 tsp cinnamon, 1/2 teaspoon garam masala, and 1/4 tsp. nutmeg
Sugar-free vanilla milk: In place of the dates, add stevia to taste
So…what are you guys waiting for?! Stop dropping pennies on store bought nut milks, and get blending!! Once you experience the joy of homemade almond (and other nut) milks, you’ll never want to go back. Give the procedure a shot, and let me know how it goes!
Happy weekend to you all.
xo
This post may contain affiliate links. If you use these links to buy something I may earn a commission. Visit my privacy policy to learn more.



Leave a Comment