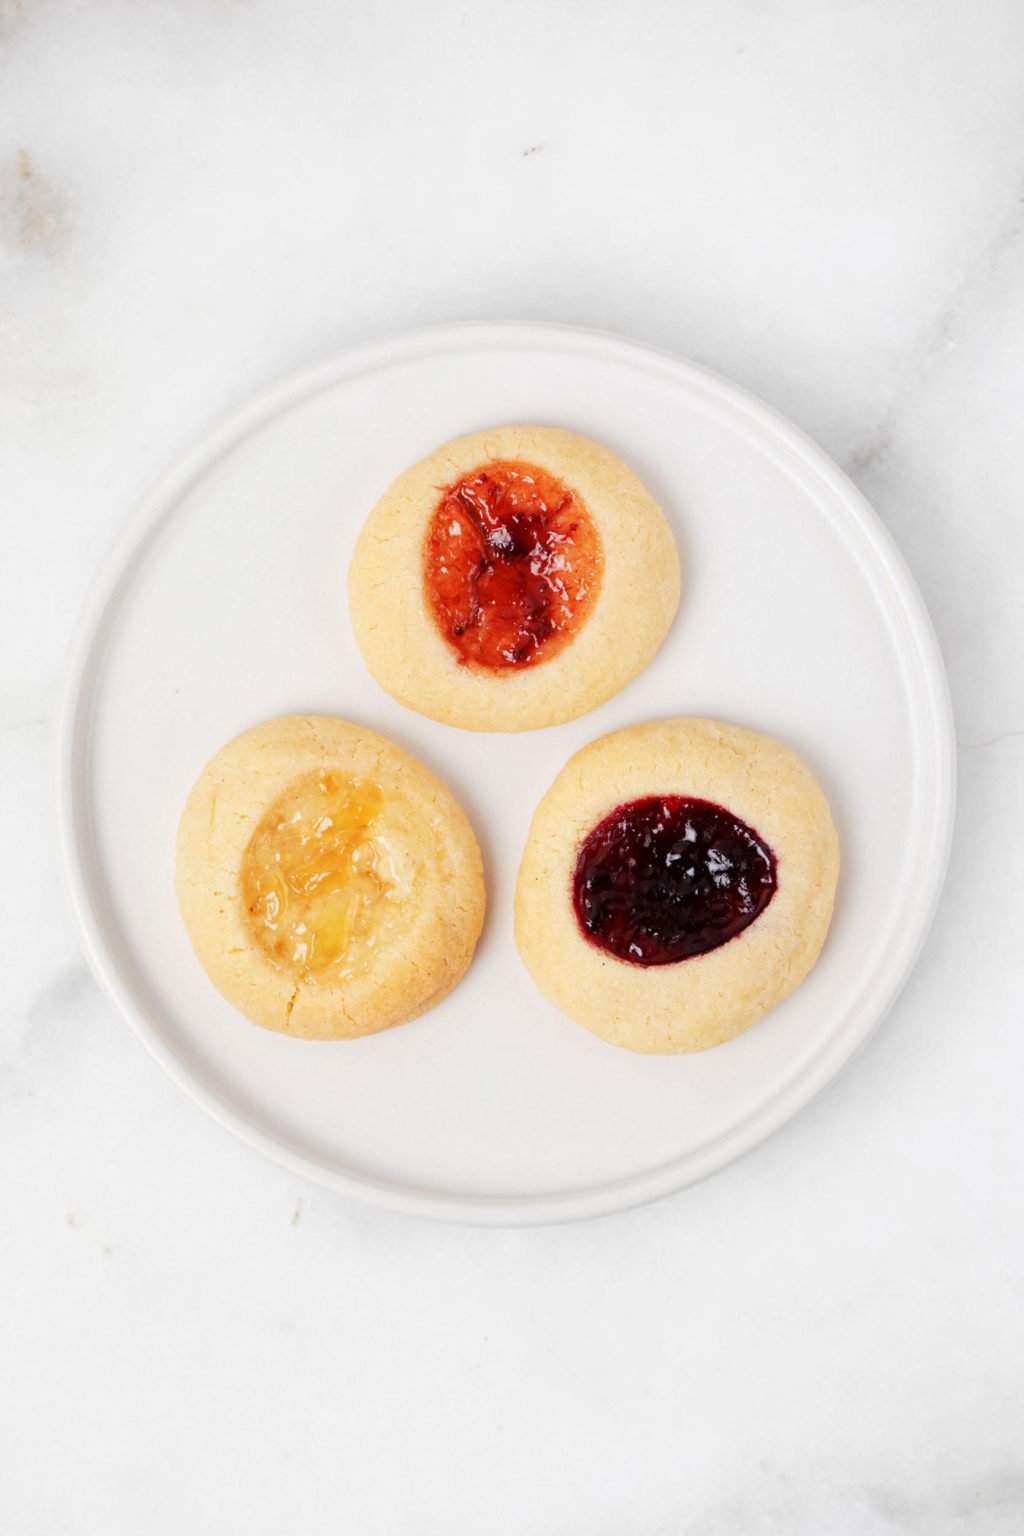
This is a plant-based version of traditional thumbprint cookies! The cookies are buttery and tender, and they have a sweet pocket of jam in the center. They’re also totally dairy-free.
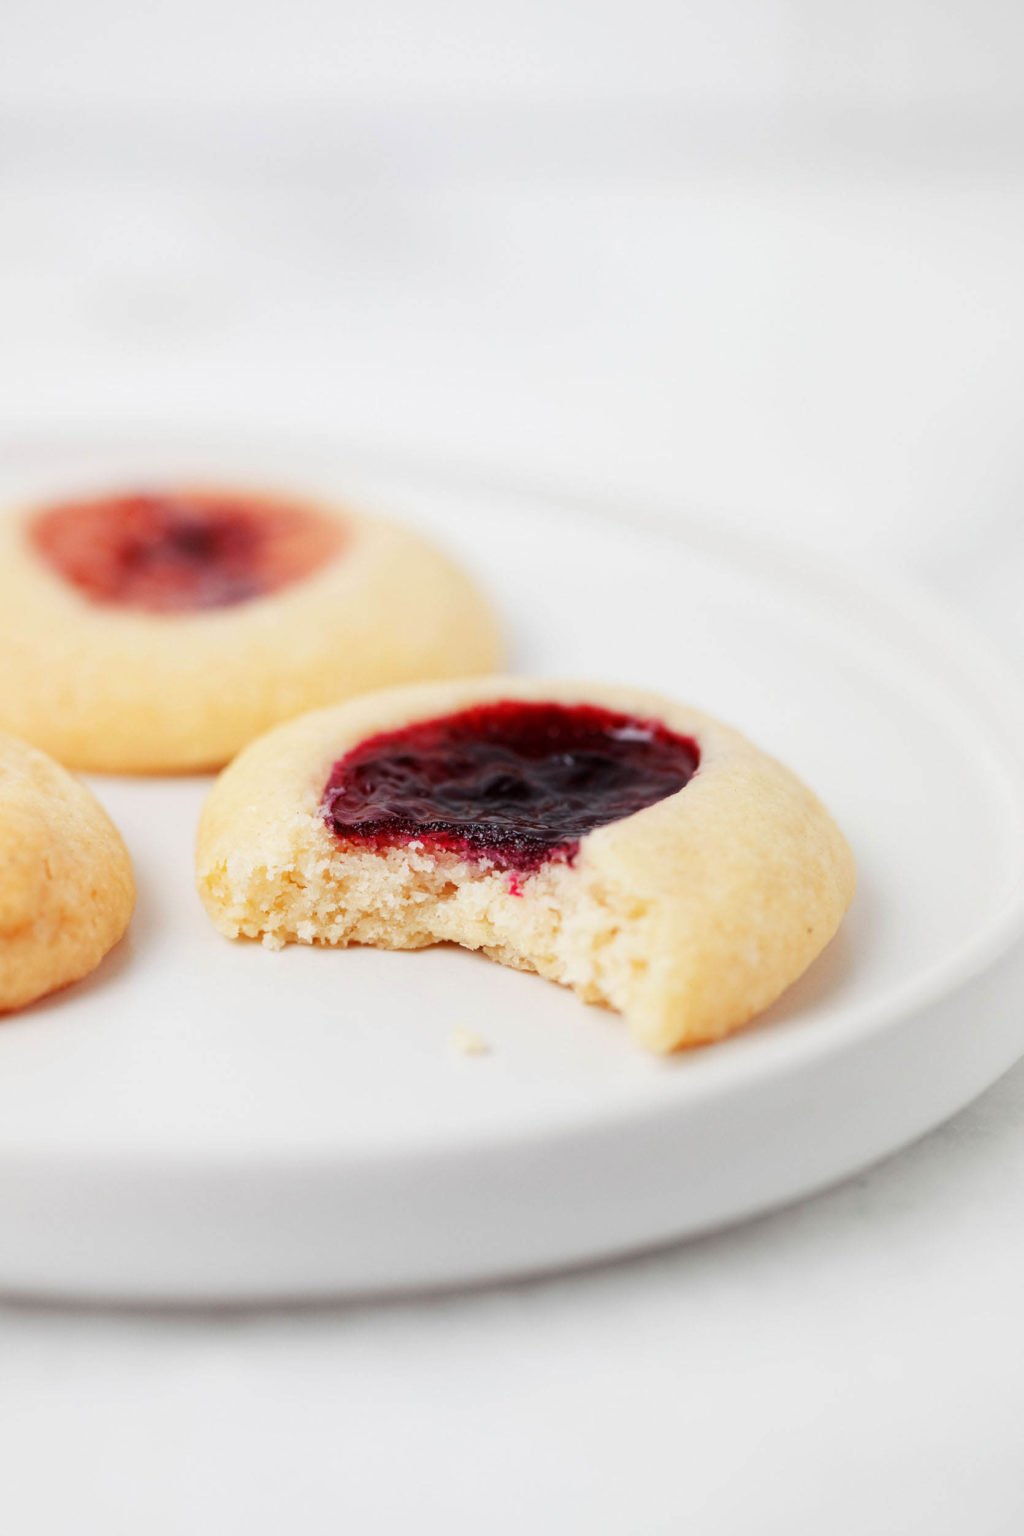
I made these vegan thumbprint cookies a couple weeks before Christmas. I had every intention of posting the recipe on Christmas eve, in tandem with making the cookies again myself and bringing them to my mom’s apartment.
But one of the silver linings of Quarantine Christmas 2021 is that it encouraged me to embrace the spirit of a holiday, rather than its day on the calendar. My mom and I are now planning on a belated gift exchange and quiet celebration together. Holidays are, after all, a celebration of people and feeling.
So, while the twelve days of Christmas are still rolling merrily along, it’s time to share these thumbprint cookies. Who needs Christmas as an excuse to make something this tasty and festive, anyway?
What are thumbprint cookies?
Thumbprint cookies are so called because they have an indentation in the center that’s made by the gentle press of a thumb prior to baking. The base of the cookie is usually similar to sugar cookies, but with a different shape.
Thumbprint cookies can be rolled in finely ground nuts, or not. Their signature thumbprint can be filled with any flavor of jam. I’ve seen variations that are filled with chocolate or caramel. They can be finished with a zigzag of royal icing, or not.
I’ve always liked a minimalist thumbprint cookie, so that’s what I’m sharing today. It’s a vegan sugar cookie base with a jam center. Simple and perfect.
I love jam, and I always have a few different flavors at home. You’ll see that my cookies feature different types of jam, and therefore different colors.
But you can prepare the recipe with a single type of jam—any that you love—as well. My favorite for these cookies is raspberry.
How to make vegan thumbprint cookies
The process of making vegan thumbprint cookies doesn’t vary much from making a conventional version. The big difference is that you’ll need to use vegan butter, and the cookies don’t contain any egg.
Make your cookie dough
As far as process goes, the first step here is to prepare a sugar cookie base. I use a very simple, no frills mixture of creamed vegan butter and sugar, flour, salt, and two extracts: almond and vanilla.
I found that egg replacer wasn’t necessary at all, which made this one of the easiest vegan cookies I’ve tried. For guidance on proportions of ingredients and chilling time, I looked to Sally’s recipe, which is excellent and thorough.
You can use either a stand mixer or or a handheld mixer to prepare the cookie dough. My stand mixer is my BFF during the holiday baking season.
Chill the dough
This cookie dough, like many others, benefits from some chilling time.
Chilling the dough will ensure that your thumbprint cookies hold their shape and don’t spread too much while baking. I recommend a minimum of four hours of chilling time, or overnight if you prefer.
Shape the dough
The next step in making the thumbprint cookies is to shape them. And I find that this is actually the trickiest part of the recipe.
You’ll start by rolling your dough into balls. You should use about a tablespoon of dough for each cookie (or 15 grams, if you have a kitchen scale and are aiming for consistency).
Next, you’ll place the dough balls on a baking sheet that’s lined with parchment paper, aiming to space them one and a half inches apart.
At this point, it’s time to make your thumbprint!
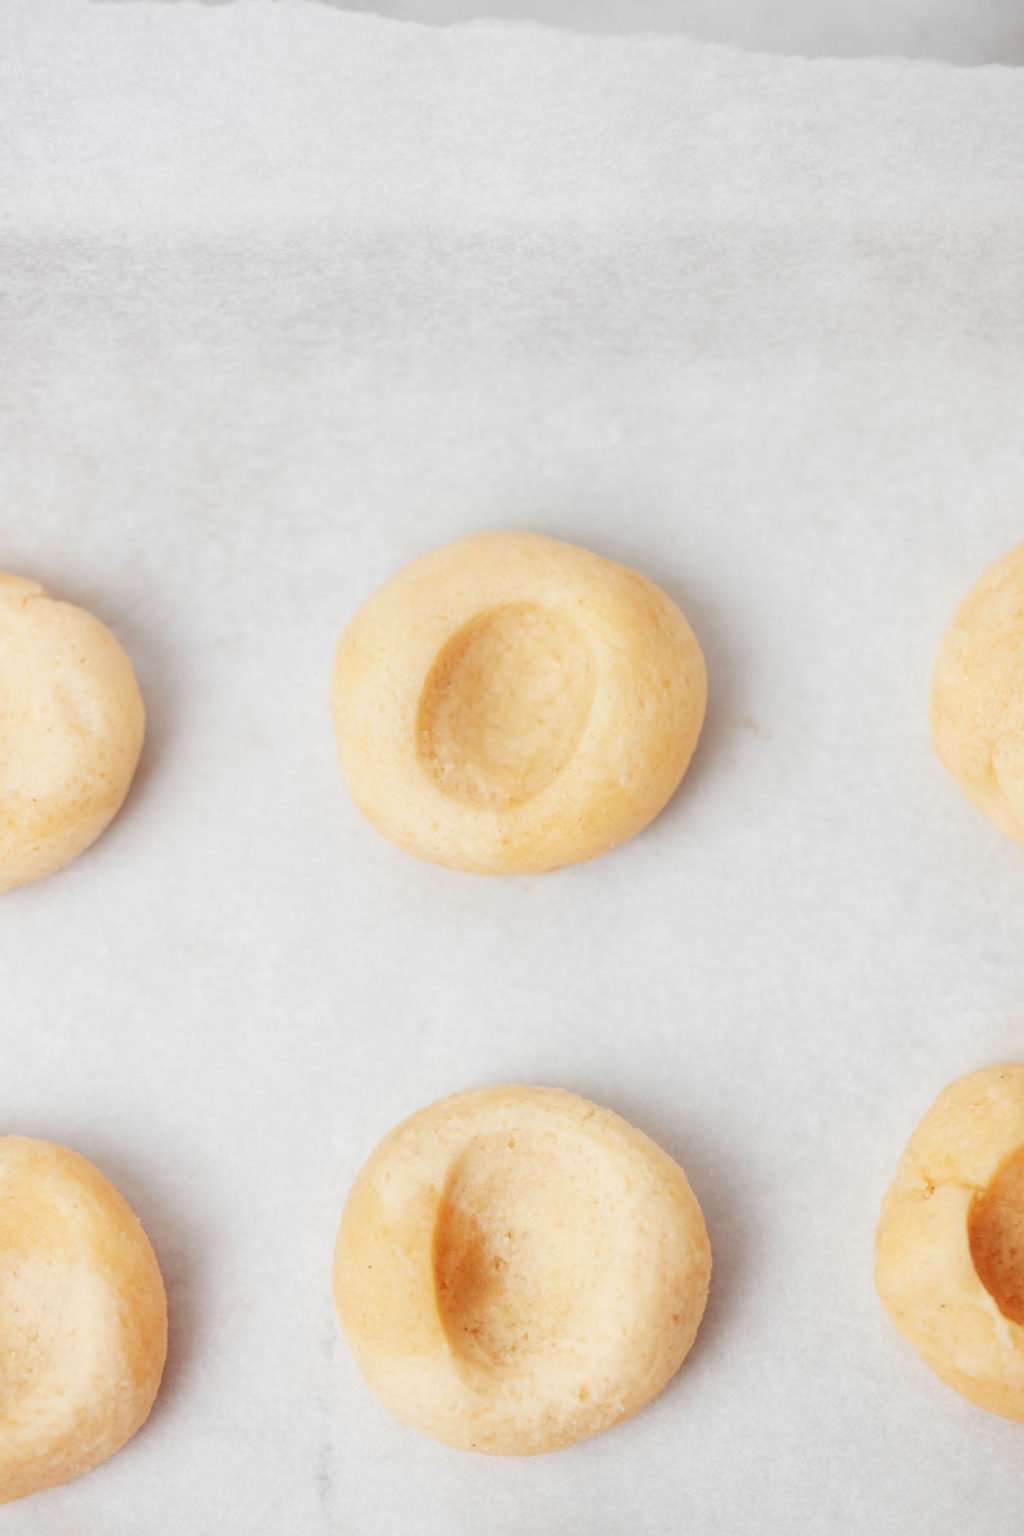
The key here is to press gently, yet firmly. You want to create a distinct indentation in the balls of dough, without pressing so hard that you immediately crack their edges.
If the edges do crack a little, that’s OK. You can gently press the cracks back together once the cookies have all been shaped.
Chill again
Yes, another chilling time. I tried the cookies with and without this additional hour in the fridge. The cookies that I did chill held their shape in baking much better than the ones I didn’t.
Fill
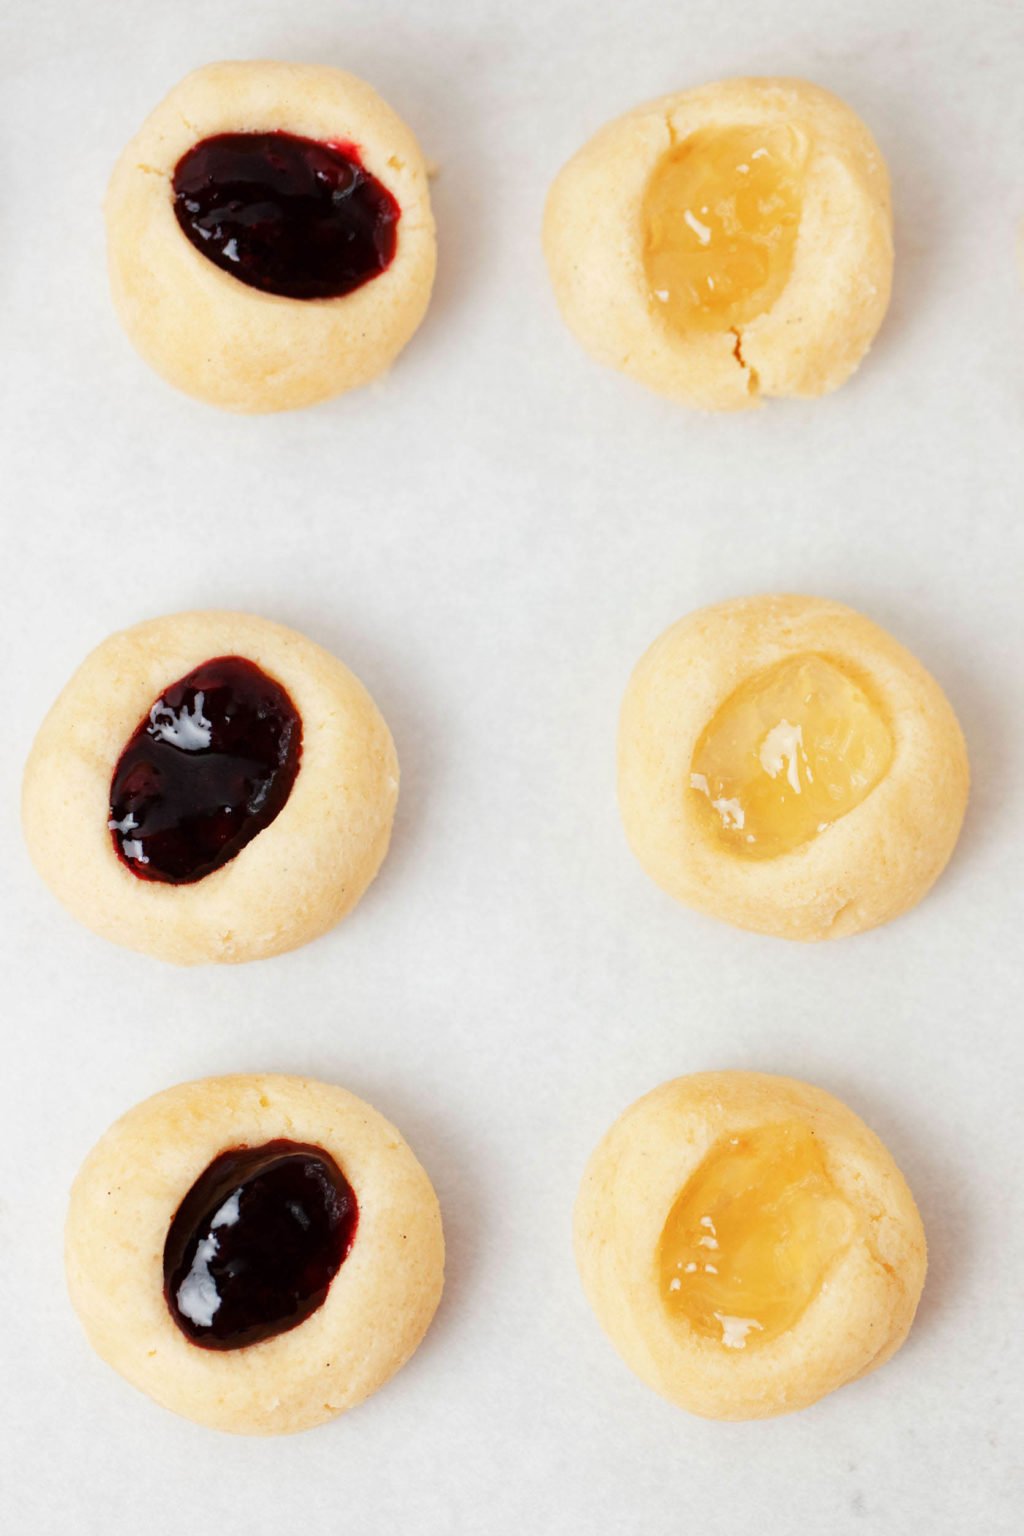
Next, you can fill the thumbprint cookies with a jam of your choice. Choose your favorite flavor, or a combination of several. Some of my favorite options:
- Strawberry
- Boysenberry
- Apricot
- Blackberry
- Blueberry
- Marmalade
- Ginger
- Mango
- Strawberry rhubarb
Pictured below are boysenberry and ginger jam. You’ll only need about a teaspoon of jam per cookie.
Bake
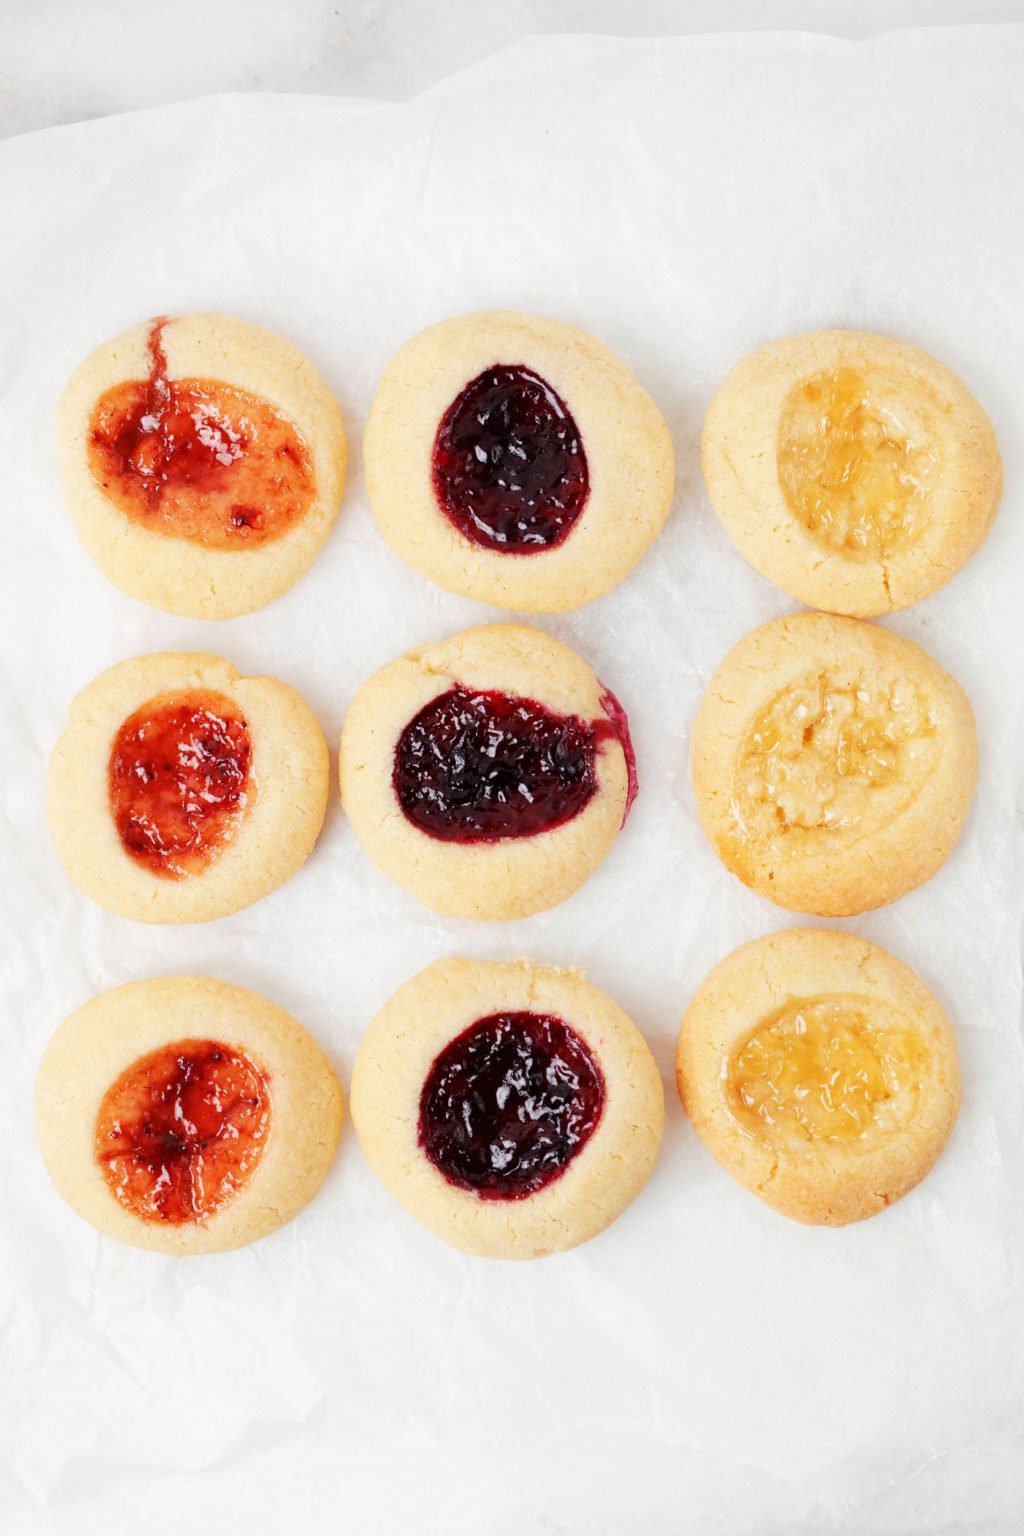
The thumbprint cookies should bake for 13-15 minutes, or just enough time for them to become very lightly golden at the edges. You’re not aiming to brown them. 14 minutes was the perfect amount of time when I baked mine.
Ingredients
You’ll need only a short list of ingredients in order to make the thumbprint cookies. They are:
Vegan butter
You can use your favorite variety of vegan butter for the recipe. Any brand should work, but I do recommend a variety that comes in stick form for ease of measuring.
The butter will need to be at room temperature before you mix it.
Cane sugar
Cane sugar is the sweetener in the cookies. I sometimes use cane sugar interchangeably with another type of sugar, such as coconut sugar. For this recipe, however, I don’t recommend a substitute.
Vanilla and almond extracts
I keep both vanilla and almond extracts in my pantry at home. I use the vanilla in practically all of my dessert baking.
The almond extract is a favorite in cookie recipes, like this one. It also makes appearances in my vegan sugar cookies and biscotti.
If you don’t have almond extract on hand, it’s fine to use all vanilla extract in the cookies instead. If you have another extract or flavor that you love (such as hazelnut, coconut, or orange), you can use that in place of almond.
Unbleached, all-purpose flour
I use unbleached, all-purpose flour to make the thumbprint cookies. For this recipe, I don’t recommend substituting a whole grain or nut flour in its place.
However, if you need to make the recipe gluten-free, it’s fine to use a gluten-free, all-purpose flour blend in place of regular all-purpose flour.
Jam or jelly
Take your pick here! You can use whatever colors and flavors of jam or jelly appeal to you.
Storage
I recommend storing the cookies in an airtight container at room temperature for up to three days. After that, transfer the container to the fridge and store them for an additional two days.
If you’d like to store them for longer, the baked cookies can be frozen for up to eight weeks.
Make ahead options
The dough for these vegan thumbprint cookies can be mixed, wrapped, and then frozen for up to six weeks.
You can also shape the cookies, make the thumbprints in them, and then freeze them on a baking sheet for about thirty minutes. After this, you can transfer all of the shaped cookies into a Stasher bag or an airtight container and freeze them for up to six weeks.
The shaped cookies can be filled and baked directly from frozen; you may need to give them an extra couple minutes of baking time if you store them this way.
More favorite cookies
Holiday cookie season is technically over, and I know that a lot of people have probably moved on to less festive food for January.
But if my experience over Christmas this year taught me anything, it’s to really notice and savor the things we sometimes take for granted.
And I think another takeaway will be the desire to weave more celebration and joy into every day life.
There’s no reason to spend the holiday season baking delightful things and then spend all of January batch cooking beans and grains, neglecting any treats. I’m a firm believer that sweet foods evoke and remind us of the sweetness of life.
So, here’s to perpetual cookie season. And here are some others that I love:
- America’s Test Kitchen vegan chocolate chip cookies
- Cranberry almond biscotti
- Vegan molasses ginger cookies
- Black & white cookies
- Oatmeal raisin cookies
- Vanilla almond sugar cookies
- Chocolate pumpkin whoopie pies
- Vegan & gluten-free citrus shortbread
- Carrot raisin breakfast cookies

Vegan Thumbprint Cookies
Author –Ingredients
- 1 cup vegan butter, at room temperature (2 sticks, or 224 g)
- 2/3 cup cane sugar (130 g)
- 1/4 teaspoon salt
- 3/4 teaspoon vanilla extract
- 1/2 teaspoon almond extract (substitute additional vanilla extract)
- 2 1/3 cups unbleached, all-purpose flour (280 g)
- 3/4 cup jam or jelly of choice (215 g)
Instructions
- Place the butter in the bowl of a stand mixer fitted with the paddle attachment, or in a large mixing bowl. Use the stand mixer or a handheld mixer to beat for about 2 minutes on low speed, until the butter is fluffy. Add the sugar, salt, and the two extracts. Continue beating for 1-2 minutes on medium low speed, until the butter and sugar mixture appears creamed. Add the flour to the mixer and beat on low speed until the flour is fully incorporated and you have a soft, fluffy dough. Gather this dough into the center of the bowl and cover the bowl with saran wrap or a cloth cover. Refrigerate the dough for at least 4 hours, or overnight.
- Preheat your oven to 350F. Remove the dough from the fridge and let it rest at room temperature for about twenty minutes. Line a baking sheet with parchment paper. Use a tablespoon measure to scoop the dough out of the bowl by tablespoons (about 15 g of dough per tablespoon). It'll require some scraping at first, as the dough will be stiff. Roll these tablespoons of dough into balls.
- Place the balls on the baking sheet with at least 1 1/2" of space between them. When you place each ball on the sheet, press your thumb into it to make a little indentation. The dough balls will crack a little as you press, but if they crack a lot, re-roll them and try again. You can gently smooth over little cracks with your finger to try to keep the cookie as intact as can be. Transfer the cookie sheet to the fridge for at least 1 hour and up to overnight (if you refrigerate them overnight, wrap the cookie sheet gently with saran wrap).
- Use a teaspoon to place a scant teaspoon of jam into each cookie indentation. Transfer the cookie sheet (or sheets, if you need two) to the oven and bake for 13-15 minutes, or until the cookies are just barely browning on the sides. (14 minutes worked perfectly for my batches). Let the cookies cool on the sheet for 5 minutes, then use a spatula to gingerly transfer them to wire cooling racks to cool entirely. Enjoy!
Notes
I’m now officially out of my quarantine period and feeling very much better, aside from the lingering smell and taste diminishment and a little bit of fatigue. And I’m feeling hopeful about 2022, in spite of everything.
May it be a year that’s full of sweetness, in all of the forms that sweetness can take. Cookies included.
xo
This post may contain affiliate links. If you use these links to buy something I may earn a commission. Visit my privacy policy to learn more.



Leave a Comment
This is such a fun recipe with fun flavor options, can’t wait to try. Thanks!
Enjoy, Christine!
Made these today with cranberry spice jam – SO good and so easy! Definitely will be on my holiday baking list. Thanks for these gems
I’m so delighted that you like them, Jennifer!
I just made these and they came out perfectly! I skipped the second chilling time and they still held their shape. My kitchen is on the colder side this time of year though, so if you have the heat cranked up or you’re in a warmer climate I imagine that the second chilling time would be essential.