February 5, 2024
These easy vegan soy curl “chicken” strips are a versatile, nutritious and affordable homemade vegan alternative to chicken—and they’re made with only 5 ingredients! You can use a batch of them to make chili, tacos, sandwiches or wraps, stir fry dishes, and so many other meals.
Let’s talk about soy curls.
I still become surprised when I realize that more people don’t know about, let alone cook with, the wonderful plant protein that is a soy curl.
Soy curls are extremely versatile and easy to work with. They’re also affordable in comparison to many commercial vegan meats. On top of that, they’re nutritious, and they’re a whole foods vegan protein.
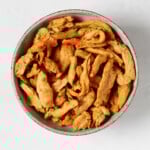
Today, I want to share my “base recipe” for working with soy curls. They’re soy curl “chicken” strips, seasoned and lightly baked for a little texture.
I’ve spent a lot of time fine-tuning this recipe, trying to figure out a ratio of effort to ease that really pays off. Finally, it’s perfect.
Once you make a batch of these seasoned curls, you can go on to use them in so many different ways.
Let me say a little more about how and why these strips can become one of your most trusted plant-based proteins.
What are soy curls?
It still blows my mind that a single ingredient—non-GMO soy beans—can be transformed into something as versatile as a soy curl.
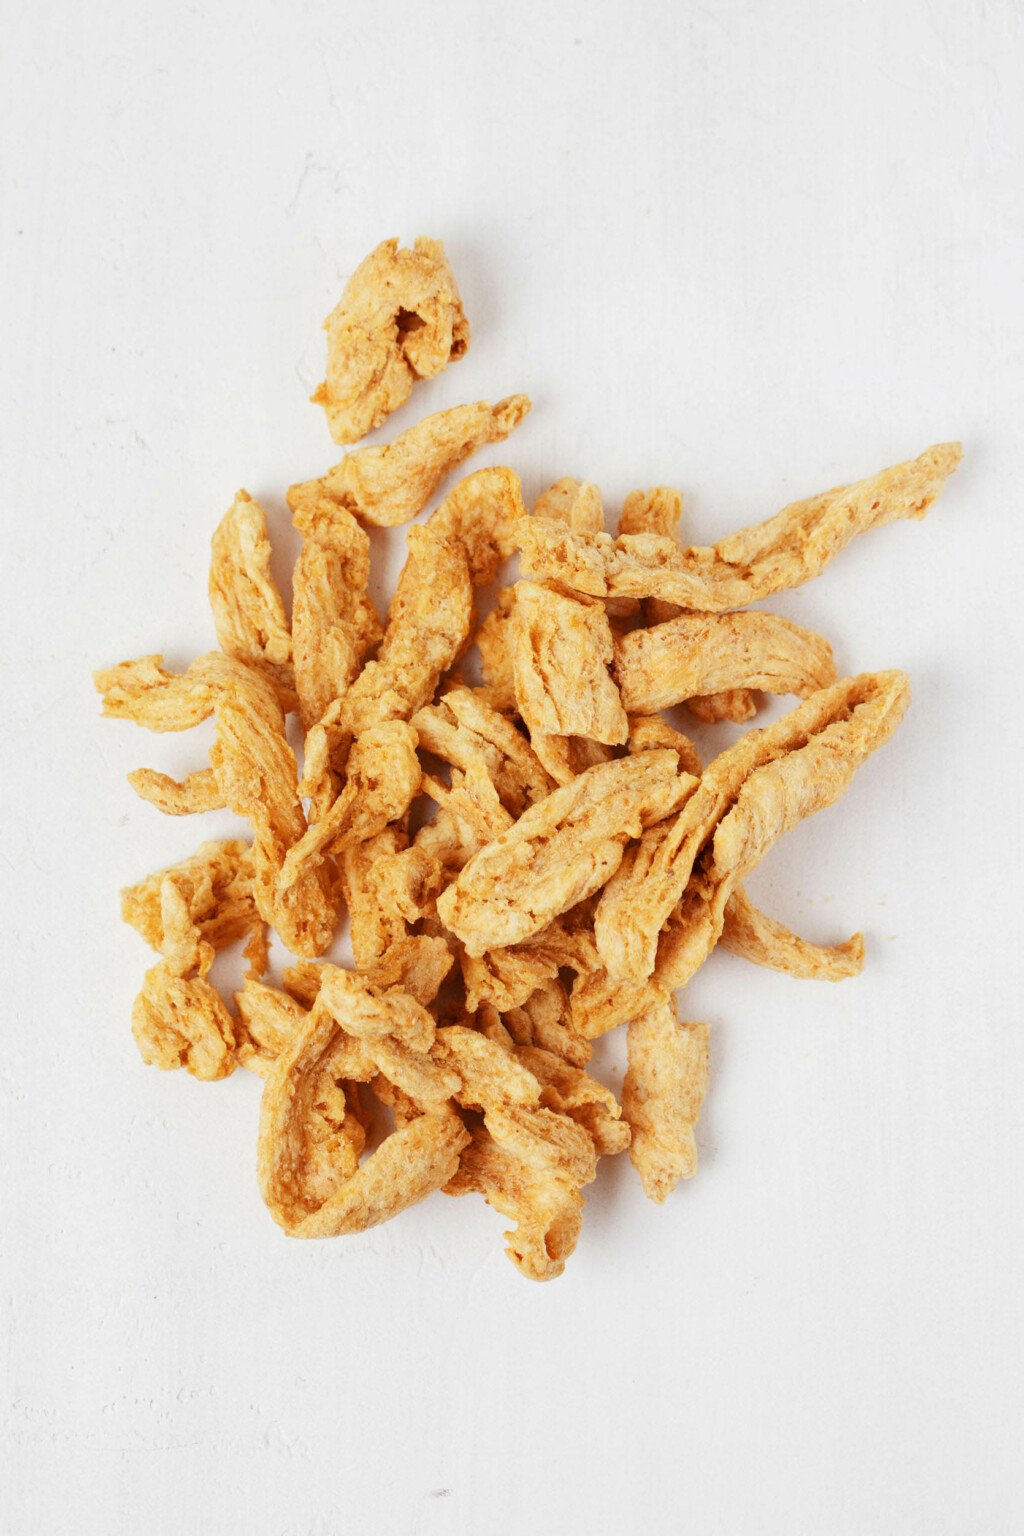
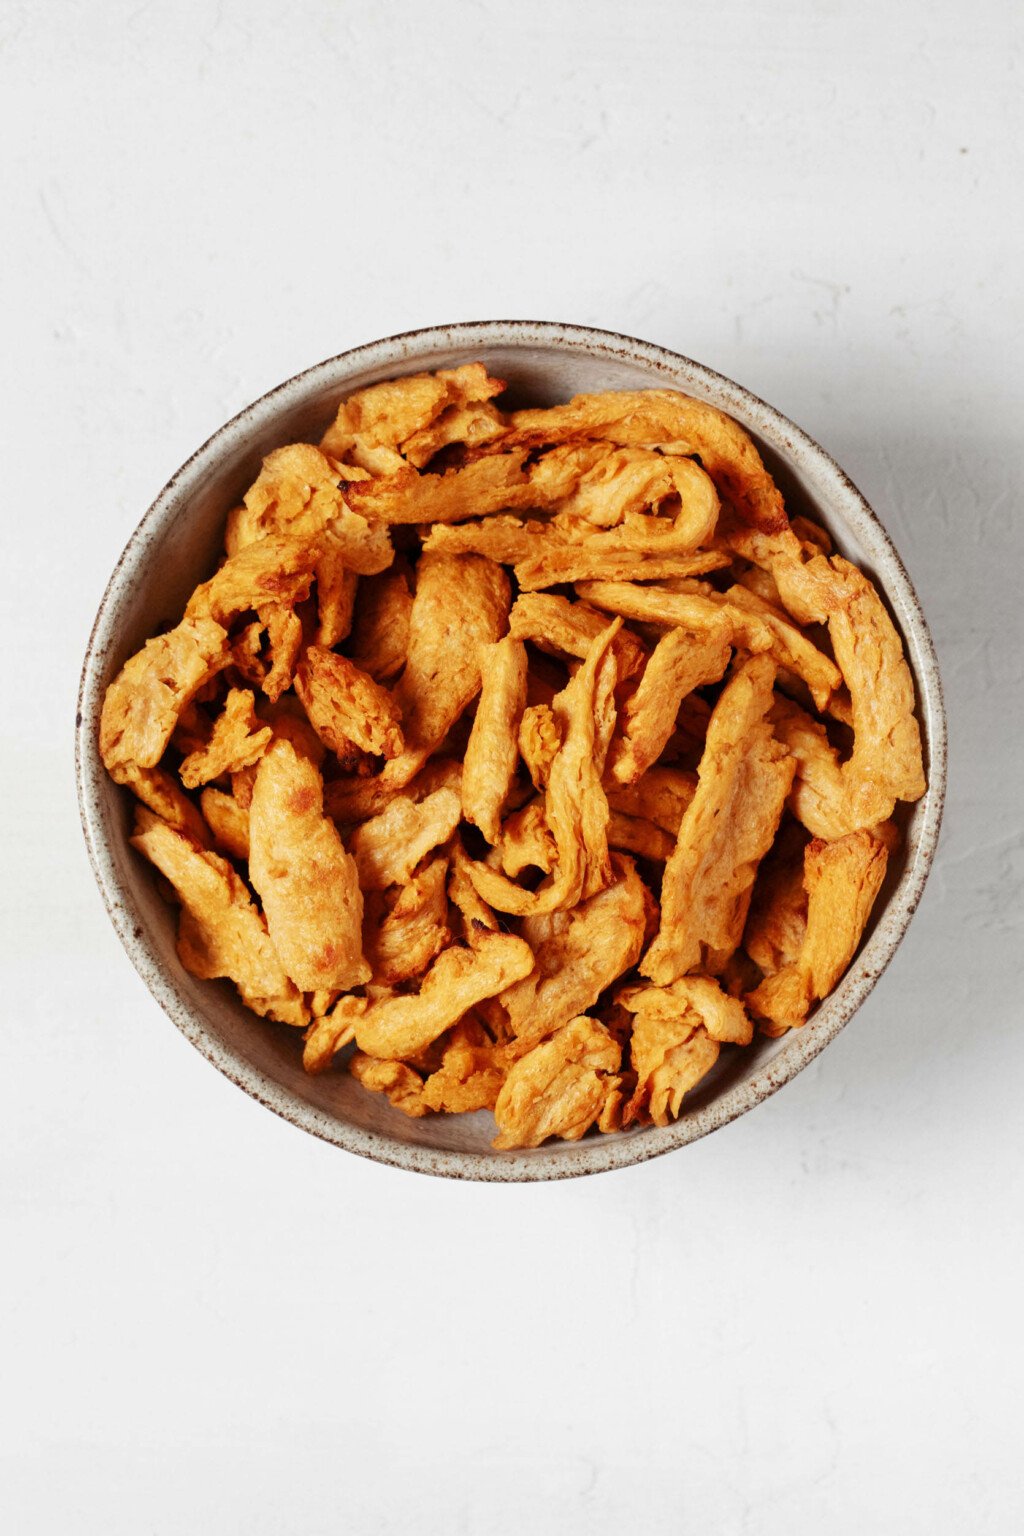
This is precisely what soy curls are: soy beans that are soaked, stirred, cooked, and then dehydrated at low temperatures.
After this dehydration process, the beans become light and airy and dry. When you pick up a soy curl, straight from the package, it barely seems to weigh a gram.
After you rehydrate soy curls in any hot liquid, however, their texture changes. They become plump, chewy, and light in color. This is the reason that I think soy curls make such a great vegan “chicken.”
If you bake rehydrated soy curls in the oven for just 8-10 minutes, as is an option in this recipe, I think the texture becomes even more authentic.
Are soy curls healthy?
I tend to think that the word “healthy” applies more to dietary patterns and habits than to specific foods. However, soy curls offer all of the same great nutrition as do soy beans.
They’re rich in protein, they have Omega-3 fatty acids, and they contain phytoestrogens that are associated with disease prevention.
In this sense, soy curls are very healthy.
Soy curls have other solid nutritional offerings. One serving, which is about three quarters of a cup before rehydration and about a cup and a half after, contains an impressive six grams of dietary fiber.
Soy curls also provide ten percent of the recommended dietary allowance of iron and potassium.
And of course, there’s the protein content: eleven grams per serving, which can be a powerful contributor to the protein density of your plant-based meals.
Where can I purchase soy curls?
In the US, soy curls are manufactured by the Butler Foods Company. They’re available to purchase directly from the Butler site, though you do have to purchase six bags or more.
You can also purchase soy curls on Amazon and you may be able to find them in local stores. In NYC, I like to support Orchard Grocer, and I often pick them up there.
I’m not sure of the brand name, but I do know that soy curl products are available in some parts of Europe as well.
From a cost perspective, one eight-ounce bag of soy curls makes about eight servings of vegan “chicken.”
The most I’ve seen soy curls cost is about $9.00 per bag. Even at that price point—and it’s often possible to find soy curls for less—they end up coming to about $1.13 per serving. This is good value in the realm of vegan meats.
How to make vegan chicken using soy curls
The most straightforward thing that you can do with a bag of dry soy curls is to rehydrate them in hot water or broth. They’re technically edible as soon as they’ve been rehydrated.
Even so, I think that soy curls taste a lot better once they’ve been seasoned as well as rehydrated.
If your goal is to use soy curls as a vegan meat in a recipe, you might find that they impart more flavor and have better texture if you season them before throwing them into a pot of chili, soup, a stir fry, etc..
That, anyway, has been my experience. This is why I nearly always turn my soy curls into these chicken strips before I add them to recipes.
Before I share the steps in this process, I want to mention that this recipe is for four servings of soy curls. This is half of a bag of Butler foods soy curls, or 4 ounces / 120g.
You can double the recipe if you like! And if you don’t, know that soy curls can be stored in a closed container in the fridge or freezer for up to 1 year, so there’s no need to finish the bag right away.
Step 1: Preheat your oven
You don’t have to bake the soy curls after rehydrating them, but I prefer to do so from a texture standpoint.
If you plan on baking them, preheat the oven to 425°F / 220°C initially.
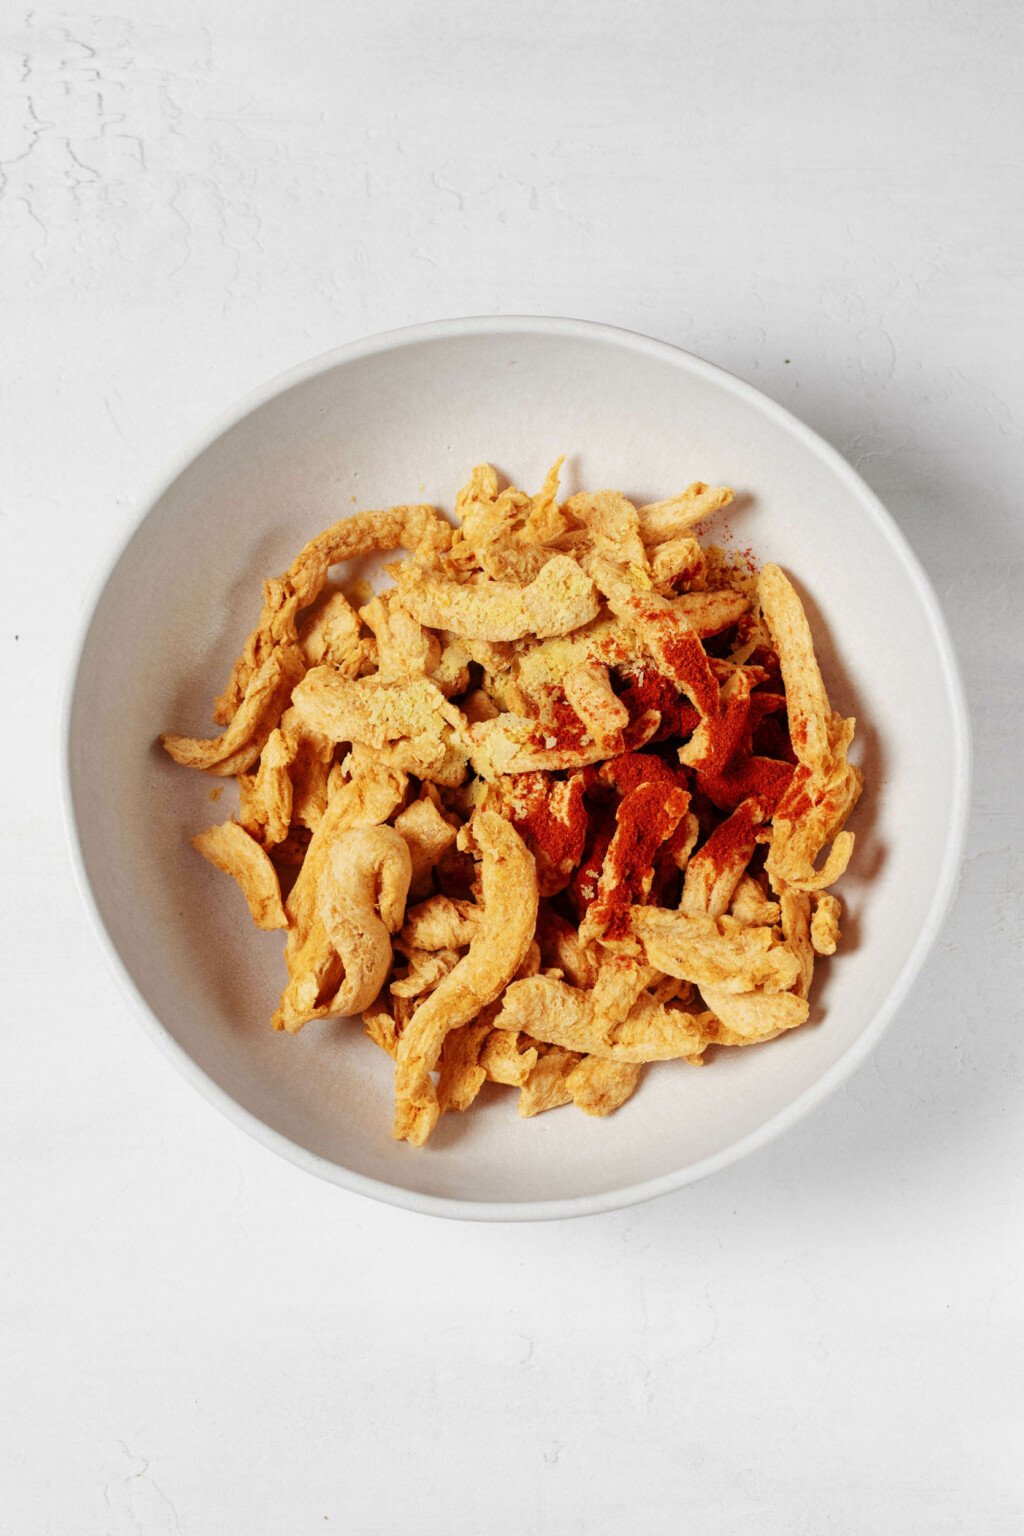
Step 2: Mix the soy curls with dry seasonings
Place your dry soy curls into a mixing bowl with smoked paprika and nutritional yeast. The former will give your soy curl chicken a little smoky flavor, while the latter will enhance their savoriness.
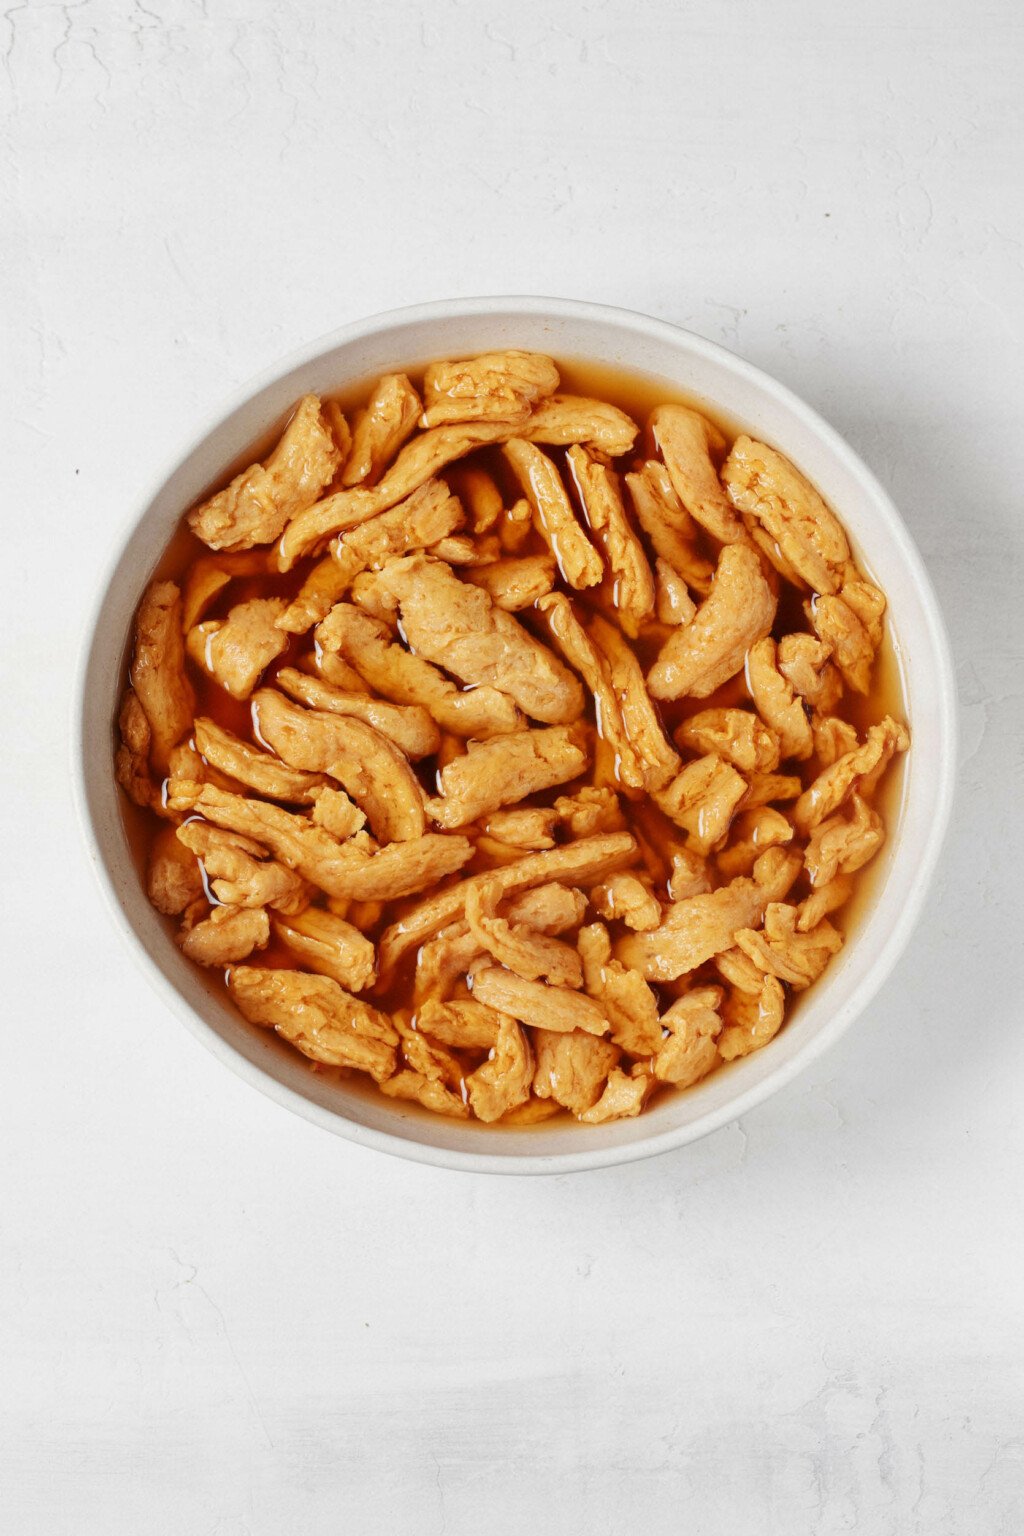
Step 3: Bring hot broth and Liquid Aminos (or soy sauce) to a simmer
You need a hot liquid in order to rehydrate your soy curls. I use a combination of vegan broth and Bragg Liquid Aminos.
You can easily substitute soy sauce or tamari for Bragg’s. Any of them will contribute saltiness and umami to the soy curl chicken.
What about the broth? Personally, I like to use a vegan chicken-style broth for this recipe.
My favorite lately is the broth concentrate from the Born Simple brand, but there are a number of brands that make a powdered, cubed, or liquid bouillon. The Imagine brand makes a vegan No-Chicken Broth.
In place of a vegan chicken-style broth, it’s fine to use vegetable broth.
You can heat your broth in the microwave. I pour mine into a large, Pyrex measuring cup, cover it, and microwave on high for 5-6 minutes. You can also heat the broth to a simmer in a saucepan.
Next, pour the hot liquid over the soy curls and cover their bowl. I use my silicone bowl covers for this. Allow the soy curls to soak for ten minutes in order to rehydrate them.
Step 4: Drain and press the soy curls
Next, you’ll drain the soy curls through a colander.
At this point, I find it helpful to press them a bit in order to remove excess liquid.
My low-tech way of doing this is to use the bottom of the bowl that I soaked them in to press on them while they’re in the colander. Works every time!
Step 5: Bake (optional)
Once you drain and wring some of the moisture from the soy curls, they’ll be seasoned and ready to eat.
If you want a more authentically chicken-like texture, you can bake them in your preheated oven for 15-20 minutes.
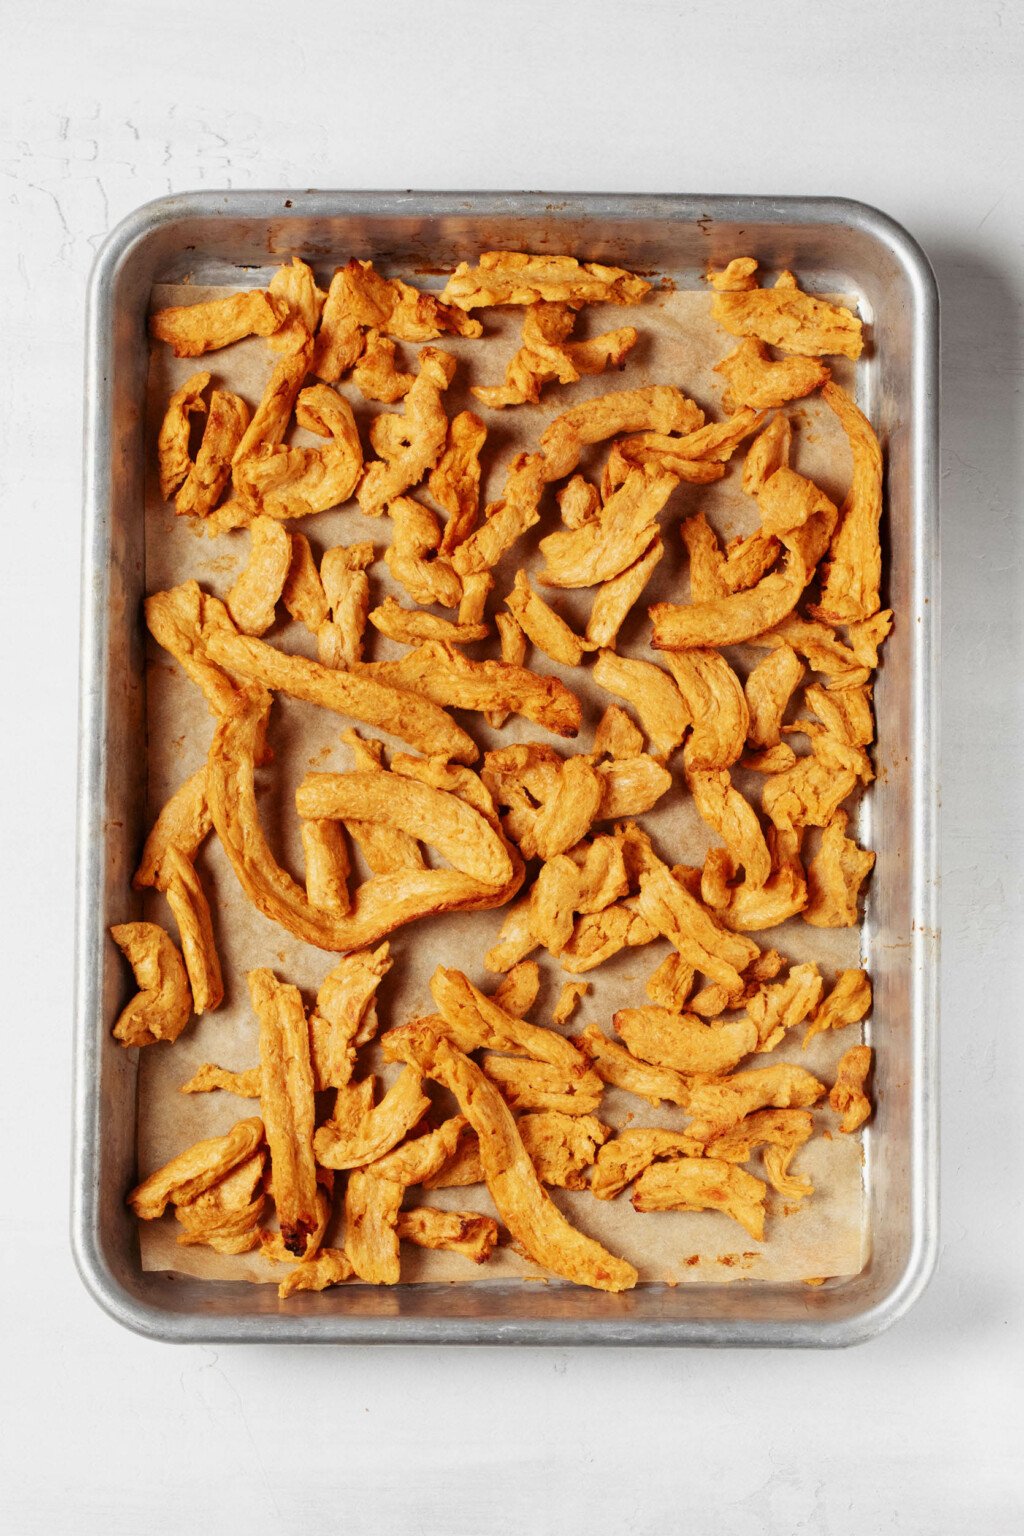
When the soy curls are ready, they’ll be moist in their centers but a little dry and crispy at the edges. They should have a very pleasantly chewy texture.

The Vegan Week
Embrace the joy of eating homemade food every day with the hearty and wholesome recipes in The Vegan Week.
Whether you have three, two, or even just one hour of time to spare, The Vegan Week will show you how to batch cook varied, colorful, and comforting dishes over the weekend.
Step 6: Enjoy, store or freeze
At this point, you can enjoy your soy curl chicken strips right away. You can also store them in an airtight container in the fridge for up to five days.
If you’d like to store the prepared soy curl strips longer, you can freeze them for up to eight weeks.
Some of the many things that you can do with soy curl chicken strips
I’ve found so many uses for my soy curl chicken strips.

Essentially, I rely on them in all of the ways that I used to rely on chicken, before I became vegetarian and then vegan.
Here’s a very un-comprehensive list of suggested uses:
- Add them to your favorite salads
- Make a vegan chicken Caesar wrap with the soy curls and vegan Caesar dressing
- Pile them into tacos
- Use them to make vegan chicken salad
- Add them to a stir fry
- Fold them into your favorite pasta dish for some added protein
If you’d like some specific recipes to try, here are a few of my favorites:
- Crispy BBQ soy curls
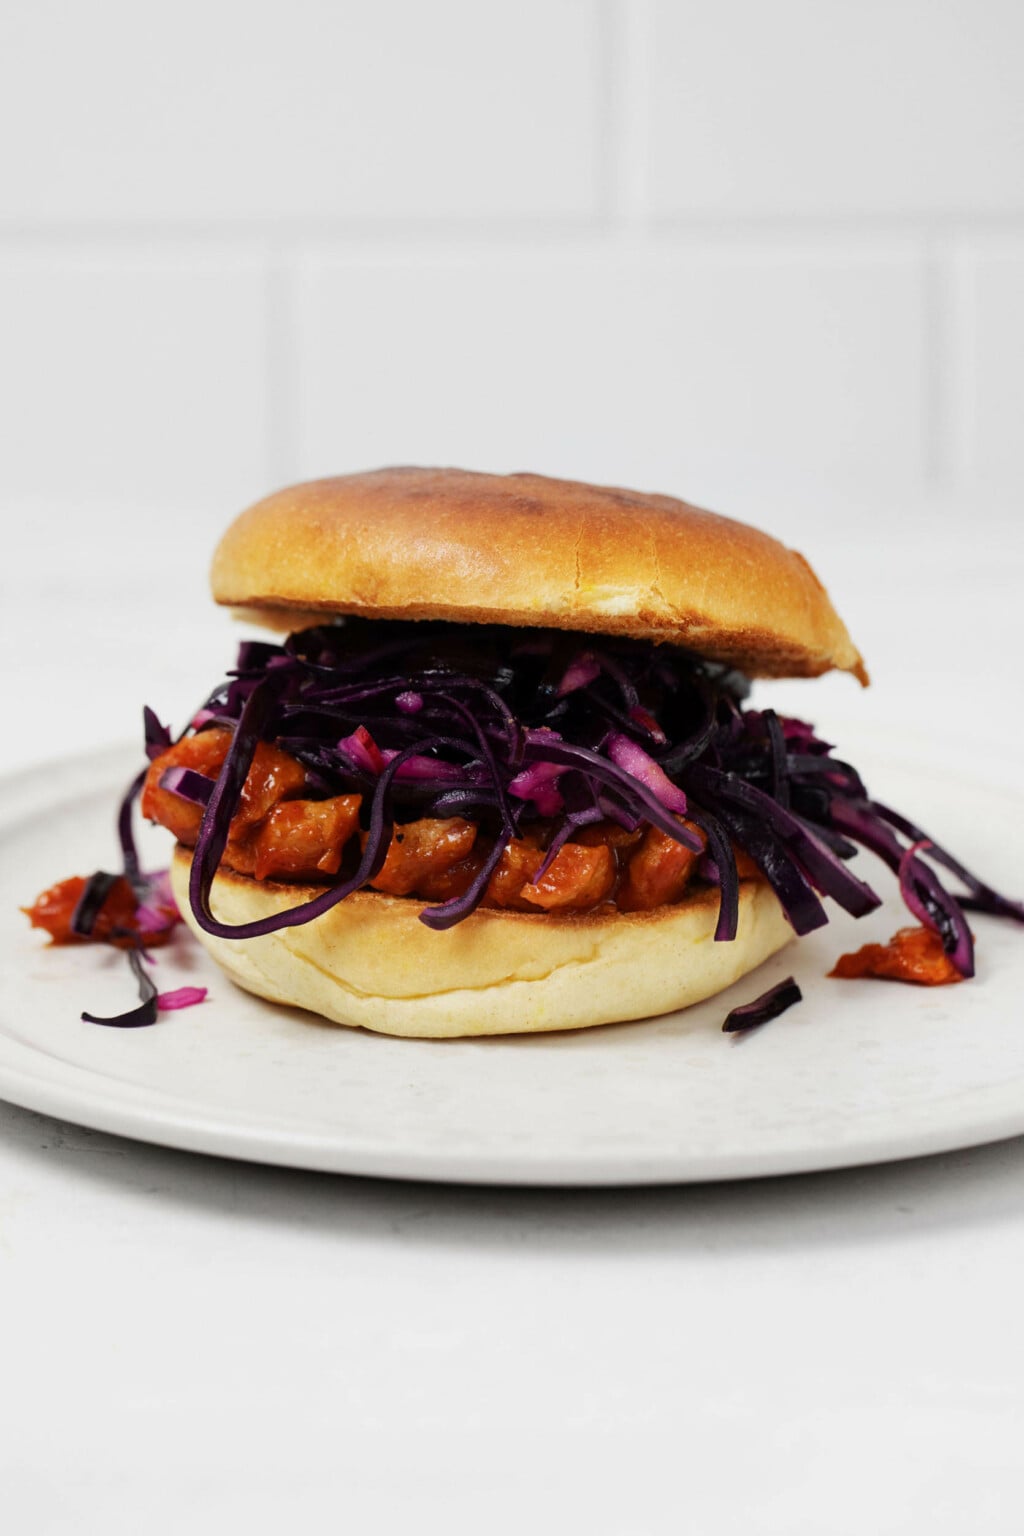
- BBQ soy curl sandwiches with cabbage apple slaw
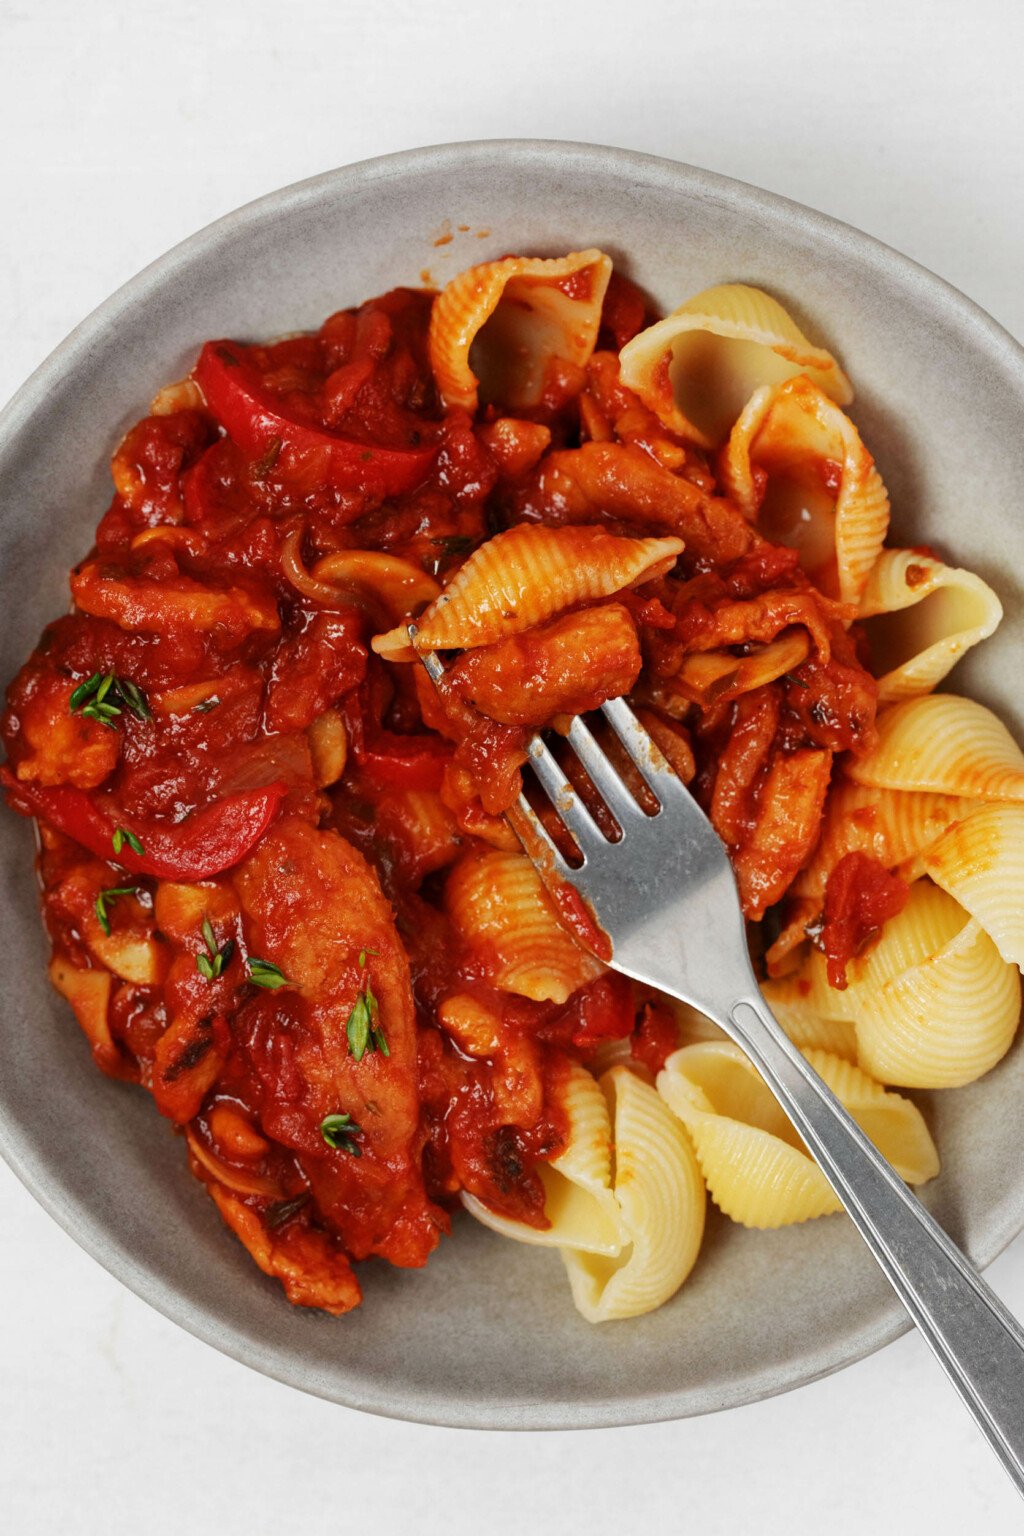
- Soy curl cacciatore
- Hearty vegan “chicken” bean chili
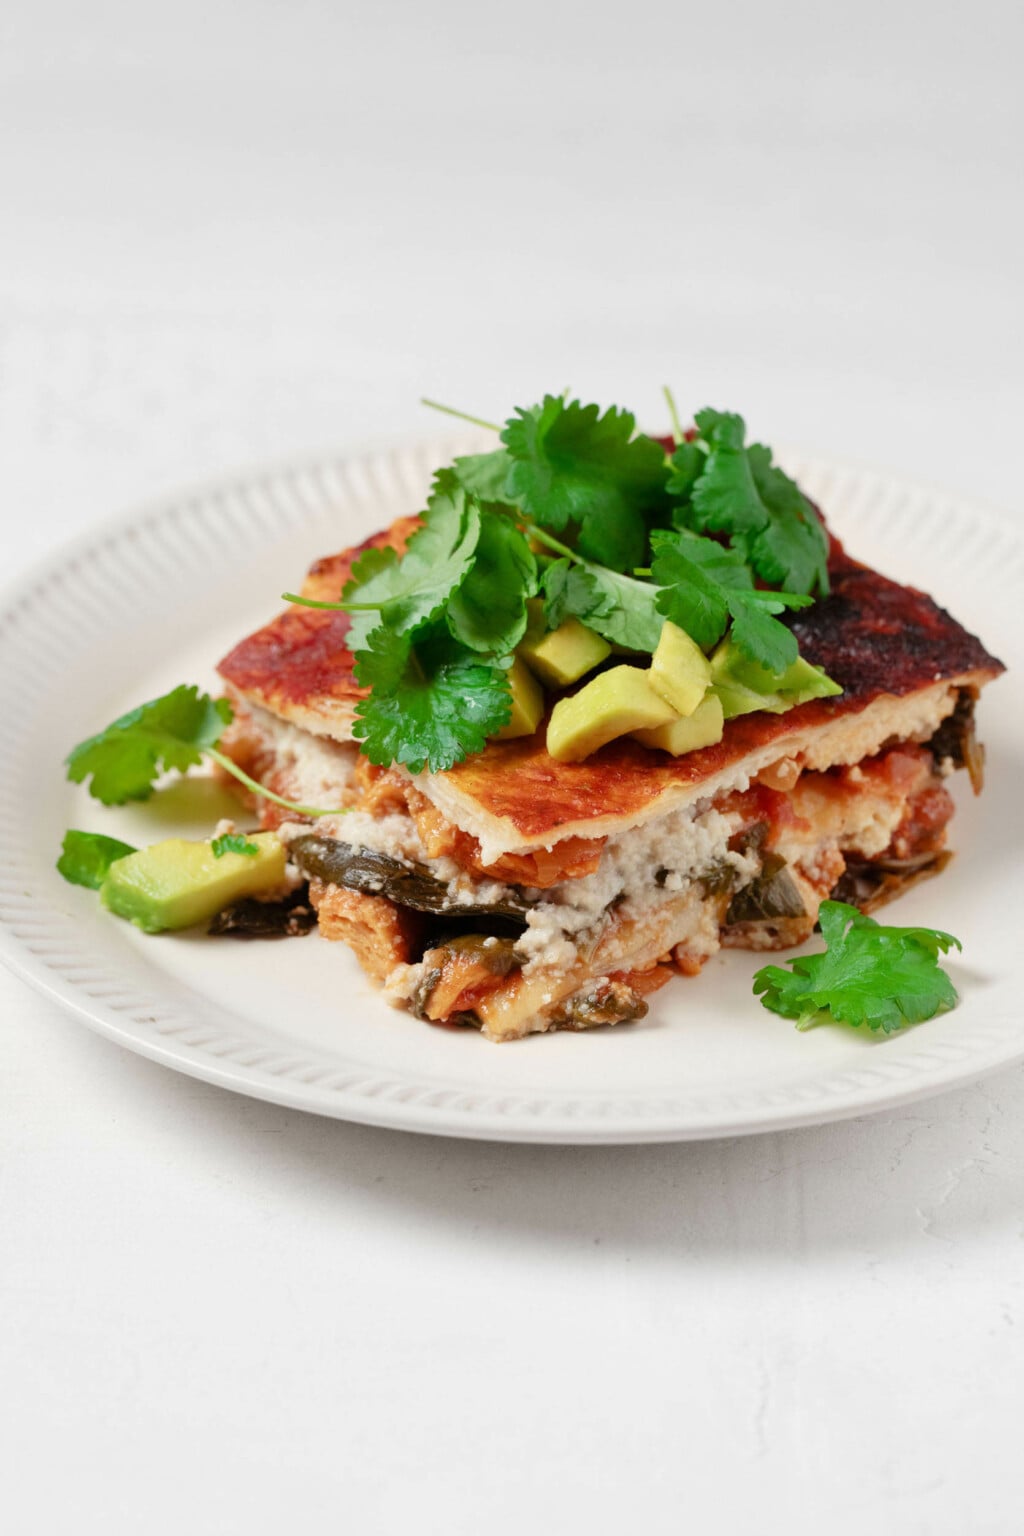
- Vegan “chicken” enchilada casserole
- Creamy vegan chicken rice skillet supper
And here’s the base recipe that will help you to create all of them.
5-Ingredient Vegan Soy Curl “Chicken” Strips
Author –Yields: 4 servings
Ingredients
- 4 ounces Butler Foods soy curls (120g; this is half of a standard-sized bag of Butler soy curls)
- 1/2 teaspoon smoked paprika
- 2 tablespoons nutritional yeast
- 3 cups vegan chicken-style broth, from a carton or prepared from bouillon or concentrate (720ml; you can substitute vegetable broth)
- 1 tablespoon Bragg Liquid Aminos or soy sauce
Instructions
Season and rehydrate the soy curls
- Add the soy curls to a large mixing bowl and toss them together with the smoked paprika and nutritional yeast.
- Bring the broth and Liquid Aminos to a boil in a medium pot. Pour the liquid over the soy curls. Cover the bowl and allow the soy curls to hydrate in the bowl for 10 minutes.
- Drain the soy curls through a colander or a large sieve. Use the bottom of a bowl to press the soy curls firmly into the sieve, ensuring that you remove as much of the hot marinade as possible.
Optional baking step (for a chewy and crispy texture)
- Preheat your oven to 425°F / 220°C. Line a rimmed baking sheet with parchment paper or use a nonstick sheet.
- Transfer the soy curls to your baking sheet. Bake for 10 minutes, then stir the soy curls on the sheet. Bake for another 5-10 minutes, or until the soy curls are just starting to brown. They should be moist in the center but have some crispiness at the edges.
- The soy curls can be stored in an airtight container in the fridge for up to 5 days or freeze for up to 8 weeks.
I’ve been posting all of my favorite vegan basics in the past year or two, in the hopes that you’ll find them as reliable and useful as I do.
Soy curl chicken is one of the proteins that I reach for most often. I’ll continue to share the recipes that I make with it—and I’m excited to hear what you make with it, too!
xo
This post may contain affiliate links. If you use these links to buy something I may earn a commission. Visit my privacy policy to learn more.
Categories: Uncategorized,
Vegan Basics
Dietary Preferences: Gluten Free, No Oil, Tree Nut Free, Vegan
Recipe Features: 30 Minute or Less, Meal Prep
Dietary Preferences: Gluten Free, No Oil, Tree Nut Free, Vegan
Recipe Features: 30 Minute or Less, Meal Prep


Leave a Comment
I made these several days ago for a stir fry; They were good in that. I just polished off the remaining soy curls, and I will keep these ready as an easy, quick and tasty protein boost.
Excellent! I’m so glad that they are proving useful, Alexandra.