A classic American dessert goes vegan! This vegan sweet cherry pie screams summer. It’s made with a traditional, flaky, double pie crust.
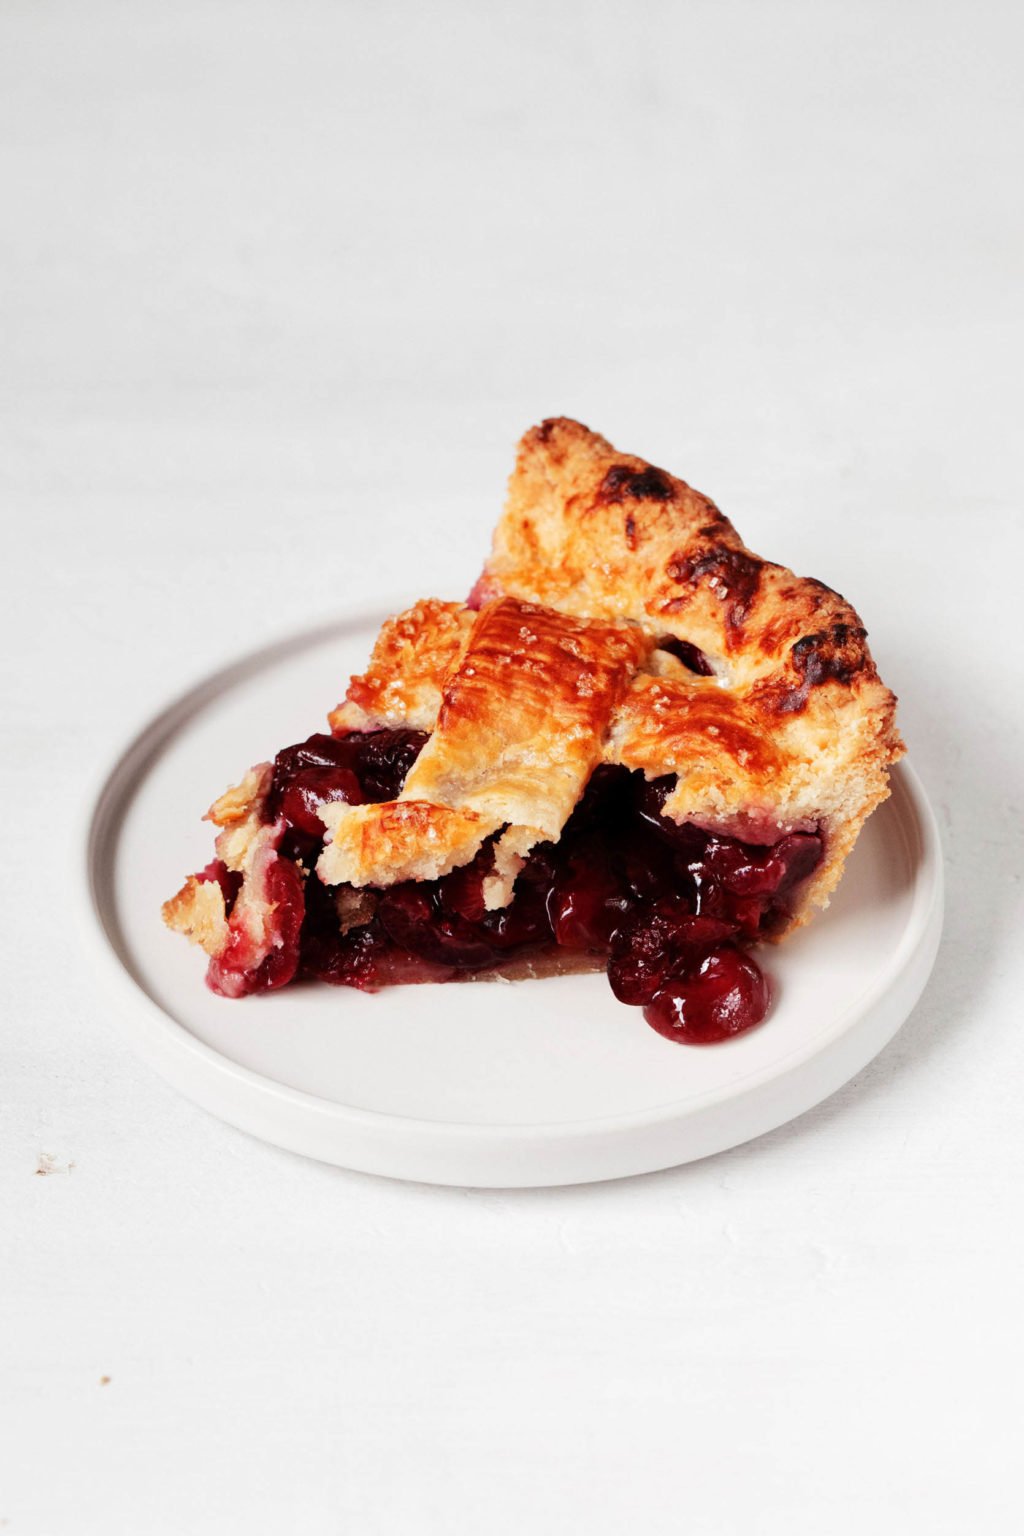
What fruit dessert says summer more than sweet cherry pie?
I made this beauty on the 4th of July this year, while I was staying with friends near the beach. It was far from my first cherry dessert—cherry cobbler, cherry bars, and cherry chocolate ice cream are all favorites—but it was my first vegan cherry pie. Success!
Yes, this dessert is a commitment. If nothing else, pitting the cherries takes some effort. But the time you’ll spend on it is well worth it. The pie is sweet, juicy, buttery, and flaky. Plus, it feeds a crowd. If you don’t have a crowd to feed, you’ll have leftovers.
Is cherry pie vegan?
Traditional cherry pie crust is made with butter, so it isn’t vegan. Some cherry pie recipes call for dotting the top of the cherry filling with small pats of butter as well. This recipe forgoes that step.
How to make vegan cherry pie
The main trick in veganizing cherry pie is to use vegan butter in the pie crust.
I like to make a traditional, all-butter pie crust with vegan butter in place of dairy. Some recipes call for a mix of butter and shortening, which is also possible to make vegan. But I’ve never found that a butter + shortening combo is better than all buttah.
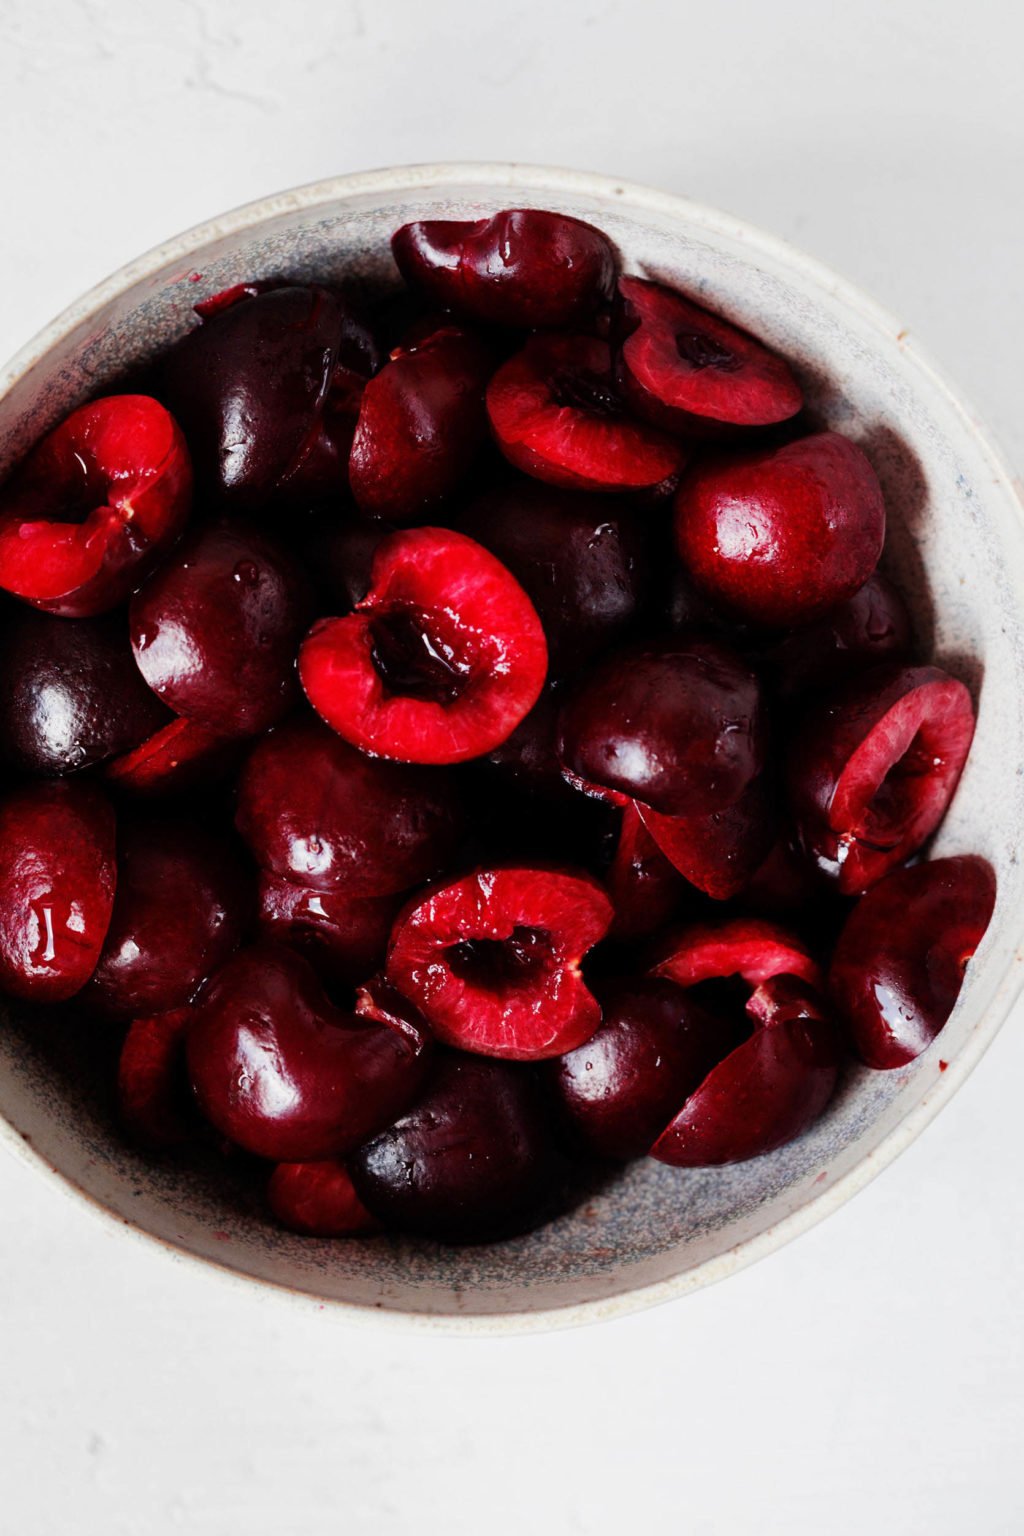
Making cherry pie filling
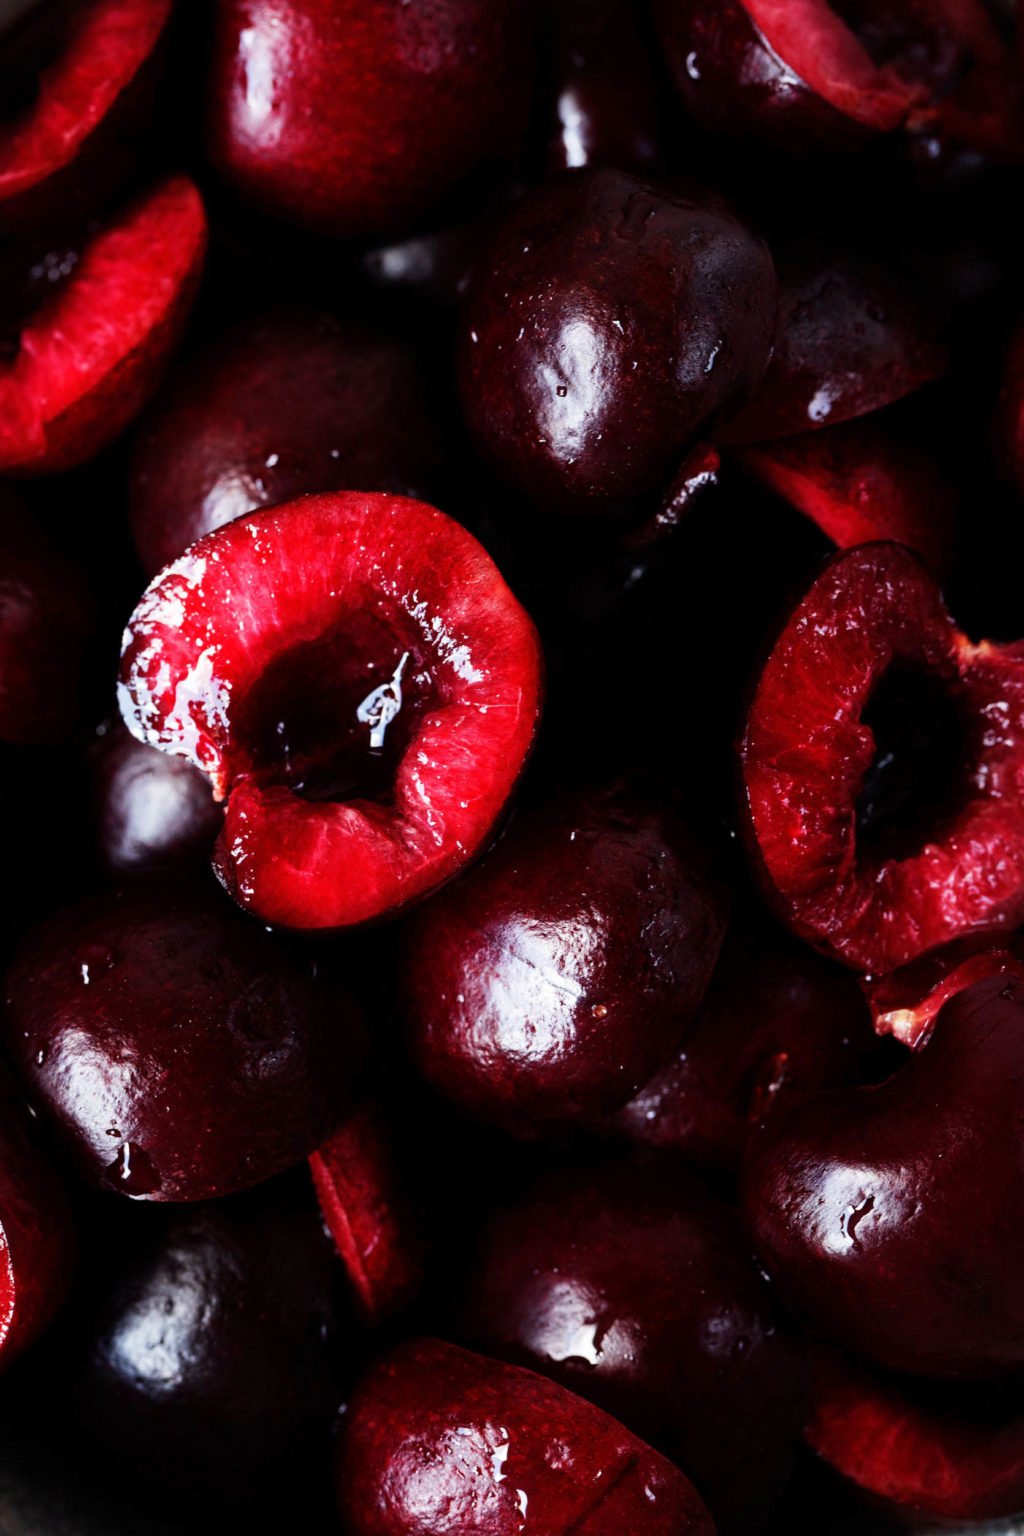
A lot of cherry pie recipes call for canned cherry pie filling. But I think that the beauty of this pie is the use of fresh, dark sweet cherries. Some of the best are Northwest cherries.
The cherries give the filling a fresh flavor and juiciness that can’t be beat. I like to add lemon juice to the filling, something I started doing when I tested my cherry cobbler last year. I find that the slight tart flavor helps to balance the sweetness of the cherries.
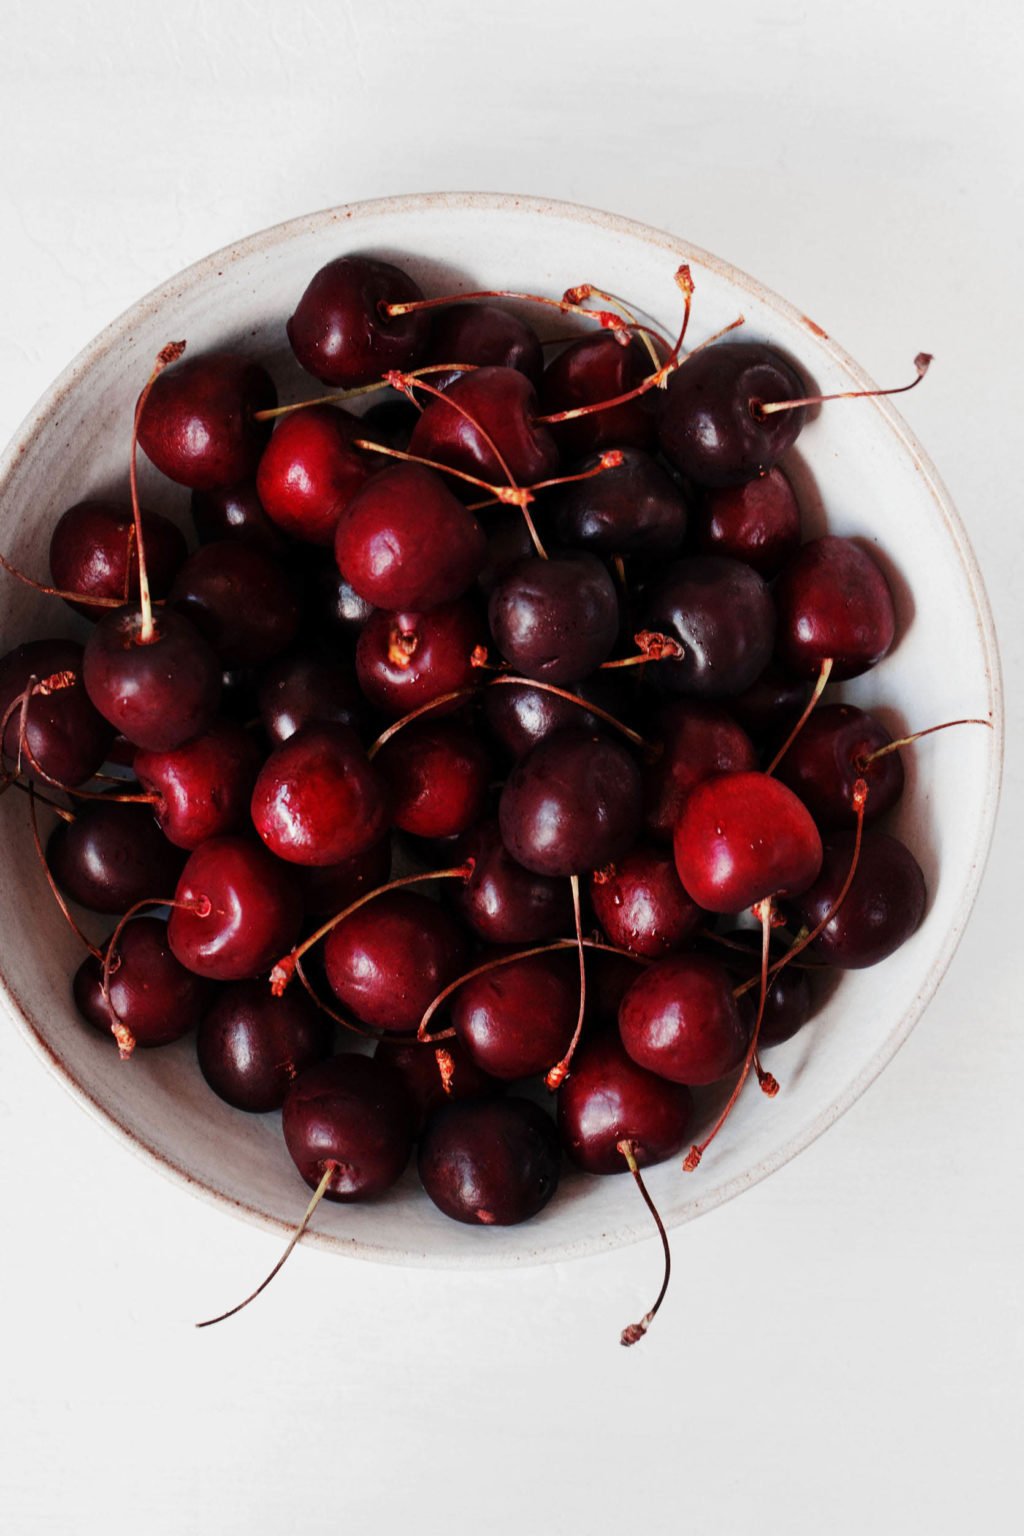
Health benefits of sweet cherries
Vegan cherry pie is a treat, of course. But it gives me a lot of happiness to make desserts that feature healthful ingredients, like sweet cherries. And I usually end up snacking on the fruit as I prep the filling.
Sweet cherries are rich in anthocyanins. These are plant-based compounds that result in the fruit’s vibrant, deep red color. The anthocyanins may help to ward off inflammation. The anthocyanins in cherries are also antioxidants, which means that they may help to protect against cellular damage that comes with aging.
Cherries contain melatonin, which can help to support healthy sleep cycles. They’re also sources of chemical compounds, known as phenolics, that can help to protect the nervous system against the stress and damage of aging.
Finally, cherries are a naturally occurring source of serotonin, a chemical that’s associated with mood improvement and stress reduction. Win, win.
Step by step
Prepare your pie crust
The double pie crust for this recipe needs to rest in the fridge for at least an hour before rolling and shaping. A little longer is better. You can prepare the crust up to two days in advance of assembling the cherry pie, which makes the entire pie-making process easier.
No matter what, you can plan to prepare the pie crust first. Allow it to chill while you start to tackle the task of cherry pitting.
Pit your cherries
This is the most time consuming step in the recipe, and it’s my least favorite. However, I’m now the proud owner of a cherry pitter, which makes it a lot quicker.
You’ll need 5 cups of sweet cherries, or 1 1/2 pounds. It’s a lot. Turn on some music, chat with a friend, or watch a rerun while you do it, and it’ll go much faster.
Cut your cherries
After you pit the cherries, you’ll need to cut them in halves or quarters. I use both in this recipe—halves and quarters. It’s a little trick that I learned from Sally’s blog.
Using a combination of bigger and smaller cherry pieces helps to make the pie filling juicy, but not runny. It also ensures that the cherry filling is evenly distributed in the pie.
Prepare the pie filling
I like to prepare the cherry pie filling before I roll out and shape the crust. It gives the cherries a little time to release their juices and for the lemon and cherry flavors to mingle.
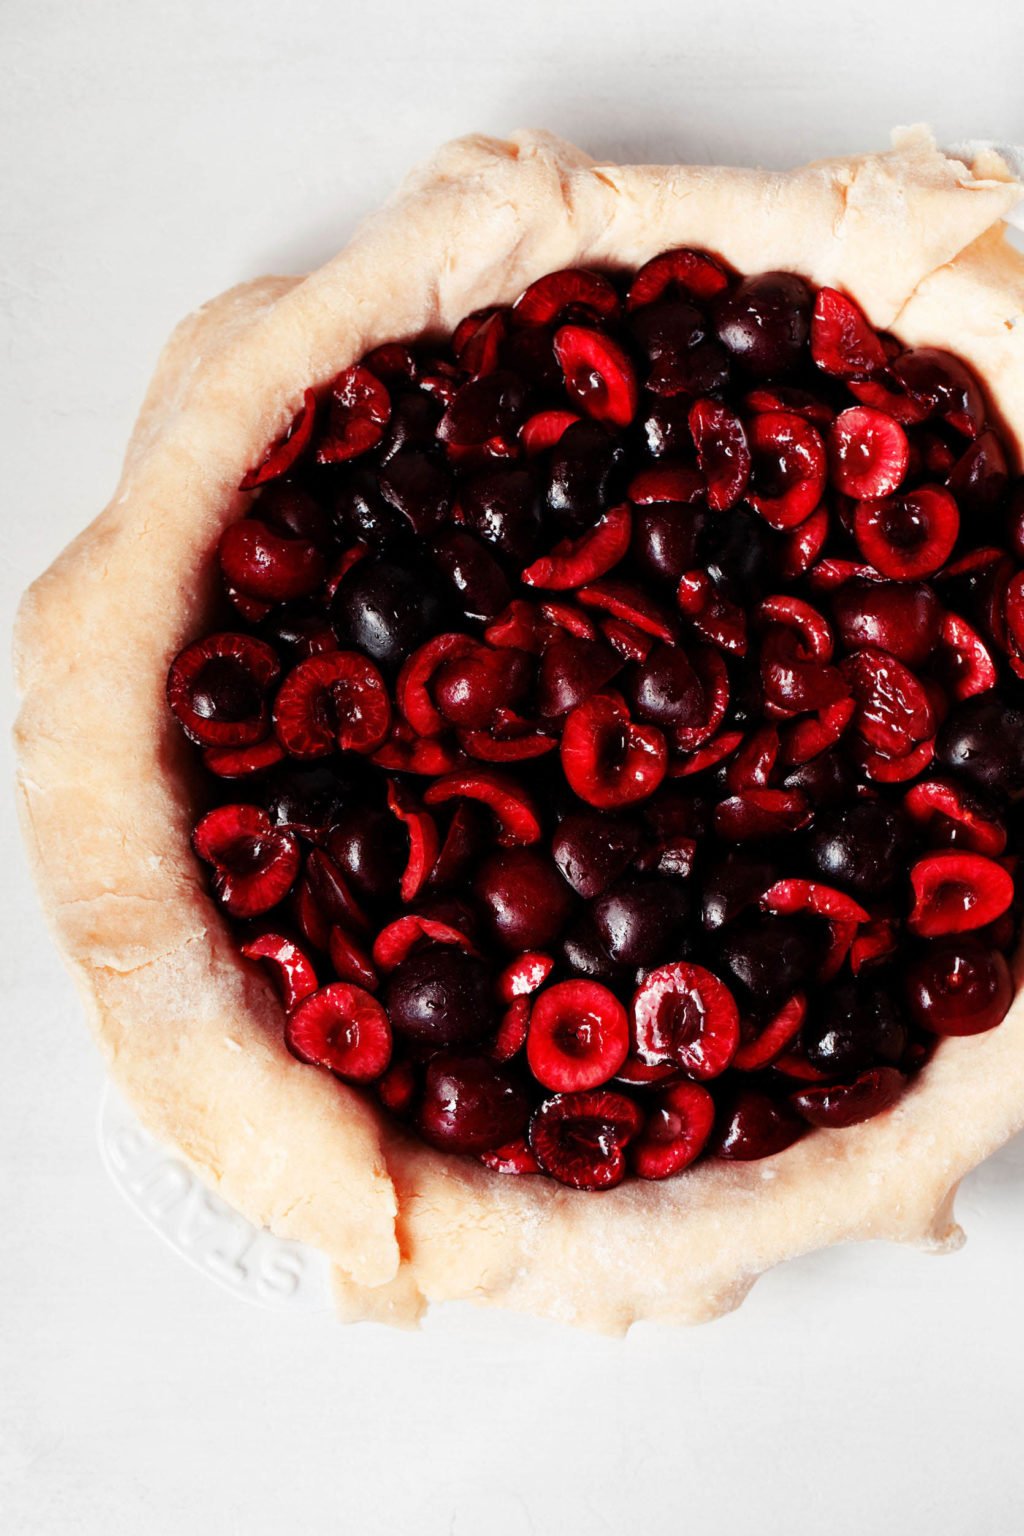
Shape your crust!
This recipe makes enough for a traditional double crust, if that’s what you’re craving. It’s the simplest option, less time consuming than a lattice crust or other shapes.
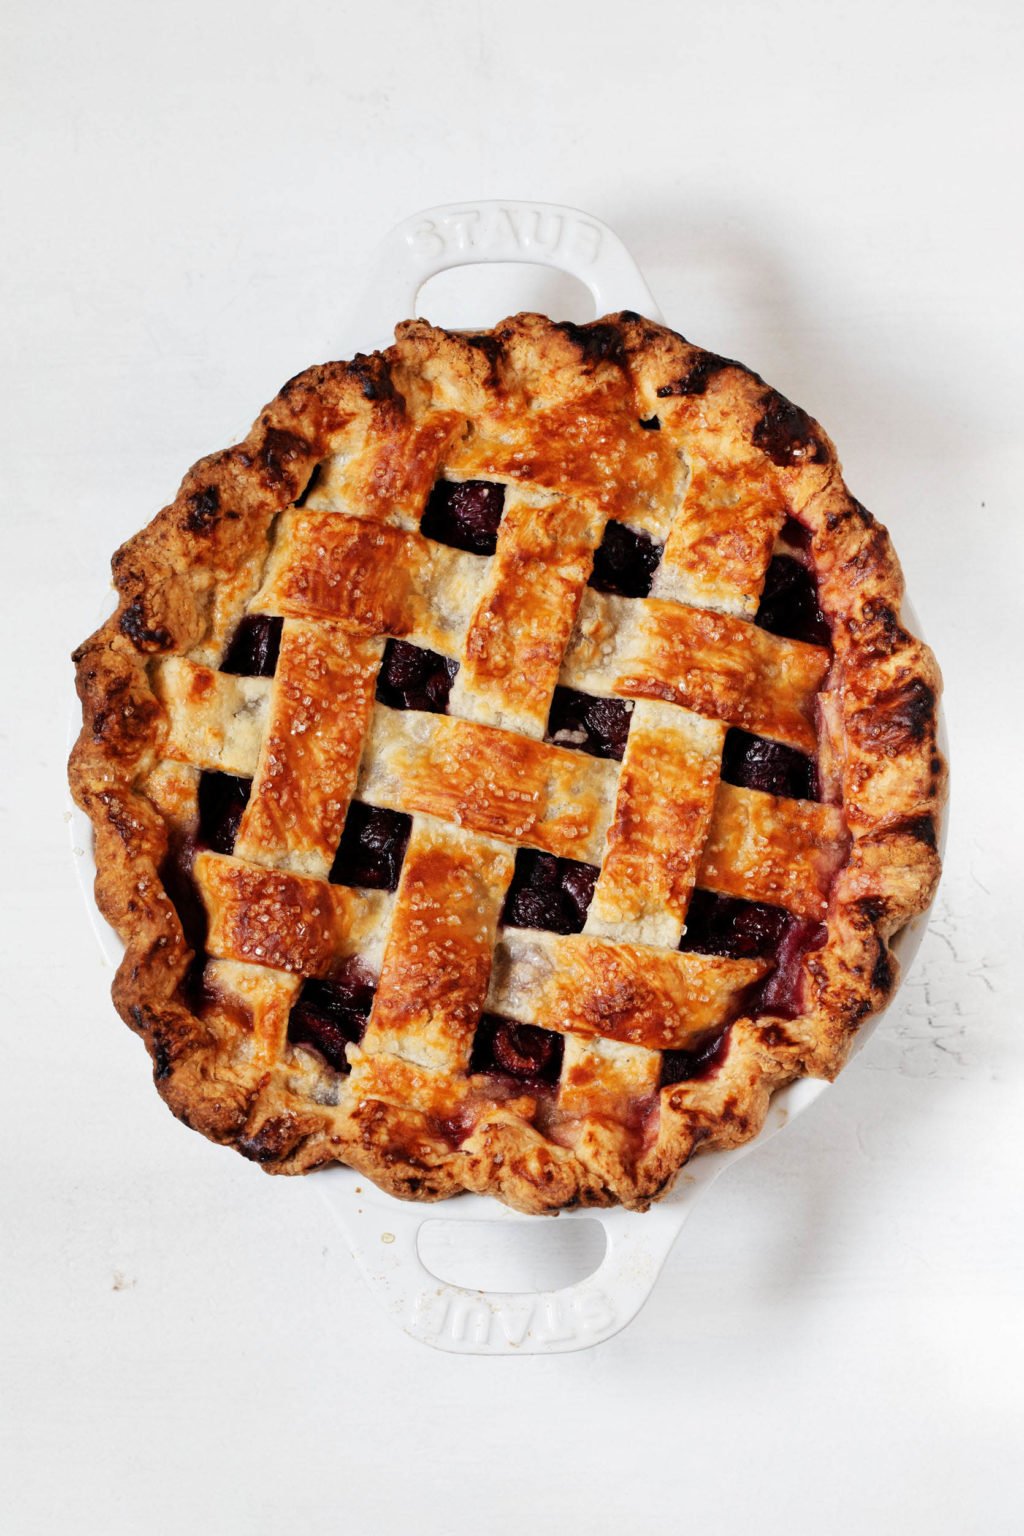
If you’re in the mood for a challenge, I recommend attempting a lattice crust! It doesn’t matter how perfect it ends up looking. Rustic lattice crusts are still festive and beautiful. There are tons of good tutorials online, including this one.
After I make the lattice, I like to fork the crust all around. Forking isn’t as pretty as crimping, but it’s easier. If you have the energy and motivation to crimp, by all means, do.
Apply vegan egg wash
My formula for an “egg wash” in baking is always the same: equal parts non-dairy milk and agave or maple syrup. I use this egg wash on scones, hand pies, galettes, and this vegan sweet cherry pie.
The egg wash isn’t necessary, but it’ll make your finished pie look a little nicer. After I do the egg wash, I like to also sprinkle some sparkling sugar over the cherry pie. It’s another small decoration that isn’t essential, but is pretty.
Bake
Once your pie is decorated, it’s ready to bake! More baking details below and in the recipe.
Rest
The cherry pie will need a full 3-4 hours of cooling and setting time before you slice and eat. If you have time to make it in the morning and enjoy it in the evening, that’s a good baking schedule.
How long should I bake vegan cherry pie?
The sweet cherry pie needs a nice, long baking time. It’s tricky to par bake the bottom of a double pie crust (not impossible, but sort of next level as far as pie-baking goes). As a result, the risk of a dreaded soggy bottom is high.
I recommend a full hour of baking time to ensure a firm, un-soggy bottom. The bottom will likely be more pale than it would be if you par baked it, but it should be fully cooked and browning slightly.
You’ll bake the cherry pie for 15 minutes at 425F, then lower the oven heat to 350F and continue baking for another 45-55 minutes.
The pie should be browning nicely when you pull it out of the oven, but it’s possible for the edges to get burn a bit during baking. I recommend placing some foil around the edge of the pie if it starts to brown aggressively before the pie is ready. You can purchase a special pie crust protector for this if you’re a regular pie baker.
Speaking of foil, it’s also helpful to place some foil beneath the cherry pie as it bakes, just in case it starts to bubble and drip.
Storing cherry pie
The cherry pie will keep well at room temperature for about two days. I like to cover mine with a layer of foil. After two days, I recommend transferring the pie leftovers to the fridge. They’ll keep for another three days (five days total).
Can I freeze cherry pie leftovers?
If you plan to keep the cherry pie leftovers for 4 or more days, you can consider freezing them. The pie slices freeze and defrost really well.
This post has good information on thawing and reheating. Thawing the pie for an hour at room temperature is the first step. You can then bake individual slices at 375F for 10 minutes or an entire defrosted pie for 30-35 minutes.
Cherry pie ingredients
In spite of this being a somewhat involved dessert recipe, the cherry pie ingredients are pretty simple. You’ll need all-purpose flour, salt, vegan butter, and ice water for the crust. The choice of vegan butter is up to you, but I recommend using sticks instead of butter that comes in a tub. It makes measuring much easier.
The pie filling is cornstarch, lemon juice, cane sugar, and the starring ingredient—dark, sweet cherries from the Northwest!
Can I use frozen cherries in the recipe?
Yes, you can absolutely use frozen sweet cherries in the cherry pie. This makes the recipe accessible year-round, rather than seasonal.
If you do use frozen, pitted sweet cherries, be sure to thaw them completely before cutting them up and using them in the recipe.
Frozen cherries may release some juice as they thaw, which is fine. You can even press on them gently in a colander to help that process along. This way, they won’t make the pie filling overly juicy.
Can the pie be gluten-free?
In full transparency, I haven’t tried making the pie crust with a gluten-free flour. However, I’ve found that the King Arthur Measure for Measure flour is a pretty flawless, one-to-one substitute for all-purpose flour. I would recommend making the pie gluten free by using that flour or another GF, all-purpose blend.
If you make the pie gluten-free, I’d love to hear how it goes.

Vegan Cherry Pie
Author –Ingredients
For the crust:
- 2 1/2 cups unbleached all-purpose flour (300 grams)
- 1 teaspoon kosher salt
- 1 tablespoon cane sugar (12 grams)
- 16 tablespoons vegan butter (224 grams/2 sticks)
- 1/2 cup ice water (118 mL, more as needed)
- 1 tablespoon white vinegar
For the filling:
- 3 cups pitted and quartered sweet cherries
- 2 cups pitted and halved sweet cherries
- 3 tablespoons freshly squeezed lemon juice
- 4 tablespoons cornstarch (32 grams)
- 1/2 cup cane sugar (96 grams)
- pinch cinnamon
For decoration:
- 2 tablespoons non-dairy milk
- 2 tablespoons agave or maple syrup
- sparkling sugar
Instructions
- Prepare your crust. Mix the flour, sugar, and salt in a large mixing bowl. Add the butter and use a pastry cutter or two knives to cut the butter into the flour, until the pieces of butter are about the size of peas. Alternately, you can put the flours, salt, and sugar into a food processor, add the butter, and pulse until the ingredients are combined and the butter is the size of peas.
- Mix the ice water and vinegar. Add the water into the flour mixture in a thin stream, using a spatula to mix as you go. As soon as the dough holds together without being wet or sticky, and it sticks together when you squeeze a small amount in your hand, it's ready. If your dough is too crumbly and isn't holding together, add additional ice water by the teaspoon until it does. Transfer the dough to a floured work surface and shape it into two disks. Wrap the disks in plastic wrap and refrigerate for at least 2 hours. At this point, you can keep the dough in the fridge for up to 2 days or freeze it for later use, if you like.
- When the dough has finished chilling, preheat your oven to 425F. Flour a work surface and rolling pin.
- On the floured work surface, roll one disk of the dough into a circle about 1/4 inch thick (and about 12 inches in diameter). Gently transfer this circle of dough to an oiled or lightly greased 9.5-inch pie dish. Transfer the dish to the fridge to stay cool while you prepare your cherry filling.
- In a mixing bowl, mix together the cherries, lemon juice, cornstarch, sugar, and cinnamon. Let this filling sit while you prepare your top crust.
- Roll out the other disk of dough, once again on a floured surface. Make a simple double crust or create a lattice crust (your preference).
- Use a slotted spoon to transfer the cherries to the dough-lined pie dish. Place your top crust over the bottom. Crimp edges as desired. If using a traditional double crust top, cut some small slits in the top crust to allow steam to escape.
- Bake for 15 minutes. Reduce the oven temperature to 350F and continue baking for another 45-55 minutes, or until the crust is a deep golden brown and the filling is bubbly. Allow the pie to cool for at least 3 hours before slicing and serving.
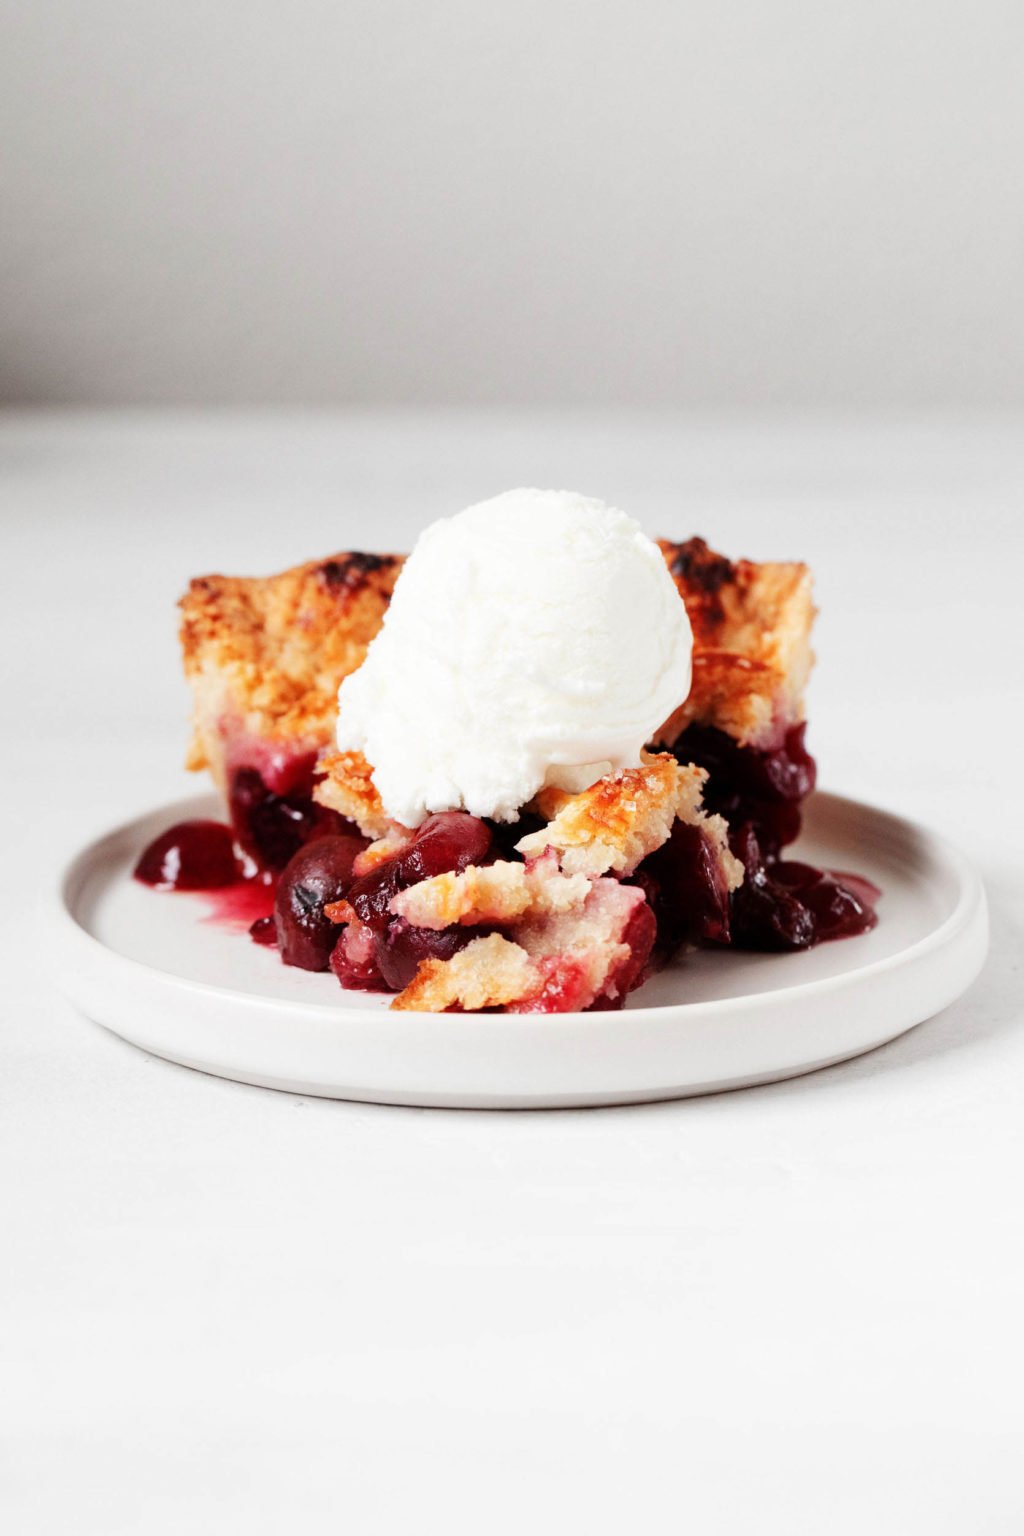
Needless to say, you can serve the vegan cherry pie however you’d like to. It’s delicious on its own. It’s good with a scoop of raw, cashew whipped cream. And, as you can see, it’s next level with a scoop of dairy-free vanilla ice cream.
Hope you’ll get a chance to enjoy this classic, nostalgic dessert while summer (and cherry season) is still in full swing. Happy baking!
xo
This post is sponsored by the Northwest Cherry Growers. All opinions are my own. Thank you for your support!
This post may contain affiliate links. If you use these links to buy something I may earn a commission. Visit my privacy policy to learn more.
Method: Oven
Dietary Preferences: Soy Free, Tree Nut Free, Vegan
Recipe Features: Holidays




Leave a Comment