October 11, 2023
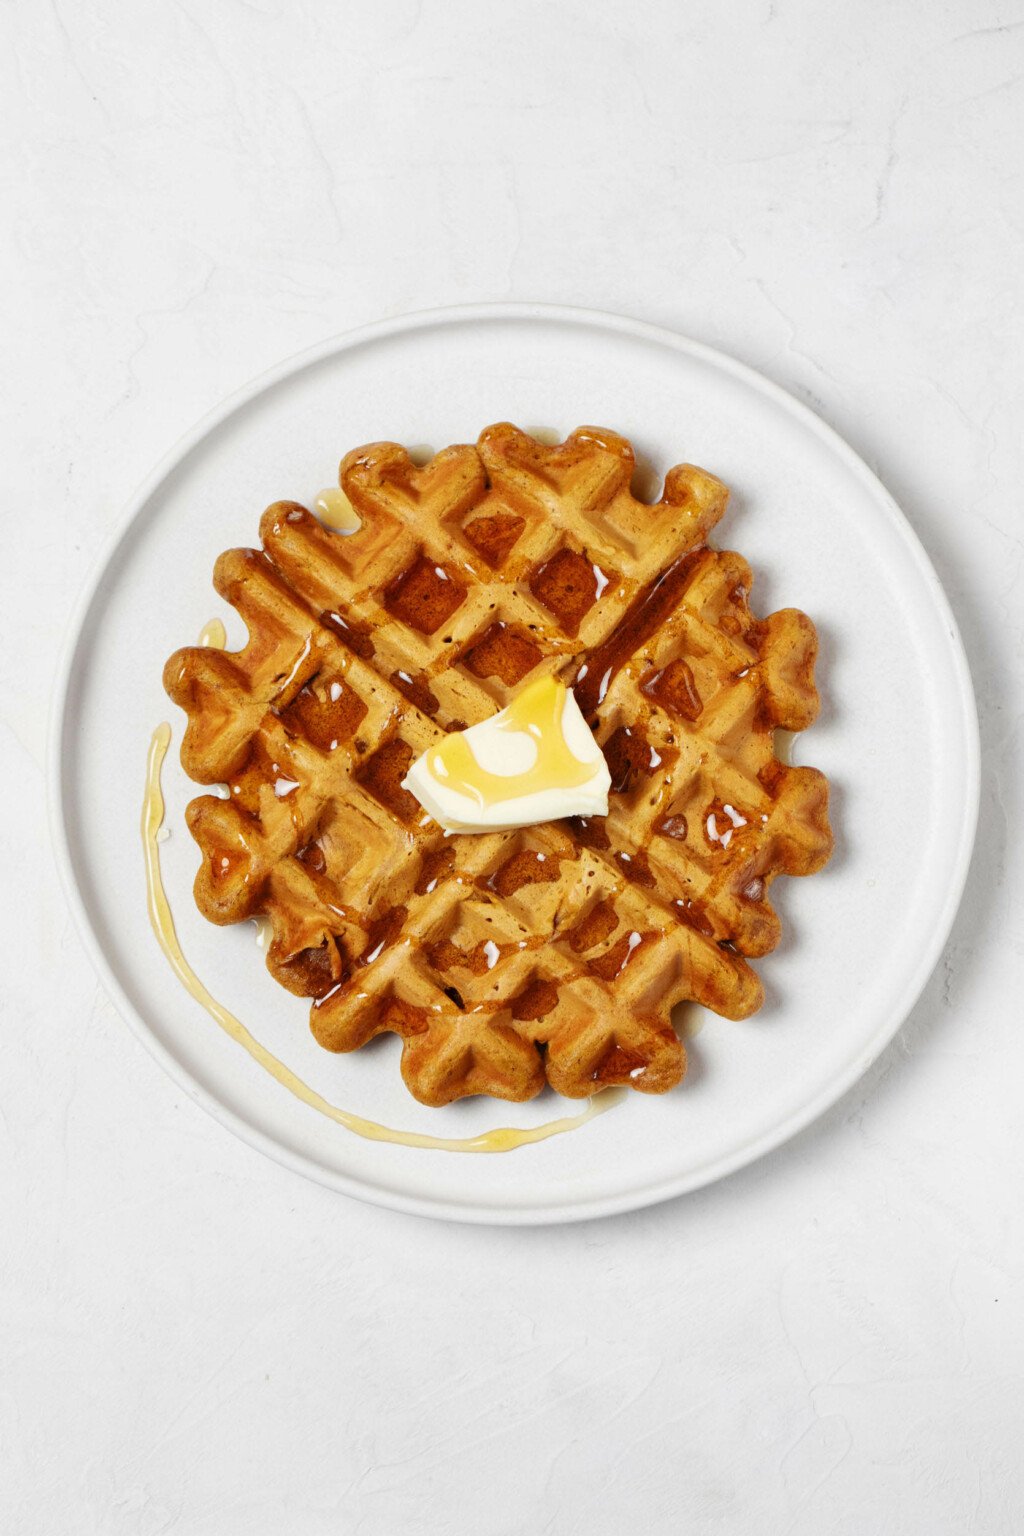
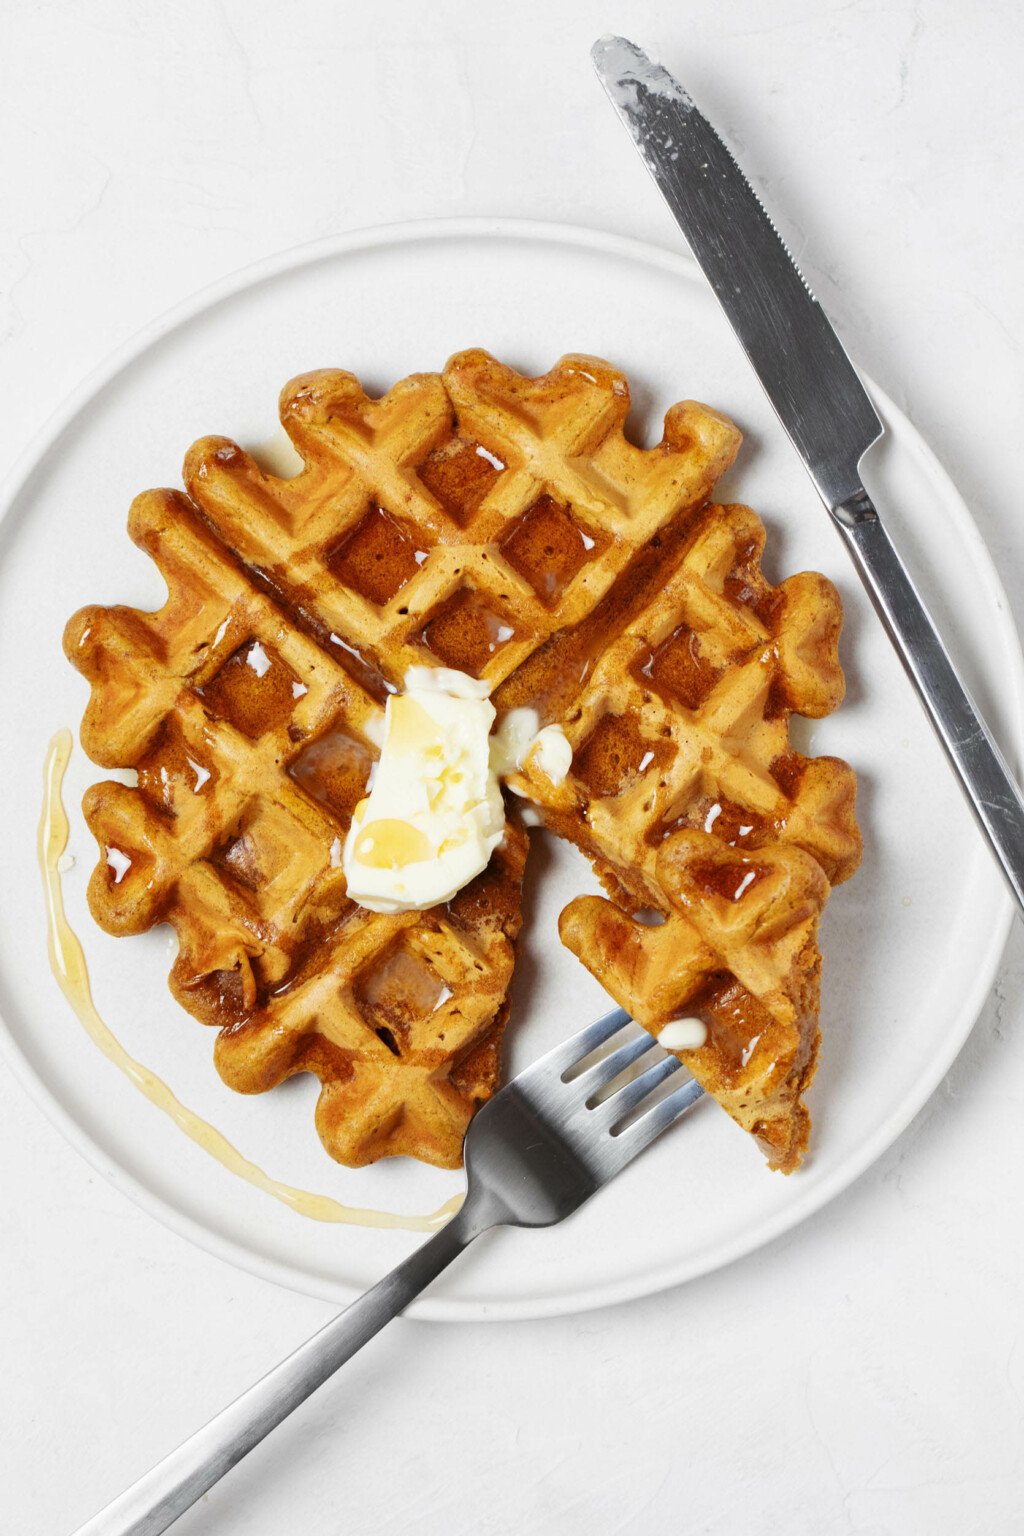
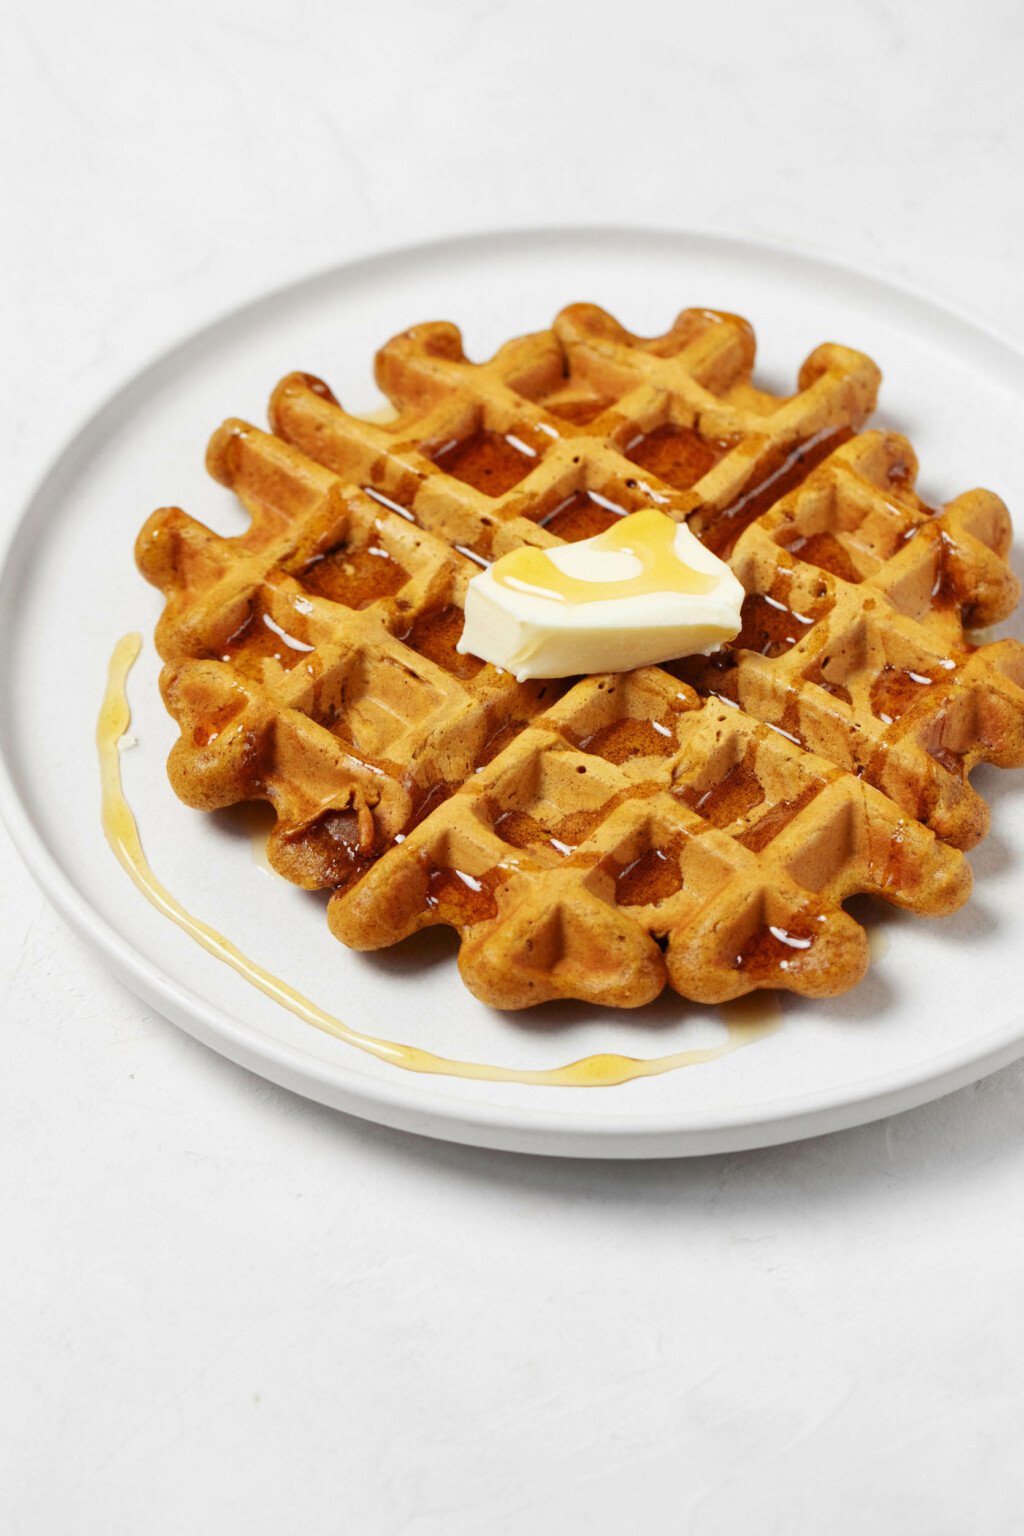
These are the best vegan pumpkin waffles! They have a super fluffy texture and a crispy exterior. The waffles are sweetened lightly, so that the flavor of pumpkin and fall baking spices really shines through. Best of all, they’re easy to make and freeze. Prepare a batch now and enjoy them when you’re ready to.
For the past month or so—ever since I decided that it was officially pumpkin season in my home—these vegan pumpkin waffles have been my go-to breakfast.
They’re closely based on the pumpkin waffles in my cookbook, The Vegan Week.

The Vegan Week
Embrace the joy of eating homemade food every day with the hearty and wholesome recipes in The Vegan Week.
Whether you have three, two, or even just one hour of time to spare, The Vegan Week will show you how to batch cook varied, colorful, and comforting dishes over the weekend.
I didn’t mess around with the recipe too much; when a recipe works, it works. And these might be the best homemade waffles I’ve made.
I can’t get enough of their spiced aroma, crispy edges, and most of all, their fluffy, soft interiors.
I think the waffles make the best fall breakfast, especially with some yogurt and seasonal fruit in the morning. And I can’t wait to tell you how to make them.
Why pumpkin makes these waffles better
The pumpkin in these waffles isn’t just for the sake of celebrating spooky season.
Much as I use pumpkin-themed recipes to salute the start of fall, pumpkin doesn’t have to be a seasonal ingredient.
Canned pumpkin purée is a versatile, nutritious pantry staple that can make vegan baking recipes better year round.
Pumpkin nutrition
First, let’s talk about how nutrient dense pumpkin is!
Canned pumpkin purée is a good source of fiber, potassium, and iron. And it’s a downright outstanding source of beta-carotene.
Beta carotene is a carotenoid. Carotenoids are the pigments that are responsible for red, yellow, and orange hues in vegetables like pumpkins, carrots, or sweet potatoes.
Carotenoids are antioxidants, which means that they may support our bodies in combatting the stress of aging and environmental exposure.
In addition, beta carotene is a provitamin for vitamin A. This means that our bodies convert beta carotene into vitamin A as we assimilate nutrients from food.
As a result, a single, half cup serving of pumpkin purée supplies 100% of the recommended recommended dietary allowance of vitamin A.
Vitamin A is known for playing a role in healthy vision, but it also plays a role in healthy immune function and growth and development.
Pumpkin properties for cooking and baking
Pumpkin is as valuable from a cooking standpoint as it is nutritious.
Pumpkin will add moisture to baked goods. If it’s a goal of yours to bake with a little less oil or vegan butter, then it can be really helpful to add some pumpkin to your batter.
Pumpkin is also subtly sweet. I don’t rely on it as an exclusive source of sweetness in any baking recipe, but I do think that it contributes some of its own sweet flavor, thereby reducing the need for a ton of added sugar.
I love the creaminess of pumpkin, too. It can give a richness to savory foods, like homemade hummus, porridge, soup, or pasta.
In some recipes, pumpkin can even serve as a vegan egg replacer.
Here, pumpkin gives the waffles moisture, and I think it also helps to eliminate need for any other egg replacer. It contributes to the soft, tender, and fluffy texture that I love so much.
Pumpkin purée vs pumpkin pie filling
A quick note about the type of pumpkin called for in this recipe: it’s pumpkin purée.
This can be canned pumpkin purée, which is what I use, or you can make pumpkin purée from scratch. Either option is fine.
Pumpkin pie filling is another type of puréed pumpkin that comes in a can. This mixture, though, is pre-seasoned and pre-sweetened, so it doesn’t give you an opportunity to flavor things according to your own tastes. It’s not what I recommend using for baking recipes.
Waffle 101
Before I get into the process of making these vegan pumpkin waffles, I have a few general waffle-making notes.
First, any waffle recipe is subject to some variability based on the type of waffle maker that you use.
I have two waffle makers. I know it sounds silly to hold onto two of the same appliance in a small space, and it probably is. But I got the waffle makers at different moments in my life, and I actually use them both consistently.
The first is a round, Belgian waffle maker. I love the thick, hearty waffles that this maker creates. I also love that it’s easy to use and so non-stick that I actually don’t have to oil or spray it. Cleaning it is a breeze.
I also have a Dash Mini Maker. The waffles that I make with this one are also round, but they’re smaller in diameter and more thin than Belgian waffles.
Essentially, they look a lot like toaster waffles. And I love a toaster waffle.
I tend to think Belgian waffles are nice for a relaxed, cozy brunch situation over the weekend. The round mini waffles are great for snacks, and they also lend themselves easily to meal prepping and freezing in batches.
This vegan pumpkin waffle recipe will yield about 6 medium-sized, round, Belgian-style waffles or about 12 mini waffles.
My guess is that it will yield about 6-8 square waffles, if you have a square waffle maker.
Choose the waffle apparatus that suits your space constraints and budget, of course. No matter what, when it’s time to cook the waffles, you should follow the individual waffle maker’s instructions about temperature and cooking time.
How to make vegan pumpkin waffles
Once your waffle maker has been pulled out of whatever drawer or cabinet or nook or cranny you store it in, here’s what you’ll do.
Step 1: Preheat the waffle maker
Unless you prepare your batter in advance (more on that below), you’ll start by pre-heating the waffle maker. I recommend a high cook setting for this recipe.
Step 2: Prepare the vegan buttermilk (unless you’ve made it in advance)
One of the wet ingredients that’s needed to make these waffles is my homemade vegan buttermilk.
It’s a simple combination of non-dairy milk mixed with something acidic (lemon juice or apple cider vinegar).
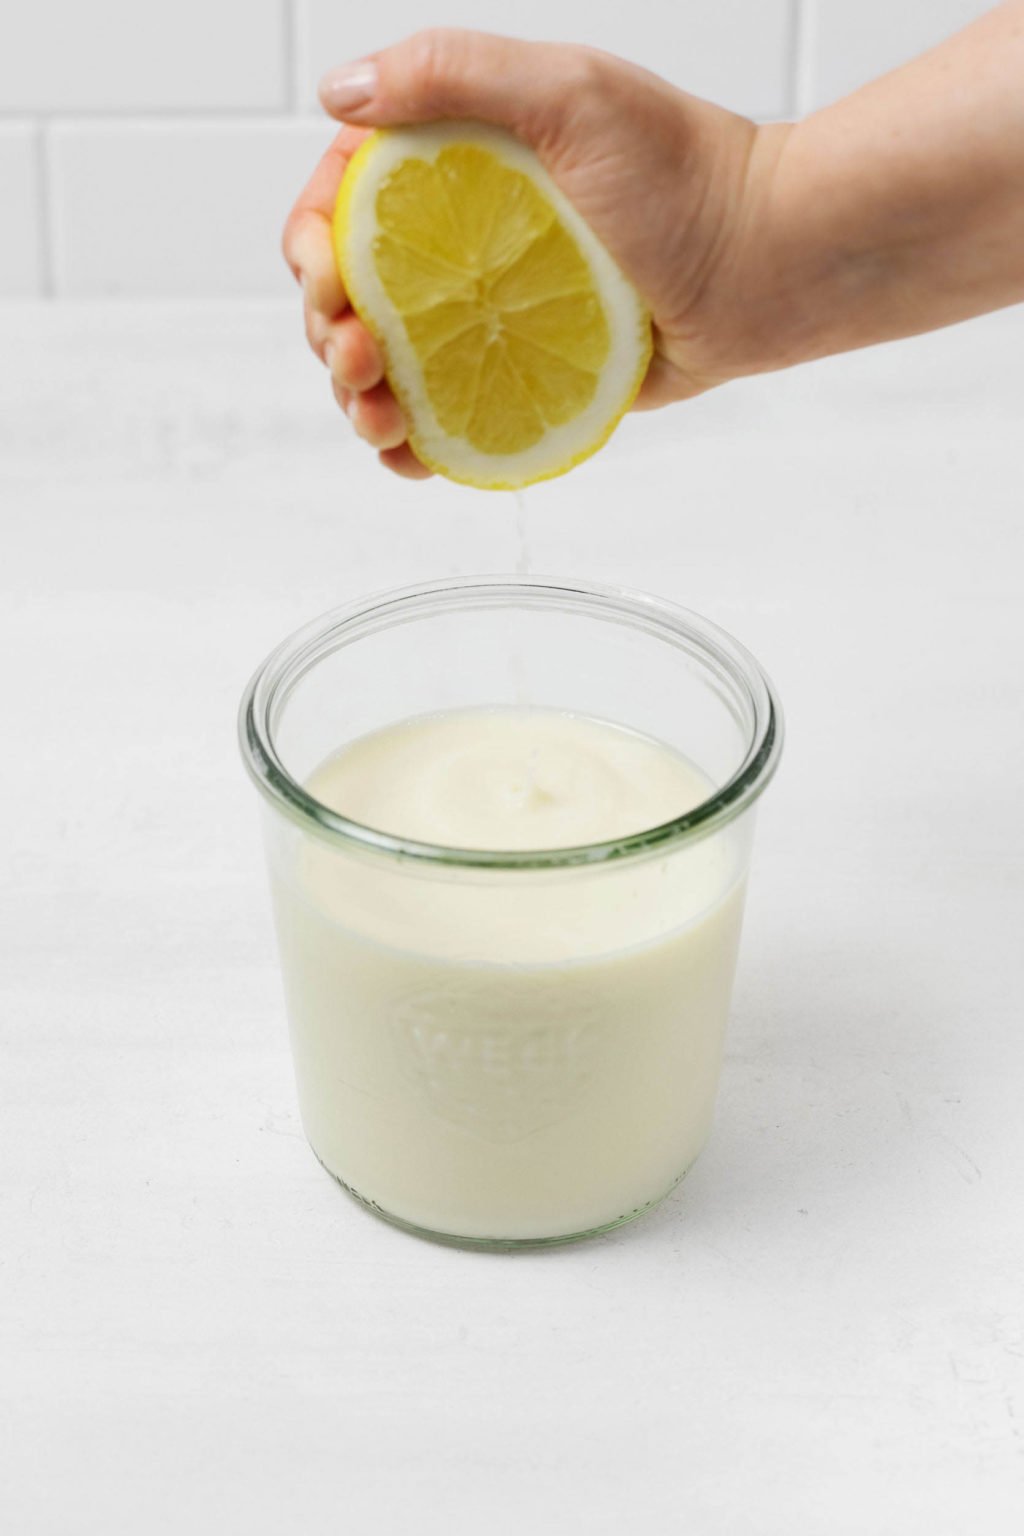
The way the buttermilk works is that it’s really a ratio of ingredients: one tablespoon of lemon juice (or vinegar) for every cup of non-dairy milk. You can scale the recipe up or down to create as much “buttermilk” as you need.
The vegan pumpkin waffles require 1 1/4 cups of buttermilk. So, that’s 1 1/4 cups of your favorite, unsweetened non-dairy milk (I usually use soy) with 1 1/4 tablespoons of lemon juice (we can call that a heaping tablespoon).
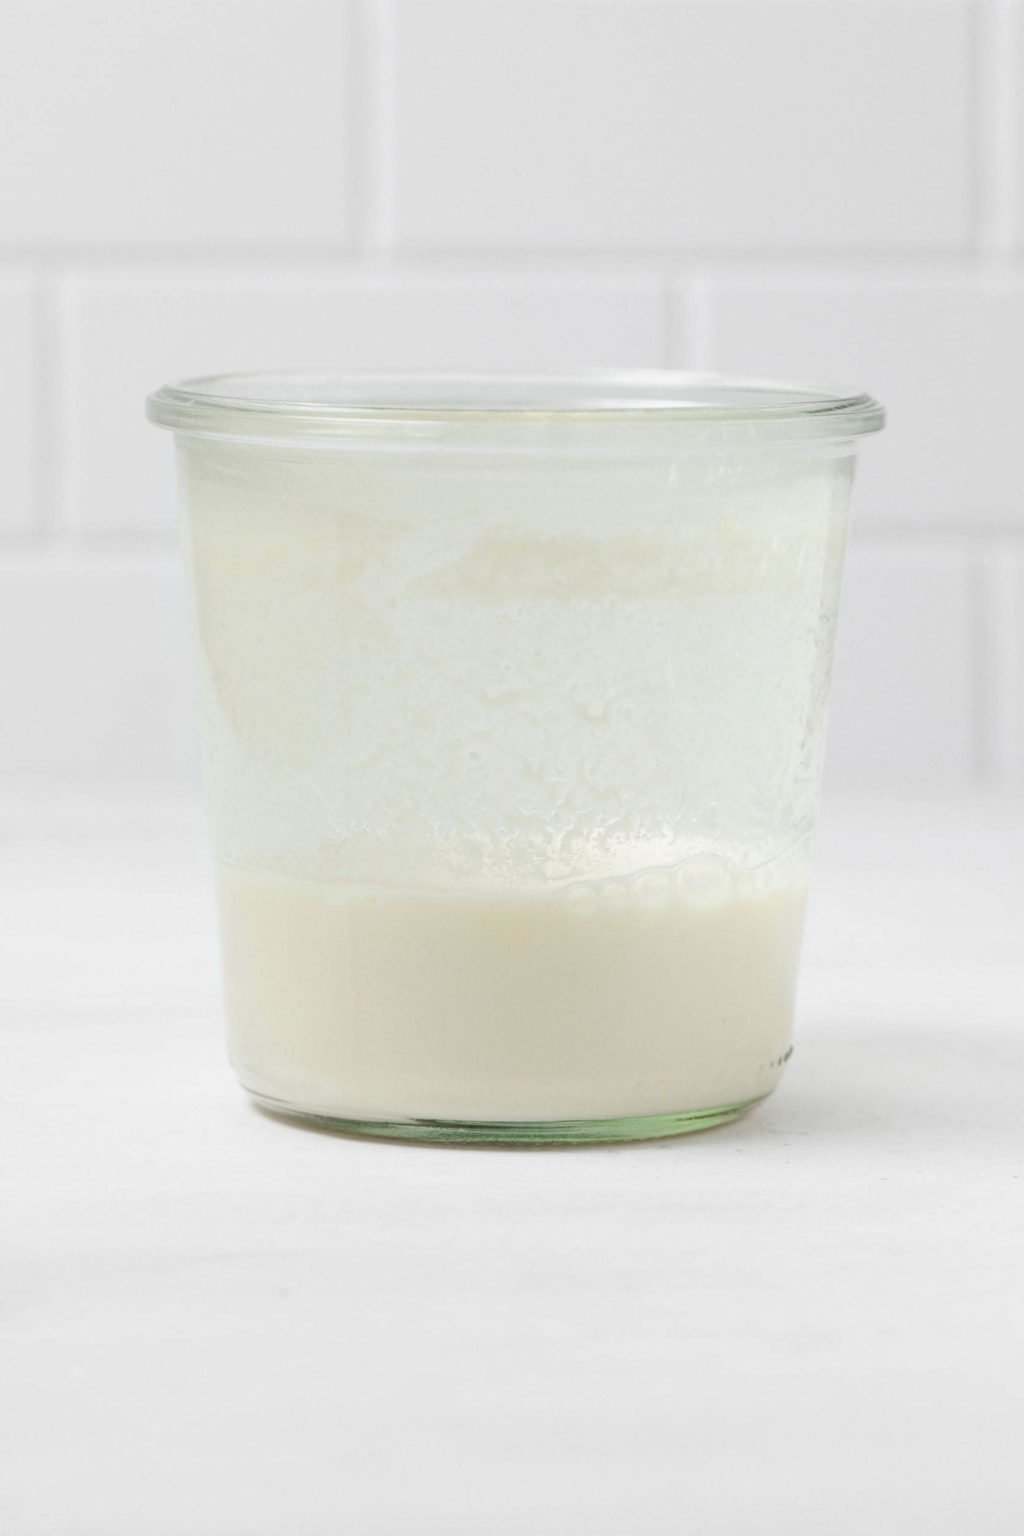
Why buttermilk, rather than regular plant-based milk?
The answer is that the acid in the buttermilk helps to activate the baking powder and soda that creates leavening for the waffles.
Acid + leavening agent = a super fluffy waffle texture.
If you like, you can make the buttermilk ahead of time. It will keep for up to three days in an airtight container in the fridge. I usually store mine in a large mason jar.
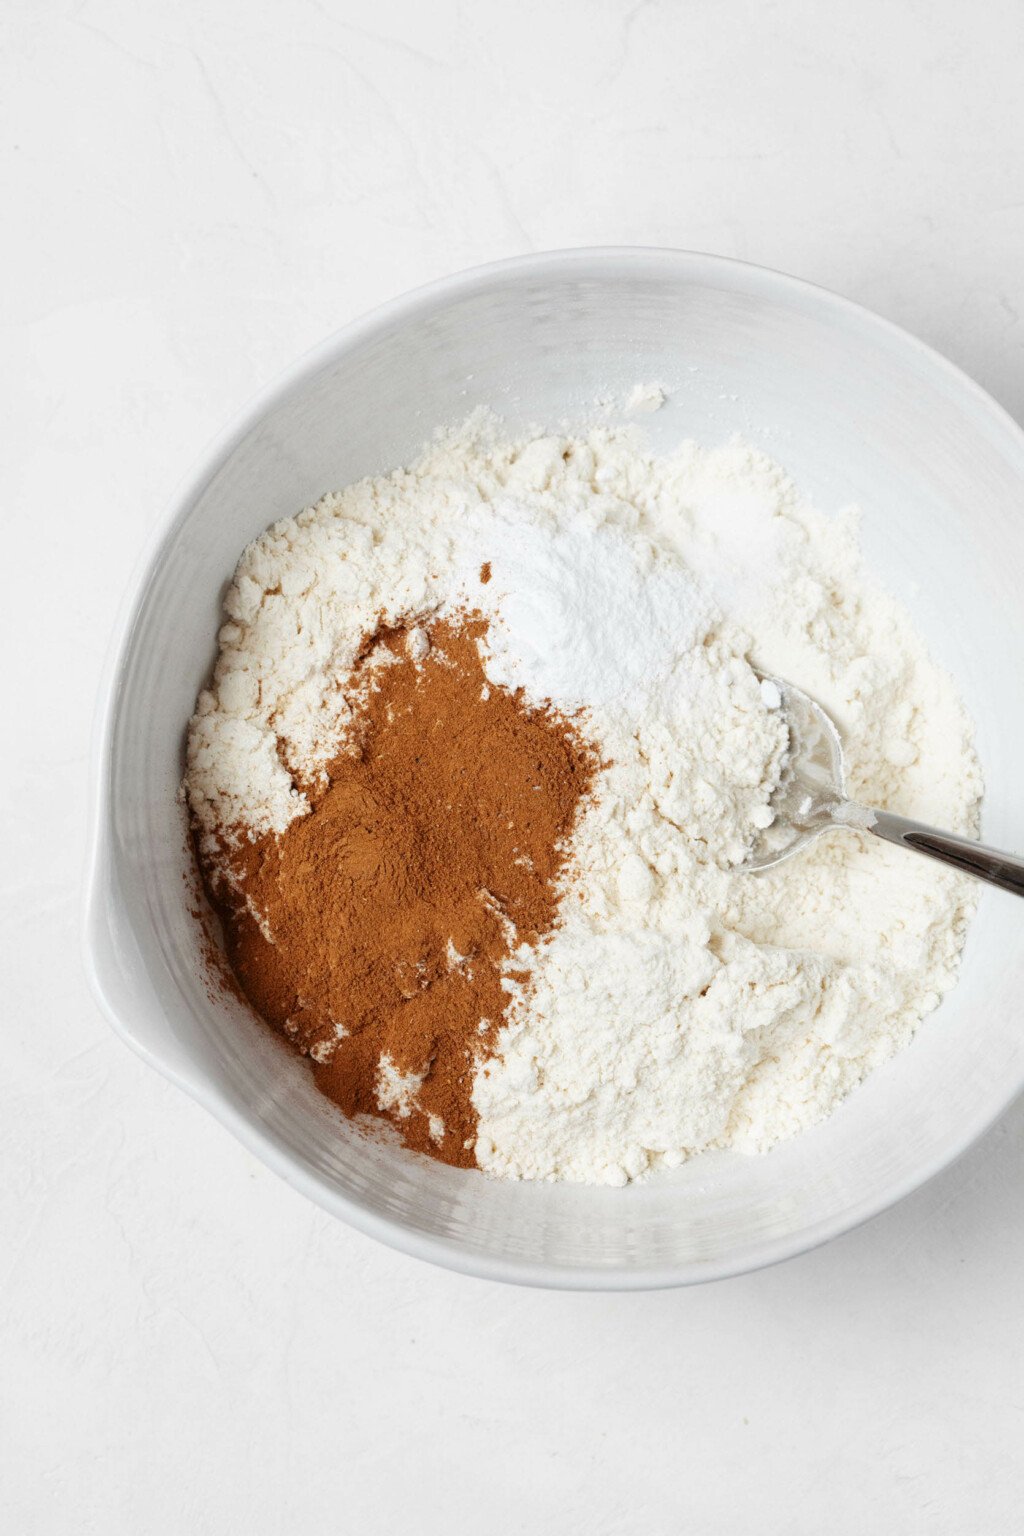
Step 3: Whisk together the dry ingredients
Dry ingredients for this recipe are unbleached, all-purpose flour, baking powder and soda, pumpkin pie spice (I offer a homemade mix of spices that you can substitute for the pumpkin pie spice—I use it so often that I keep it in my pantry), and salt.
Step 4: Mix the wet ingredients
Wet ingredients here will include the prepared buttermilk, pumpkin purée, avocado oil, and light or dark brown sugar.
You have some options with modifying this mixture.
First, you can substitute another neutral, high smoke point oil, such as grapeseed or canola, for the avocado oil.
You can also use coconut sugar or maple syrup in place of the light or dark brown sugar. Light or dark brown sugar are inexpensive, and they add nice moisture to recipes. But I also really like the “burnt sugar” flavor of coconut sugar.
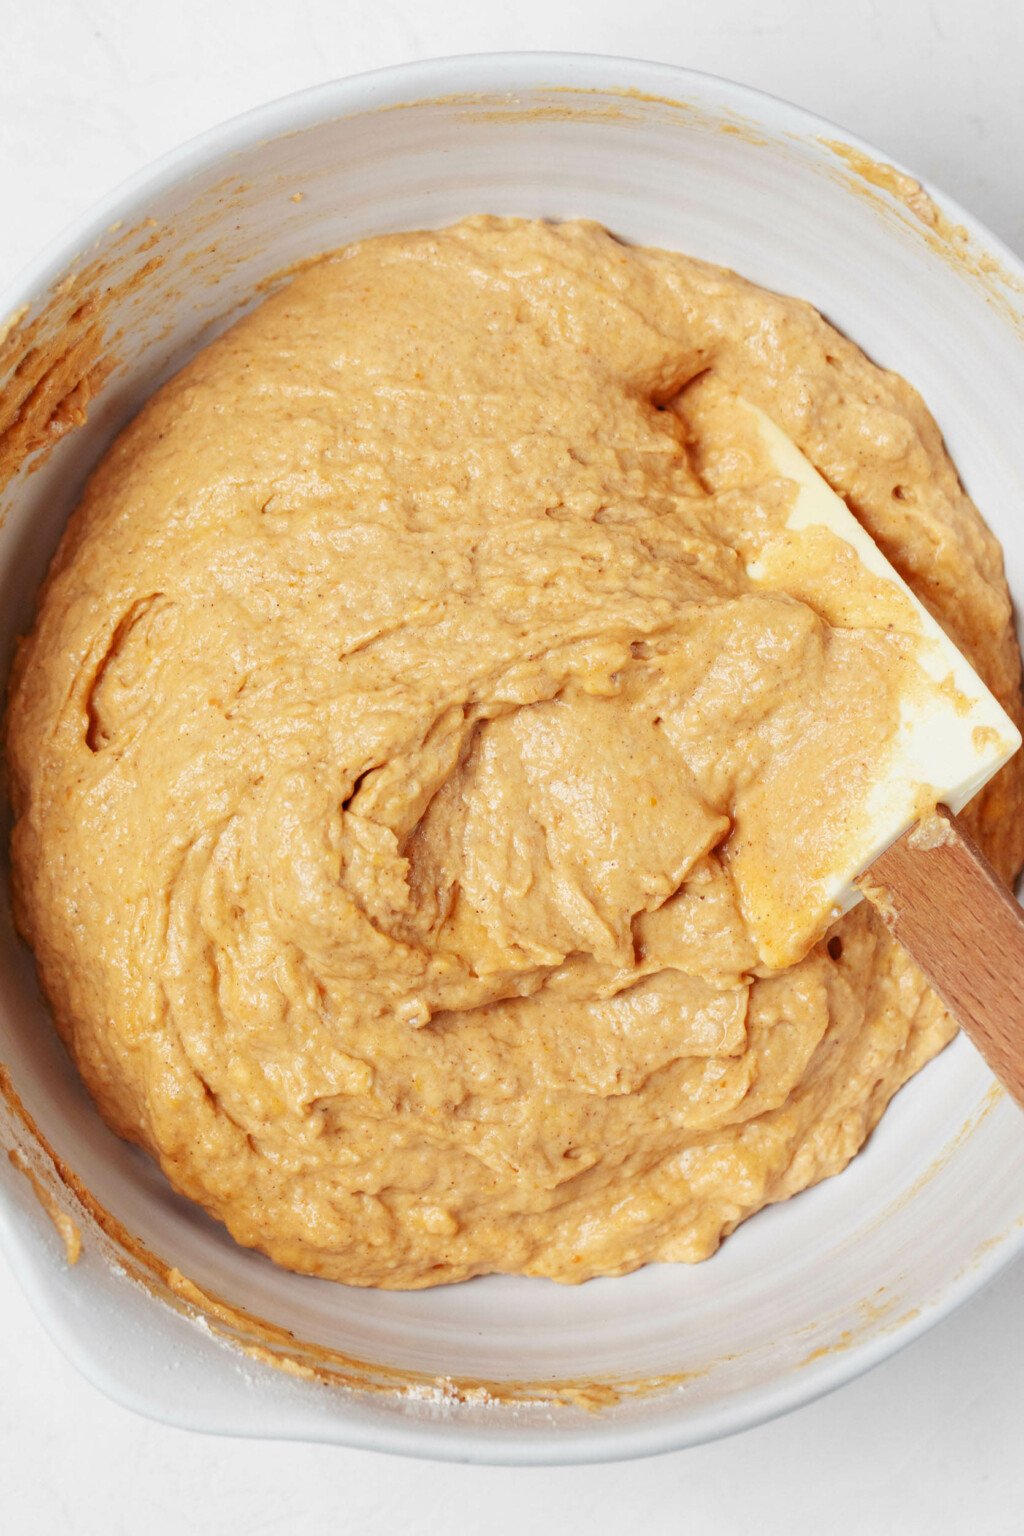
Step 5: Add wet ingredients to dry and mix
In this step, you’ll begin by adding your wet mixture to the whisked flour mixture.
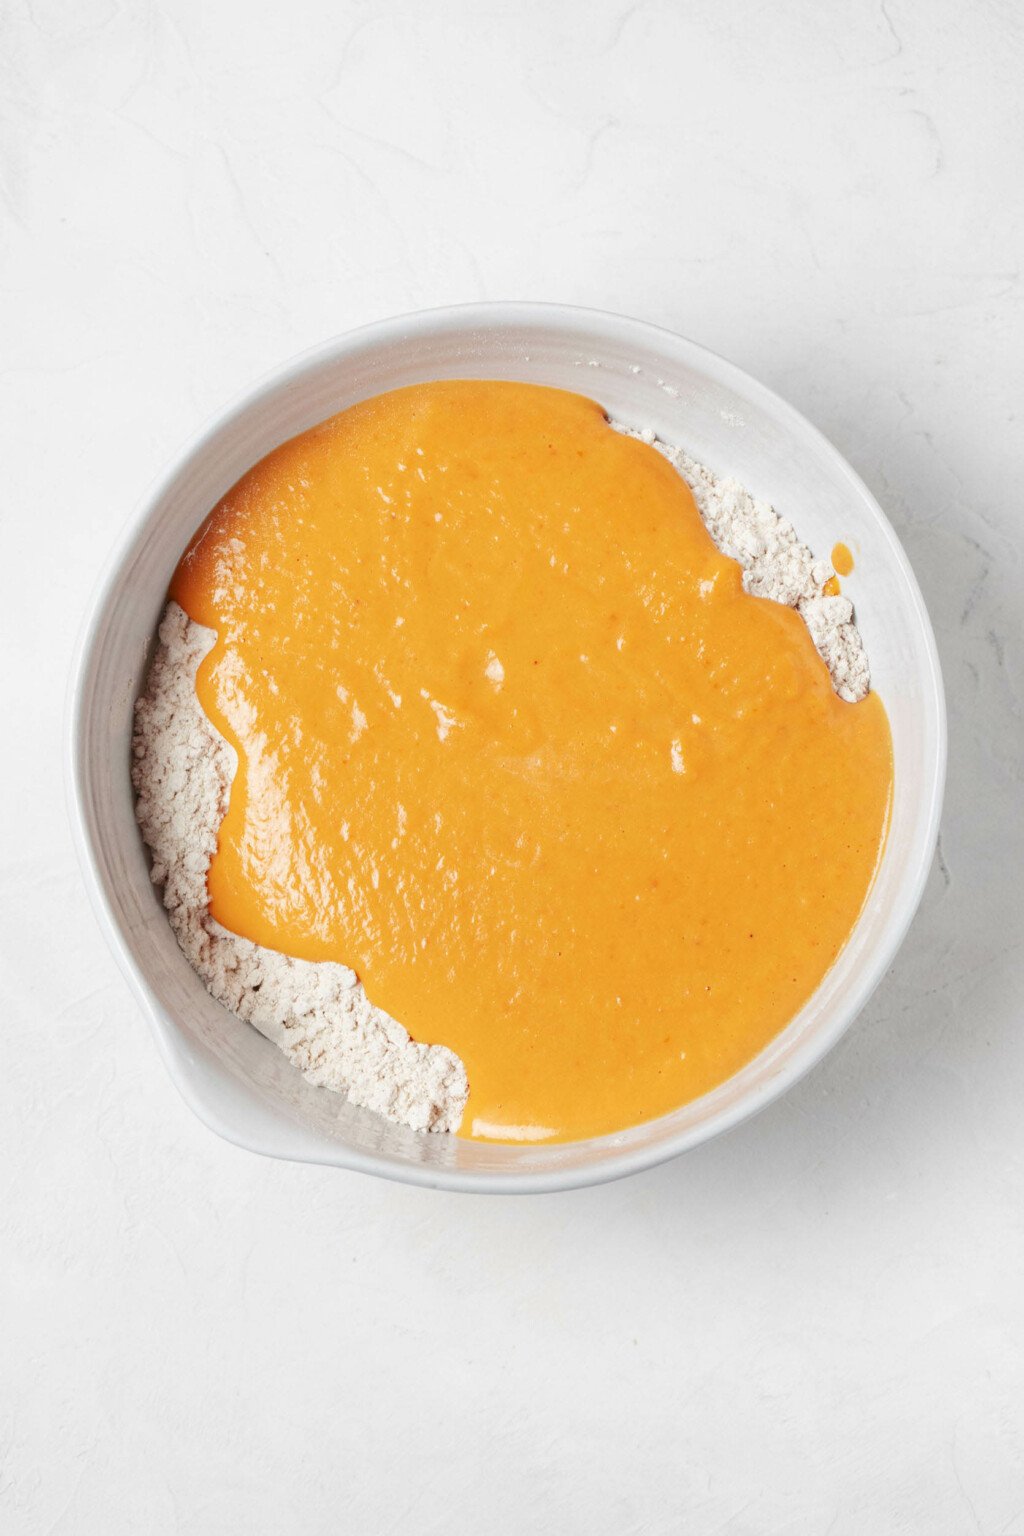
Mix the wet and dry ingredients together with a spatula. Your aim is to have an evenly mixed batter, with no visible streaks of flour. However, some little lumps in the batter are actually a good thing.
Step 6: Make the waffles
Next, you’ll transfer the waffle batter to whatever waffle maker you’re using.
For my Belgian waffle maker, I do this by the 2/3 cup / 180ml. For my little Dash Mini Maker, I use a 1/4 cup / 60ml measure.
Cook the batter according to the maker’s instructions. When the iron indicates that the waffle is ready, remove it from the iron.
Keep repeating this process until you’ve finished the batter; you should get 5-6 larger waffles or 10-12 small ones.
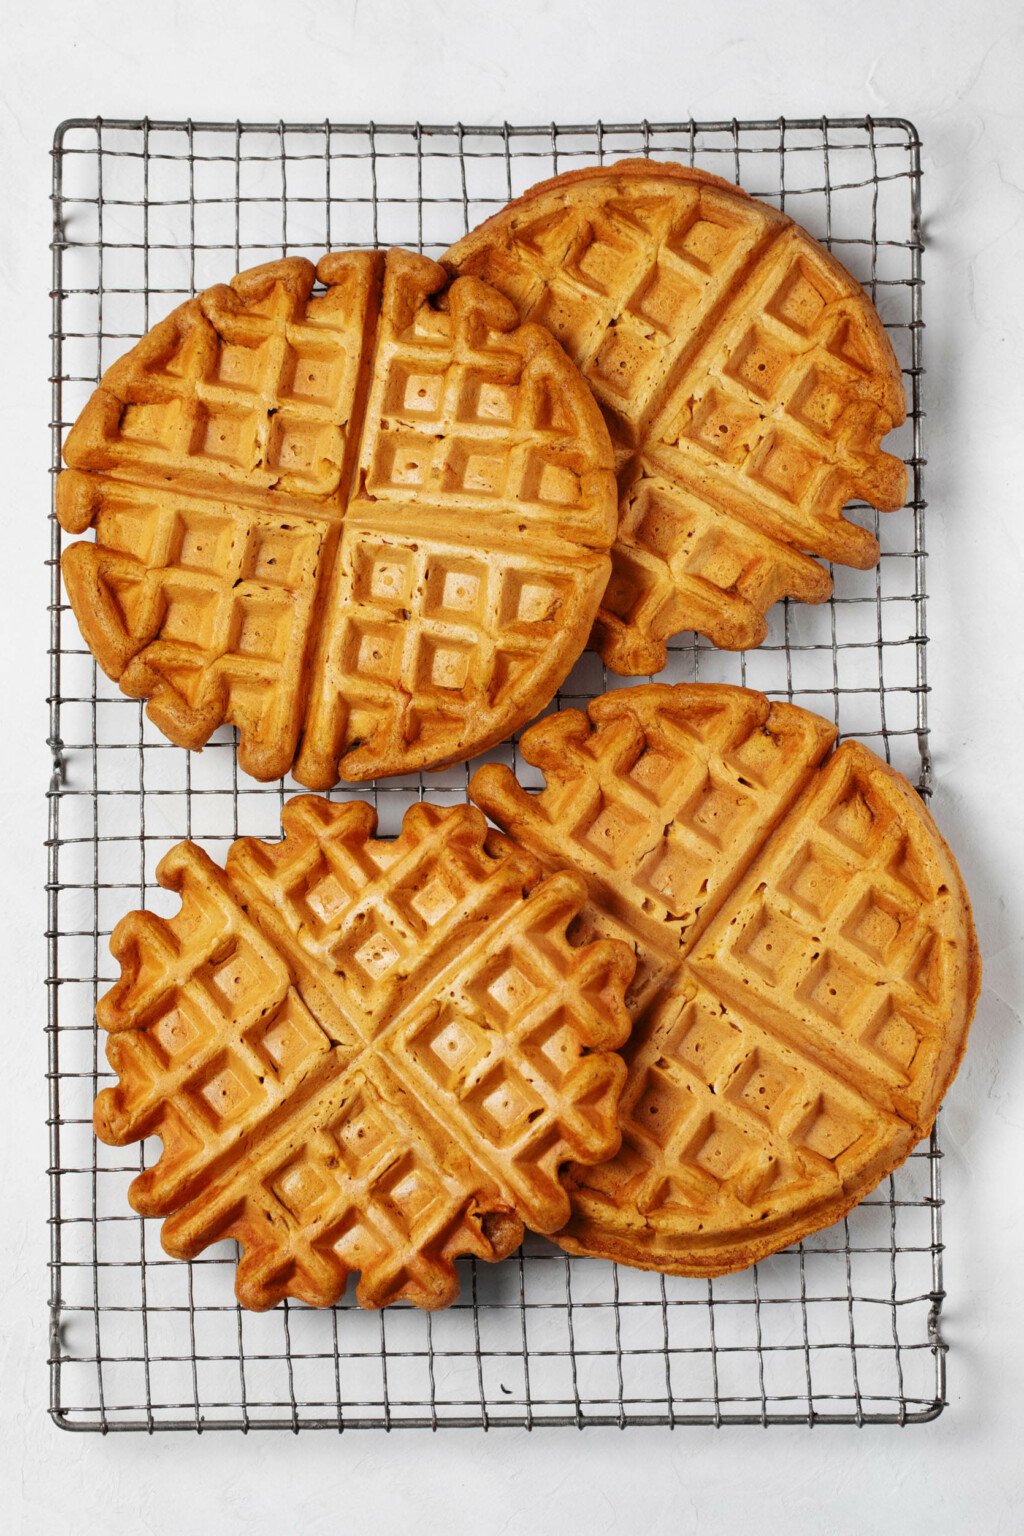
When I make waffles at home, I hold the finished waffles on a wire cooling rack while I use up all of the batter and complete my batch.
If you feel strongly about keeping the waffles warm and crisp, you can also hold them on a baking sheet in a 325°F / 165°C oven while you work.
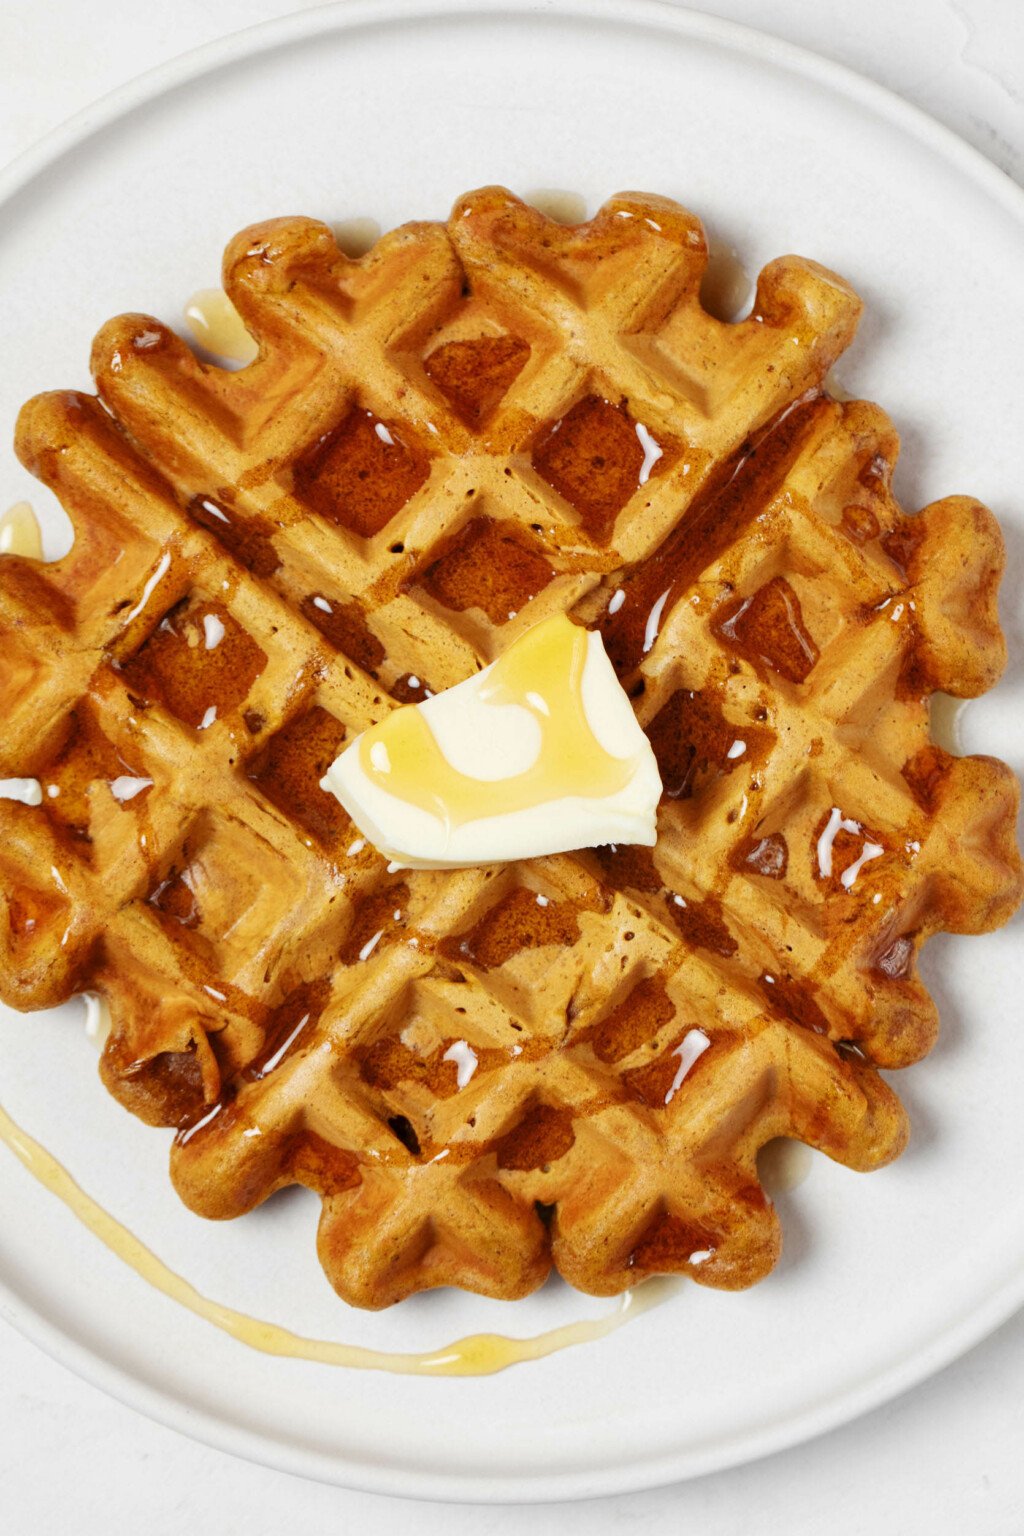
Step 7: Serve
When the waffles have finished cooking, it’s time to enjoy them.
You can use your favorite toppings here. Some of the toppings that I like include:
- Vegan butter
- Warm maple syrup
- Toasted pepitas
- Plain or vanilla vegan yogurt
- Nut butter drizzle and chopped apple or pear
How to meal prep and store your pumpkin waffles
You don’t have to eat the waffles the moment you’ve finished making them, of course.
If you’re making vegan meal prep breakfasts for the week, you can transfer the waffles to a single airtight container or portion them into individual containers.
Refrigerate the waffles overnight, or transfer them to the freezer and freeze for up to 6 weeks.
Reheating waffles
When you’re ready to eat the waffles that you’ve stored, pull them out of the freezer and pop them in the fridge before you go to bed.
In the morning, you can heat the pumpkin waffles up in a standing toaster until they’re hot and re-crisped.
You can also air fry them at 400°F / 200°C for 5-6 minutes, or until they’re as warm and crisp on the outside as you like.
If you forget to defrost the waffles in the fridge overnight, honestly, it won’t matter too much. (This happens to me all the time.) You may simply need to heat them a bit longer in the toaster or air fryer in order for them to be warmed through.
Can I turn the waffles into pancakes instead?
Don’t have a waffle maker? Never fear. Whether you don’t have a waffle maker at home, or you’re more of a pancake person than a waffle person, this recipe can be converted to yield pancakes instead.
Simply add 2-4 tablespoons of additional non-dairy milk to the batter to loosen it slightly. Then, follow standard pancake-making methods to create pancakes.
The batter should yield about 12 pancakes, depending on how large you make them.
Can the waffles me made gluten-free?
Absolutely. To make these waffles gluten-free, use your favorite, gluten-free flour blend in place of unbleached, all-purpose flour.
I really like the King Arthur Measure for Measure flour.
Accompaniments for a balanced meal
One of the questions that clients often ask me is how to turn sweet breakfasts into a meal.
Most of my nutrition clients are working with me to build more balanced meals.
I coach them in the principle that I wrote about in Power Plates, which is to make sure each plate of food has a solid protein source, a source of healthful fat, and a source of energy-giving complex carbs.
Quick breads (like pumpkin bread or banana bread), pancakes, and waffles usually supply the carbs and sometimes the fat, but they don’t always deliver easily on protein.
No problem. To make this tasty waffle meal more well-rounded, you could add any of these quick, easy plant protein sources:
- A scoop of tofu scramble
- A serving of soy yogurt
- A cup of chia pudding
- A cup of soy milk, hemp milk, or pea milk (such as the Ripple brand)
- A couple tablespoons peanut or almond butter
- A serving of ready-to-drink vegan protein shake (such as Koia or Owyn)
- A cup of homemade smoothie with plant protein powder
- A homemade, vegan liquid egg, folded
- A handful of almonds
I also like to encourage clients to get some fruits or veggies (or both) with each meal, breakfast, lunch, and dinner.
Fresh fruit, such as apple or berries, will add phytonutrients and micronutrients to your vegan pumpkin waffle breakfast.
More vegan pumpkin recipes
Do you become as excited about pumpkin recipes as I do?
Excellent. I have so many that I love and am excited to share:
- Classic vegan pumpkin pie
- Vegan vanilla pumpkin overnight oats
- Classic vegan pumpkin bread
- Pumpkin oat scones
- Pumpkin cranberry walnut muffins
- Pumpkin skillet cornbread
- Pumpkin chocolate marble loaf
- Pumpkin carrot cake
- Pumpkin chocolate chip baked oatmeal
- Pumpkin gingerbread spice muffins
And in the meantime, here are the waffles that I can’t get enough of lately.

The Best Fluffy Vegan Pumpkin Waffles
Author –Yields: 4 servings
Ingredients
- 1 1/4 cups vegan buttermilk (this is 1 1/4 cups unsweetened non-dairy milk mixed with 1 heaping tablespoon freshly squeezed lemon juice or apple cider vinegar)
- 2 cups unbleached, all-purpose flour (240g)
- 1 1/2 teaspoons baking powder
- 1/2 teaspoon baking soda
- 1 1/2 teaspoons pumpkin pie spice (substitute 1/2 teaspoon ground cinnamon, 1/2 teaspoon ground ginger, 1/4 teaspoon cloves, and 1/4 teaspoon allspice)
- 1/4 teaspoon salt
- 1 cup pumpkin purée (240g)
- 1 1/2 tablespoons avocado oil
- 3 tablespoons light or dark brown sugar
Instructions
- Preheat your waffle iron according to the maker’s instructions.
- If you haven't made the vegan buttermilk in advance, prepare it now.
- In a large mixing bowl, whisk together the flour, baking powder and soda, pumpkin pie spice (or spice blend), and salt.
- In a medium mixing bowl, stir together the vegan buttermilk, pumpkin purée, oil, and sugar.
- Make a well in the center of the dry ingredients. Add the wet ingredients. Stir together until no streaks of flour are visible in the batter (some small lumps of flour are fine).
- Transfer the waffle batter to your prepared waffle iron. Cook according to the maker’s instructions. The amount of batter you need for your waffles may vary based on the manufacturer and shape of your waffle iron. I use a 2/3 cup / 180ml measure for larger waffles and a 1/4 cup / 60ml measure for small/mini waffles. When the iron indicates that the waffle is ready, remove it from the iron. Keep repeating until you've finished the batter; you should get 5-6 large waffles or 10-12 small waffles.
- Serve the waffles right away with toppings of choice, or meal prep for the week by transferring the waffles to a single airtight container or portioning them into individual containers. Store in the fridge overnight or in the freezer for up to 6 weeks.
- Reheat the waffles in a standing toaster, until the waffles are warmed through and crisp. Alternatively, you can warm them for 4-8 minutes (4 minutes for un-frozen waffles, 7-8 minutes if the waffles are frozen) at 350°F in an air fryer.
By the way, if you don’t want to have the waffles for breakfast, they’re also such a good snack.
Spread some peanut butter on one of them and add some apple slices for afternoon fuel. Or, you can top one of the waffles with chocolate mini chips for a delicious after-dinner sweet.
No matter what, I hope you’ll love the recipe.
xo
This post may contain affiliate links. If you use these links to buy something I may earn a commission. Visit my privacy policy to learn more.
Categories: Pancakes & Waffles,
Quickbreads
Dietary Preferences: Tree Nut Free, Vegan
Recipe Features: Meal Prep
Dietary Preferences: Tree Nut Free, Vegan
Recipe Features: Meal Prep


Leave a Comment
Great flavor! The waffles did stick to my waffle maker (which is pretty well-seasoned at 40+ years old) so I’ll make sure to butter the grates better next time. Question for Gena – I have The Vegan Week. Which waffle recipe do you prefer? Thanks!!
This recipe sounds delicious.
What can I do to make these waffles without the added oil?
Hi Sue! Try replacing the oil with a tablespoon of tahini or runny almond butter whisked with those wet ingredients. I haven’t tried it, but I have a hunch that’ll work well. If you do give it a shot, let me know how it goes.