May 18, 2023
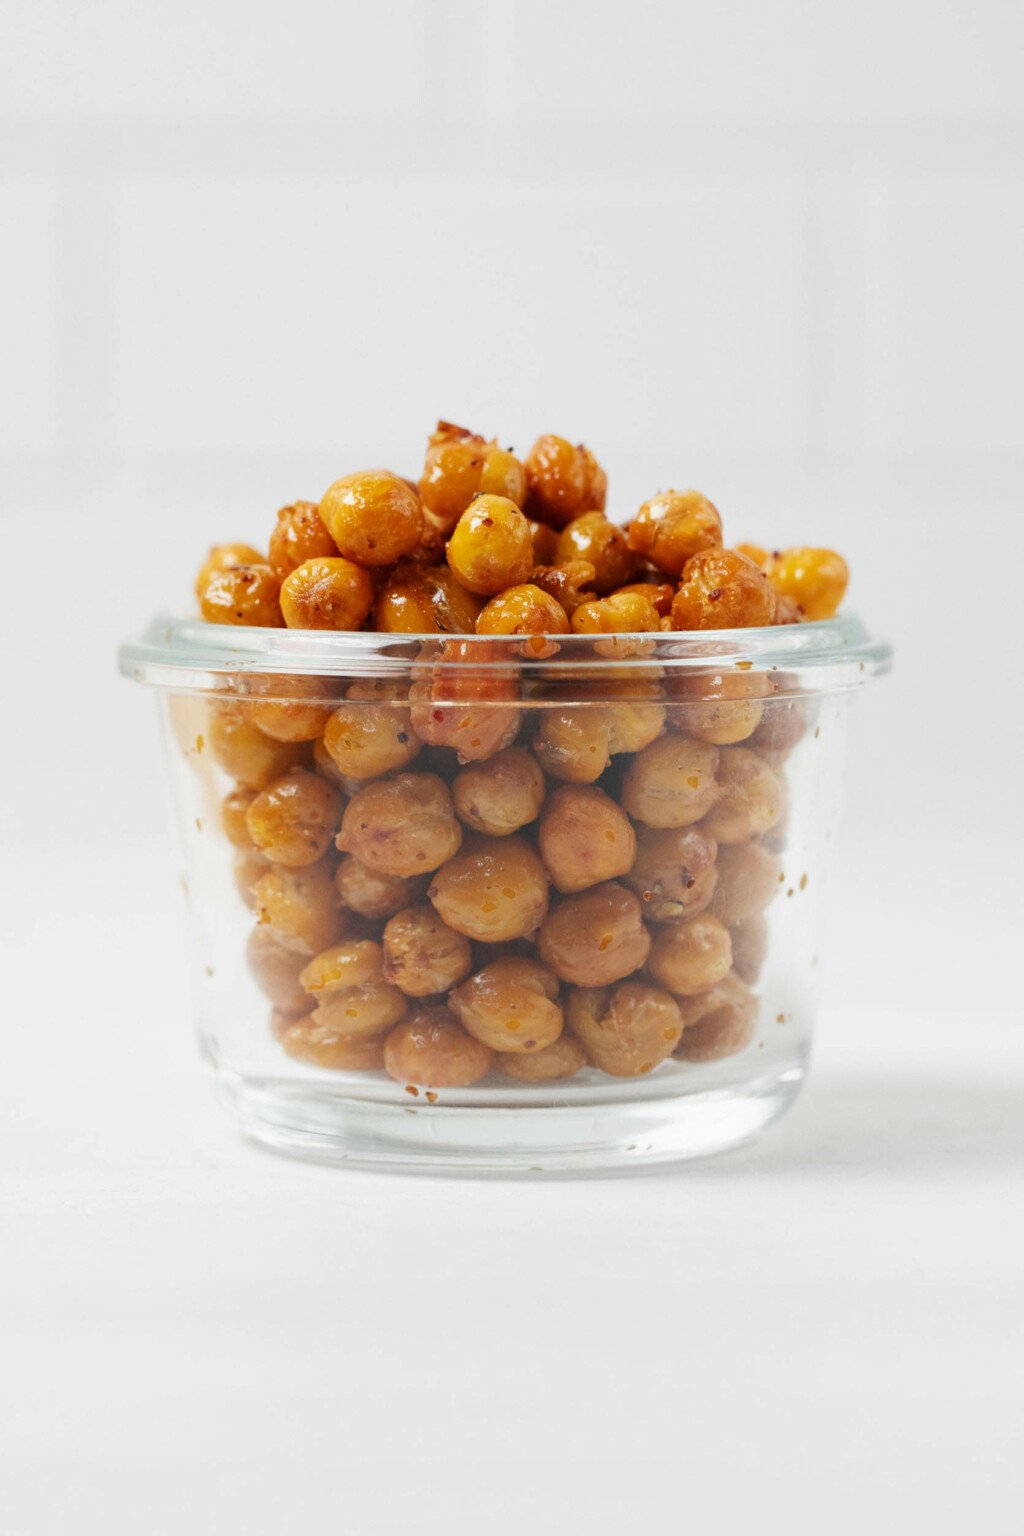
(last updated October 20, 2023) These crispy roasted chickpeas will add crunch, along with plant-powered nutrition, to your salads, bowls, pasta dishes, and more. They’re one of the most versatile and useful vegan proteins to batch cook, and they’re so easy to make!

The first chapter of The Vegan Week is titled simply, “proteins.”
Here’s what I have to say about the recipes in that chapter:
As a new vegan, I was quick to dismiss concerns about eating enough protein. In fact, I would roll my eyes when asked the question that all vegans dread: “Where do you get your protein?”
Then I became a dietitian. As I deepened my education and training, I was forced to reevaluate some of my previous assumptions about plant-based nutrition, including my blasé attitude toward sourcing protein.
Yes, vegans can obtain all the protein they need from plant-based foods. But doing so isn’t necessarily effortless, especially if you’re new to meatless cooking. For this reason, I’ve learned to make plant proteins the backbone of my meals.
This chapter features homemade, everyday vegan proteins, which have been created with my favorite high-protein plant-based foods: legumes, soy foods, and seitan. If you bookmark any chapter in the book, let it be this one.

The Vegan Week
Embrace the joy of eating homemade food every day with the hearty and wholesome recipes in The Vegan Week.
Whether you have three, two, or even just one hour of time to spare, The Vegan Week will show you how to batch cook varied, colorful, and comforting dishes over the weekend.
I feel as strongly about those words now as I did when I wrote them a few years ago.
As a result, I’ve put more effort into sharing simple vegan proteins on my blog this year.
I think it’s about time that I shared my favorite, crispy roasted chickpeas.
What are roasted chickpeas?
You probably have a sense of what chickpeas, also known as garbanzo beans, are.
What are roasted chickpeas? Why bother roasting them in the first place?
Roasted chickpeas are cooked chickpeas that have been seasoned and roasted in the oven.
Why? Because roasting helps to impart both flavor and an irresistable crunch.
If you open a can of chickpeas, or you cook dry chickpeas from scratch, you’ll have tender beans on your hands.
Depending on what brand of canned or dry chickpeas you use, the chickpeas have a texture that’s quite creamy indeed.
A lot of the time, I like chickpeas that are plump and creamy-textured; they make awesome hummus, in particular.
The rest of the time, I crave crunch. Croutons can scratch that itch, but so can crispy roasted chickpeas. And the chickpeas have some unique health benefits to offer.
Chickpea nutrition
Here’s a sampling of the nutrients that you’ll get from a serving of chickpeas:
- Dietary fiber, which contributes to satiety after meals and is associated with digestive health.
- Protein, also associated with satiety, as well as immune function and maintenance of healthy muscle mass.
- Iron, which is important for energy and immunity. There’s about 10% of the RDA in a half-cup serving of cooked chickpeas.
- Folate, which plays an important role in red blood cell production and healthy fetal development in pregnancy.
- Zinc, a nutrient that’s important for strong immune function.
- Complex carbohydrates, a source of energy and fuel for our busy lives.
For more on the nutrition of chickpeas, as well as a roundup of some of my all-time favorite chickpea recipes, you can check out this post!
How to make crispy roasted chickpeas
If you’re worried that roasted chickpeas will be a lot of work—far more work than opening up a can—don’t be! They’re actually very easy to make.
Step 1: Drain and rinse your chickpeas
I use canned beans at home. So when I say “drain and rinse,” I’m talking about the process that I undertake each time I work with beans: open a can, drain the beans in a small colander, rinse them under water.
If you like to cook your beans from scratch, you can drain your batch in a bigger colander, then proceed.
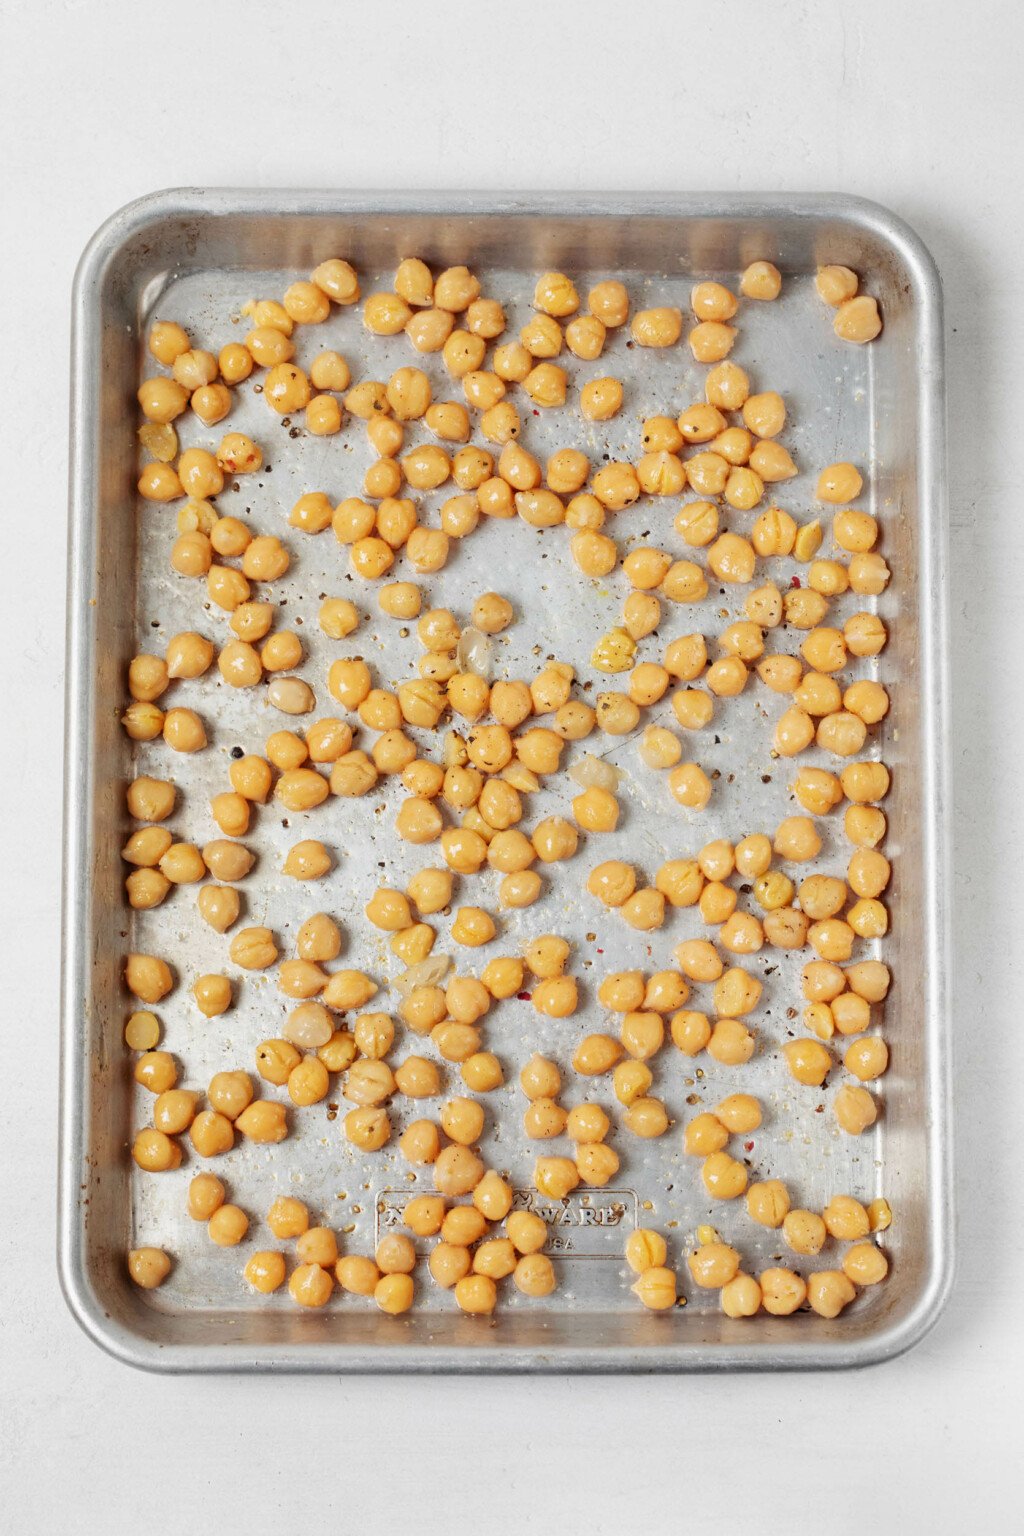
Step 2: Pat your chickpeas dry
This step is important! The more dry your beans are, the more easily the oil they roast with will coat them.
That oil contributes greatly to a crispy texture.
In this step, you’ll transfer the drained and rinsed chickpeas to a rimmed baking sheet. Use tea towels, kitchen cloths, or paper towels to pat them dry—as dry as you possibly can.
Be sure that there’s no liquid remaining on the baking sheet once you’re done drying the chickpeas off. If you see some water on the sheet, just wipe it clean with your towel or cloth.
Step 3: Season the chickpeas
The recipe I’m sharing today is for my standard roasted chickpeas.
No frills or fuss: just crispy, slightly salty and peppery chickpeas that will add crunch (and joy) to your plates and bowls.
I do like to use onion salt and garlic powder on my chickpeas. They add some depth of flavor but are as easy to use as standard salt and pepper!
You can substitute a mix of fine salt and onion powder for onion salt, or you can simply use fine salt. Whatever you’ve got.
In addition, you can take the recipe a step further and add other seasonings to the roasted chickpeas.
- Curry powder
- Nutritional yeast
- Cashew parmesan cheese
- Smoked paprika
- Turmeric
- Italian seasoning
- Rosemary
- Cayenne pepper
The above are just a few of the seasonings and spices that you might try.
I recommend trying the crispy roasted chickpea base recipe once, then gradually experimenting with other additions. Figure out what you like, and keep trying new flavor varieties.
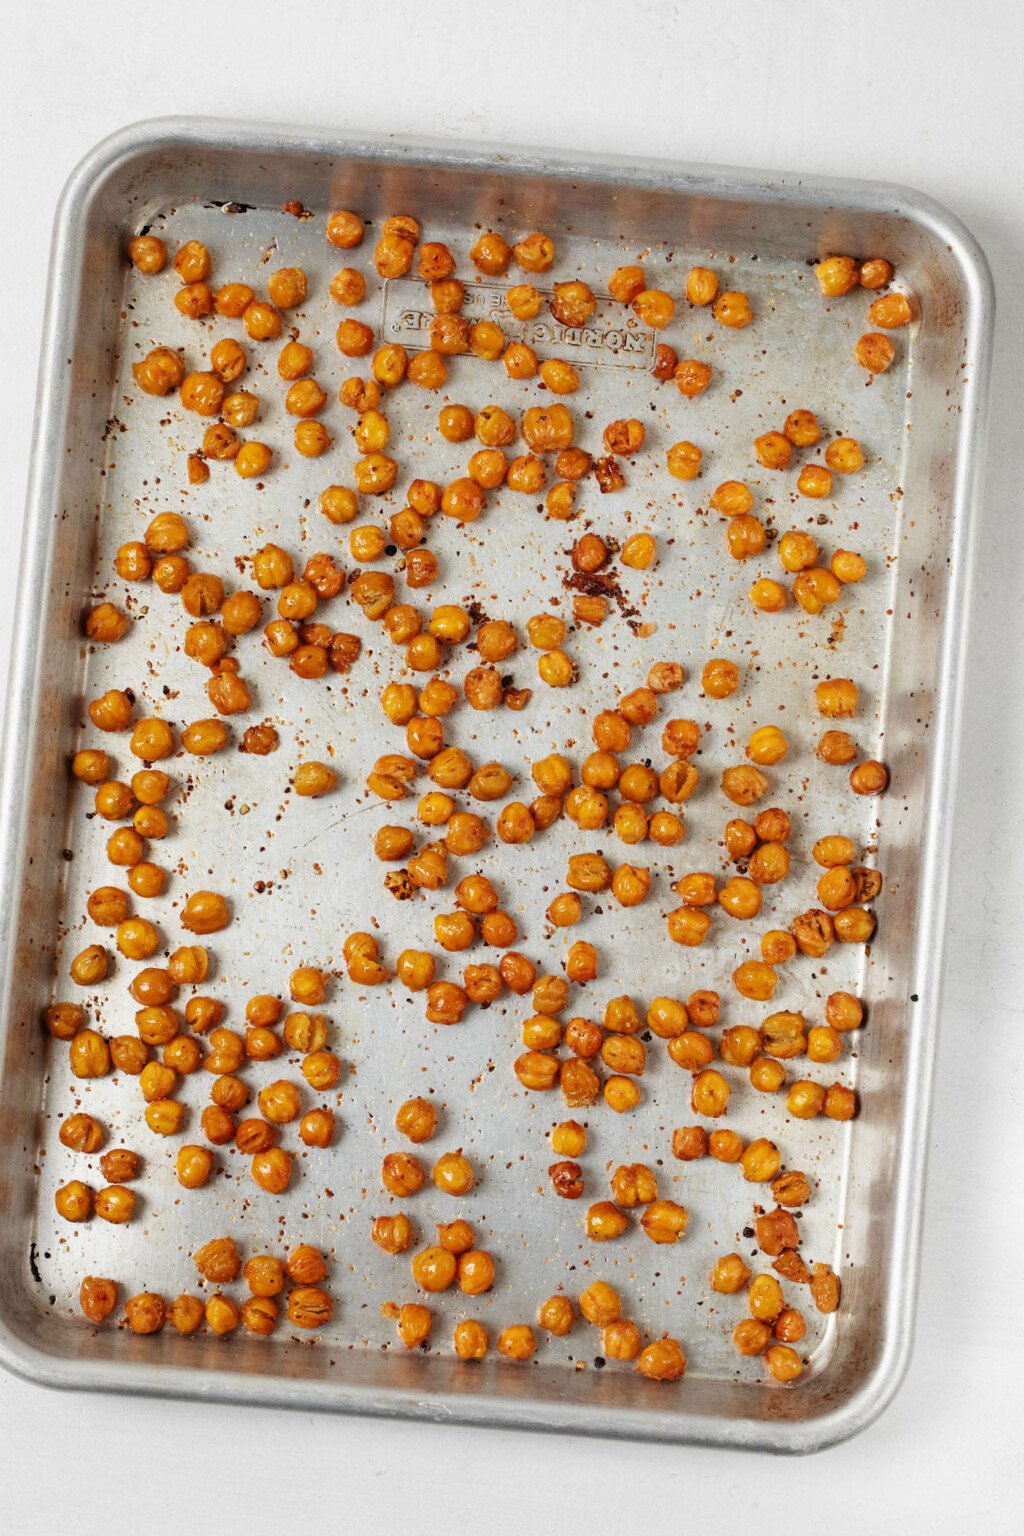
Step 4: Roast the chickpeas
Once you’ve seasoned the chickpeas well, it’s time to roast them: 25-35 minutes in a 400°F/200°C oven.
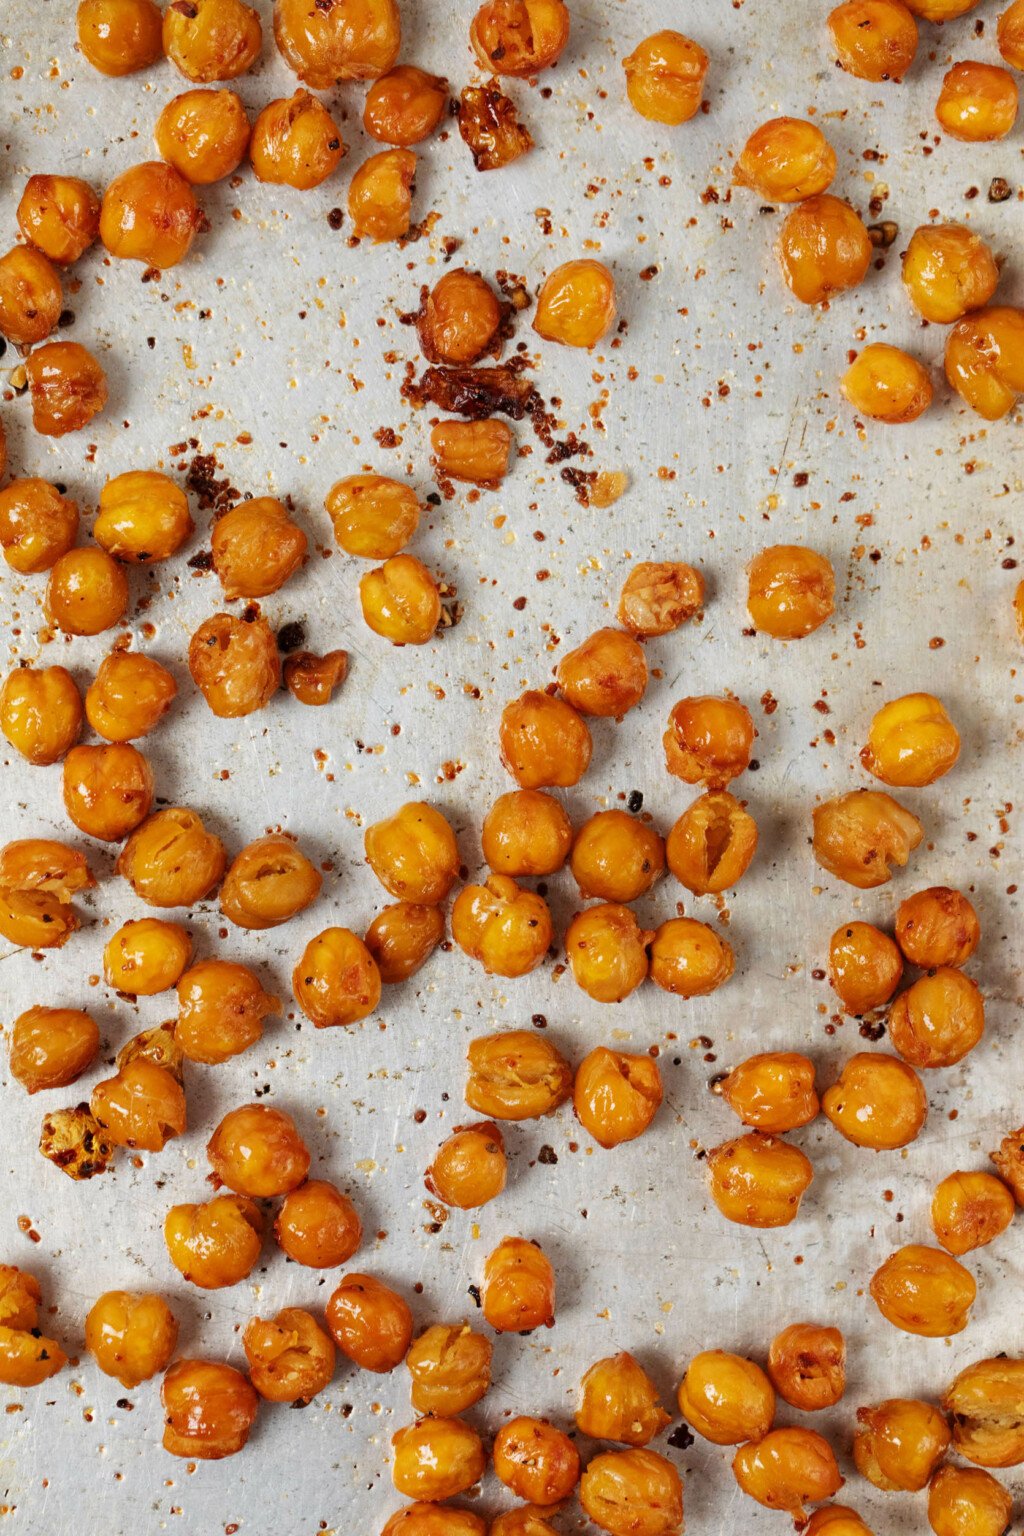
You’ll know the chickpeas are ready when they’re a deep golden brown and very crispy.
Stir the chickpeas once on the sheet halfway through baking, just to ensure that they crisp up evenly.
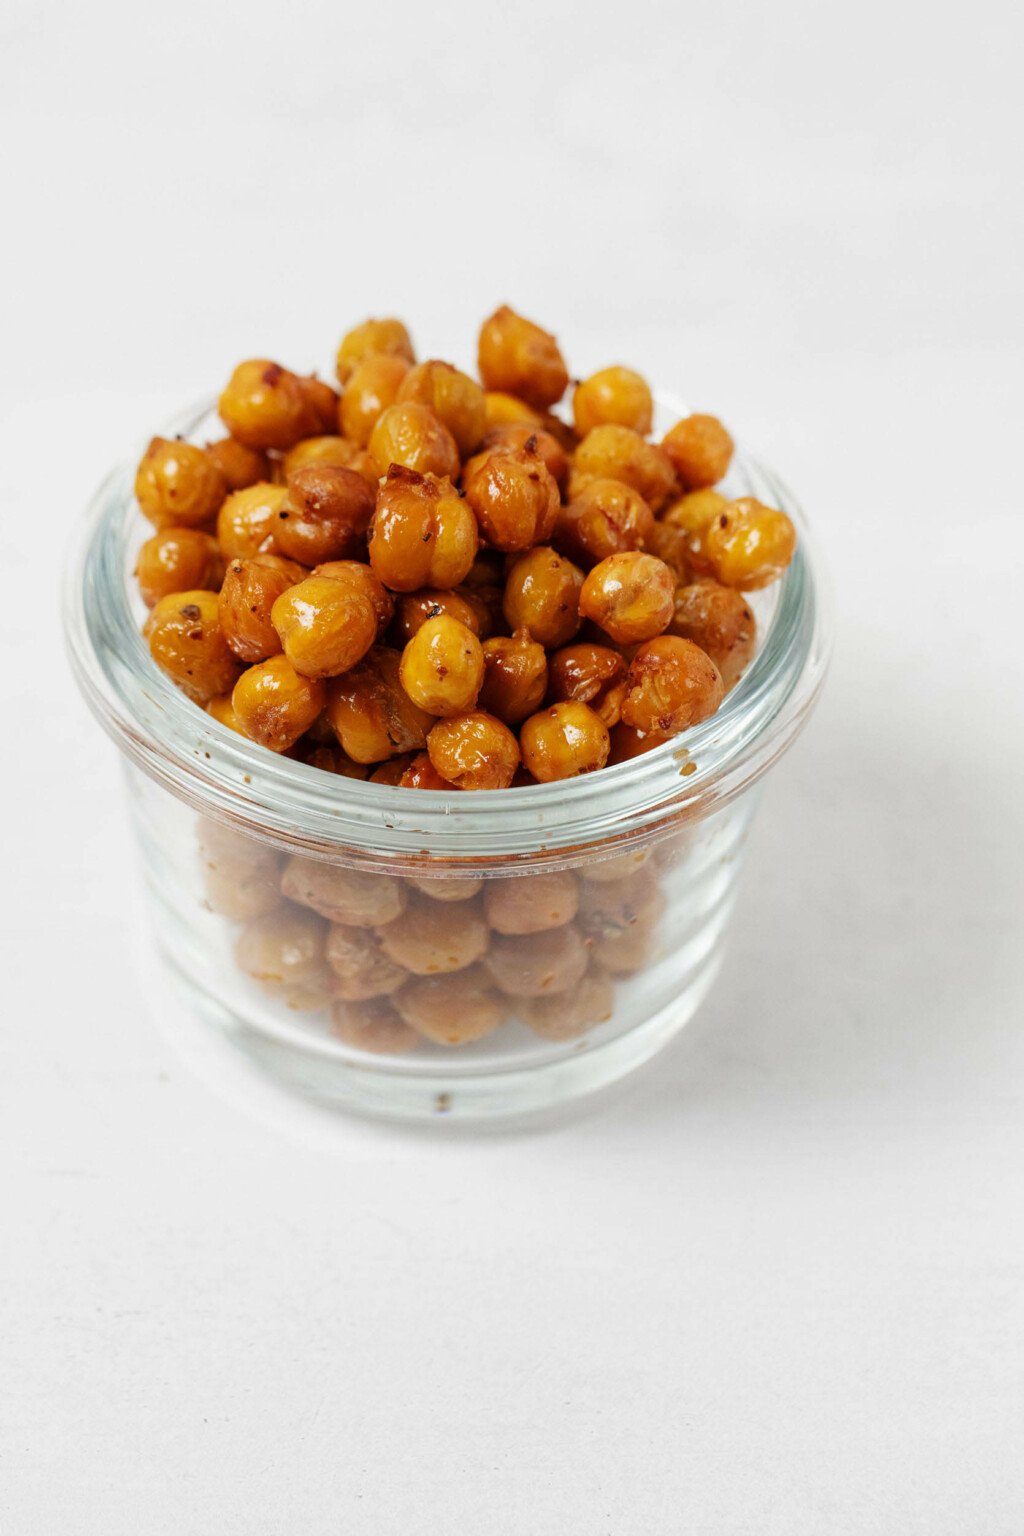
Step 5: Store the chickpeas
Storing the chickpeas is pretty straightforward. They’ll keep in an airtight container (I usually use a mason jar) for 3 days at room temperature or 5 days in the fridge.
The roasted chickpeas will retain their crispy texture more if you store them at room temperature. No matter what, though, you can re-crisp them before serving.
Do do that, transfer them back to a baking sheet. Reheat them in a 300°F / 150°C oven for about 15 minutes.
Tips & tricks of the trade
Basically, I think there are three tips that really help to make the roasted chickpeas especially crispy.
Tip #1: Pat the chickpeas very dry
The more water you can remove from the chickpeas, the more they’ll crisp up in the oven. Have a heavy hand when patting with your kitchen cloth or paper towel.
Tip #2: Just enough oil
Oil (I use avocado oil) will help the chickpeas to take on that delightfully crispy texture. Too much oil will have the effect of frying them, and they might become greasy.
I find that about 1 1/2 tablespoons for the batch of crispy roasted chickpeas is perfect.
Tip #3: Don’t line your baking sheet
I often line my baking sheets with foil or parchment to help make cleanup easy and prevent sticking.
In the case of this recipe, however, a lined baking sheet will detract from crispy texture.
I recommend using an unlined baking sheet here. A nonstick sheet is great for painless cleanup after cooking, but aluminum or steel will work, too.
What should I do with my crispy roasted chickpeas?
Oh, there are so many possibilities!
I have some recipes on this blog that specifically call for roasted chickpeas. Here’s a sampling:
- Fattoush-style “nachos” with za’atar roasted chickpeas
- Carrot, turmeric, and ginger soup with cumin-roasted chickpeas
- Quinoa chickpea Caesar salad
- Tandoori-spiced sweet potatoes & chickpeas
- Almonds, roasted chickpeas, and raisins (a favorite snack!)
- Quinoa with roasted tomatoes & chickpeas
- Red lentil butternut soup with kale & roasted chickpeas
- Farro salad with balsamic roasted cauliflower & roasted chickpeas
- Soba noodle, roasted broccoli, and spicy chickpea bowl
- Soft tortillas with creamy kale and toasted chickpeas
But the options don’t end there.
You can transfer your crispy little legumes to a storage container and just snack on them, one handful at a time.
You can also:
- Use crispy roasted chickpeas to top a simple pasta dish
- Add them to pretty much any salad
- Use them in any recipe that calls for croutons (not that I don’t love a crouton, but variety is good)
- Add a small handful to the top of a warm bowl of soup
- Use them as a topping on savory oatmeal
I’m sure there are lots of uses that I’m forgetting—and maybe you can share one or two of yours in the comments—but that’s a good starting point.
In any case, I hope you’ll find lots of things to do with these crispy bits of goodness.
Here’s the recipe.

Crispy Roasted Chickpeas
Author –Yields: 1.5 cups
Ingredients
- 1 1/2 cups cooked chickpeas (240g, or one 15-ounce/425g can)
- 1 tablespoon avocado oil
- 1/2 teaspoon onion salt (substitute 1/2 teaspoon fine salt + 1/4 teaspoon onion powder, or simply substitute 1/2 teaspoon fine salt)
- 1/4 teaspoon garlic powder
- Freshly ground black pepper
Instructions
- Preheat your oven to 400°F/200°C.
- Rinse the chickpeas in a small colander or through a sieve. Drain them well.
- Transfer the chickpeas to a rimmed baking sheet and use tea towels or paper towels to roll them around and pat them as dry as you possibly can. The more dry the chickpeas become, the crispier they'll be. Make sure there's no extra liquid left on the baking sheet once you're done drying the beans; if you see any, use the towels to wipe it off.
- Drizzle the chickpeas with the oil and use your hands or a spoon to coat them evenly. Sprinkle them with the onion salt, garlic powder, and a few turns of black pepper. Mix again.
- Transfer the baking sheet to the oven. Roast the chickpeas, stirring them once halfway through cooking, until they're a deep golden brown and very crispy, 25 to 35 minutes.
- Serve right away, or meal prep for the week by transferring the chickpeas to a single airtight container. Store for 3 days at room temperature (to retain more crispness) or 5 days in the fridge. Enjoy at room temperature or reheat them in a 300°F/150°C oven for about 15 minutes.
By the way, the crispy roasted chickpeas are an excellent component to meal prep. Having one batch of them on hand can enhance and complete a few of your weekly meals, whatever those meals may be.
Really and truly, there’s nothing like a versatile, simple vegan protein.
I know this recipe is a little basic, but there’s something to be said for basics—and I hope this one will be good to you.
xo
This post may contain affiliate links. If you use these links to buy something I may earn a commission. Visit my privacy policy to learn more.
Categories: Recipes,
Side Dishes,
Snacks
Method: Oven
Ingredients: Chickpeas
Dietary Preferences: Gluten Free, Soy Free, Tree Nut Free, Vegan
Recipe Features: Meal Prep
Method: Oven
Ingredients: Chickpeas
Dietary Preferences: Gluten Free, Soy Free, Tree Nut Free, Vegan
Recipe Features: Meal Prep


Leave a Comment
To save time, I keep bags of Saffron Road Crunchy Chickpeas on hand – already roasted and seasoned. I prefer the Falafel flavor for salads, but there are several other flavors – Korean BBQ,Bombay Spice,Sea salt,& S&P.
Thanks for the great ideas about how to use them, Gena.
I wonder if you think one could use the air fryer to cook these chickpeas? Maybe in two batches so as not to crowd the beans?