September 14, 2023
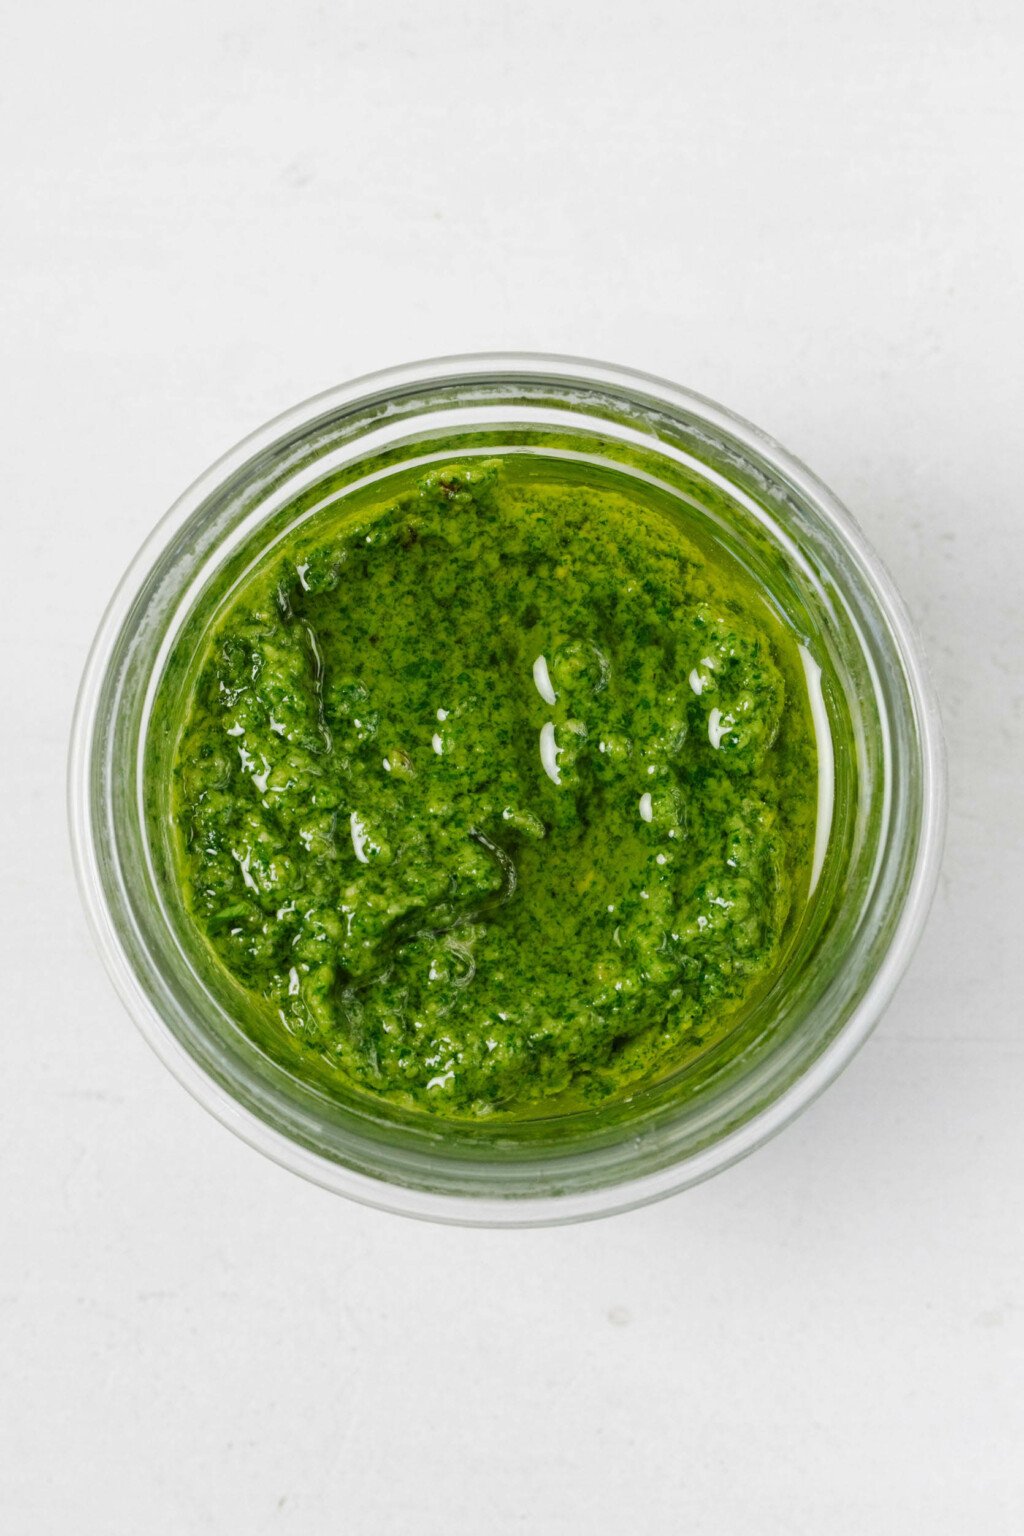
This vegan pesto is a dairy-free spin on a summertime treat: fresh, flavorful, herbaceous pesto sauce. I like a thick, creamy pesto with bright green color. To achieve that, I use cashews for texture, and I like to blanch my basil leaves to keep the pesto vibrantly green. The recipe includes instructions with or without blanching.
I’ve always considered September to be the last month of summer.
Where I live, warm weather tends to persist through the month. Some September days can compete with August in their heat and humidity (last week was an example of this).
From a food standpoint, all of the summer produce that I love most is still abundant in farmers markets.
There are still crates upon crates of bright red tomatoes, shiny purple black eggplants, bright orange peaches, and sunny sweet corn. I can still find blueberries, if I poke around.
In my mind, then, September is still a month for plum galette, stewed eggplant tomato lentils, vegan BLT sandwiches, peach blackberry skillet cake, and eating al fresco.
It’s also a month for pesto. Lots and lots of vegan pesto.
What makes pesto vegan?
First and foremost, you may be wondering what makes a pesto vegan. To the naked eye, pesto looks plant-based already.
The answer is that traditional pesto recipes call for Parmesan or romano cheese. The cheese adds umami, as well as salty flavor, to the sauce.
In order to make pesto vegan, it’s necessary to substitute the parmesan for something plant-based that imparts a cheesy flavor.
Nutritional yeast to the rescue.
Nutritional yeast, which is sometimes fondly referred to as “nooch,” is an inactive form of yeast that’s rich in minerals and B-vitamins.
Nutritional yeast is a common ingredient in vegan recipes because it has a naturally cheesy flavor. This makes it ideal for vegan cheeses, like my go-to cashew cheese, cheese sauces, and vegan parmesan cheese.
Vegan pesto ingredients
Aside from the substitution, the ingredients in vegan pesto are similar to those in regular pesto:
- Basil
- Lemon juice
- Salt
- Olive oil
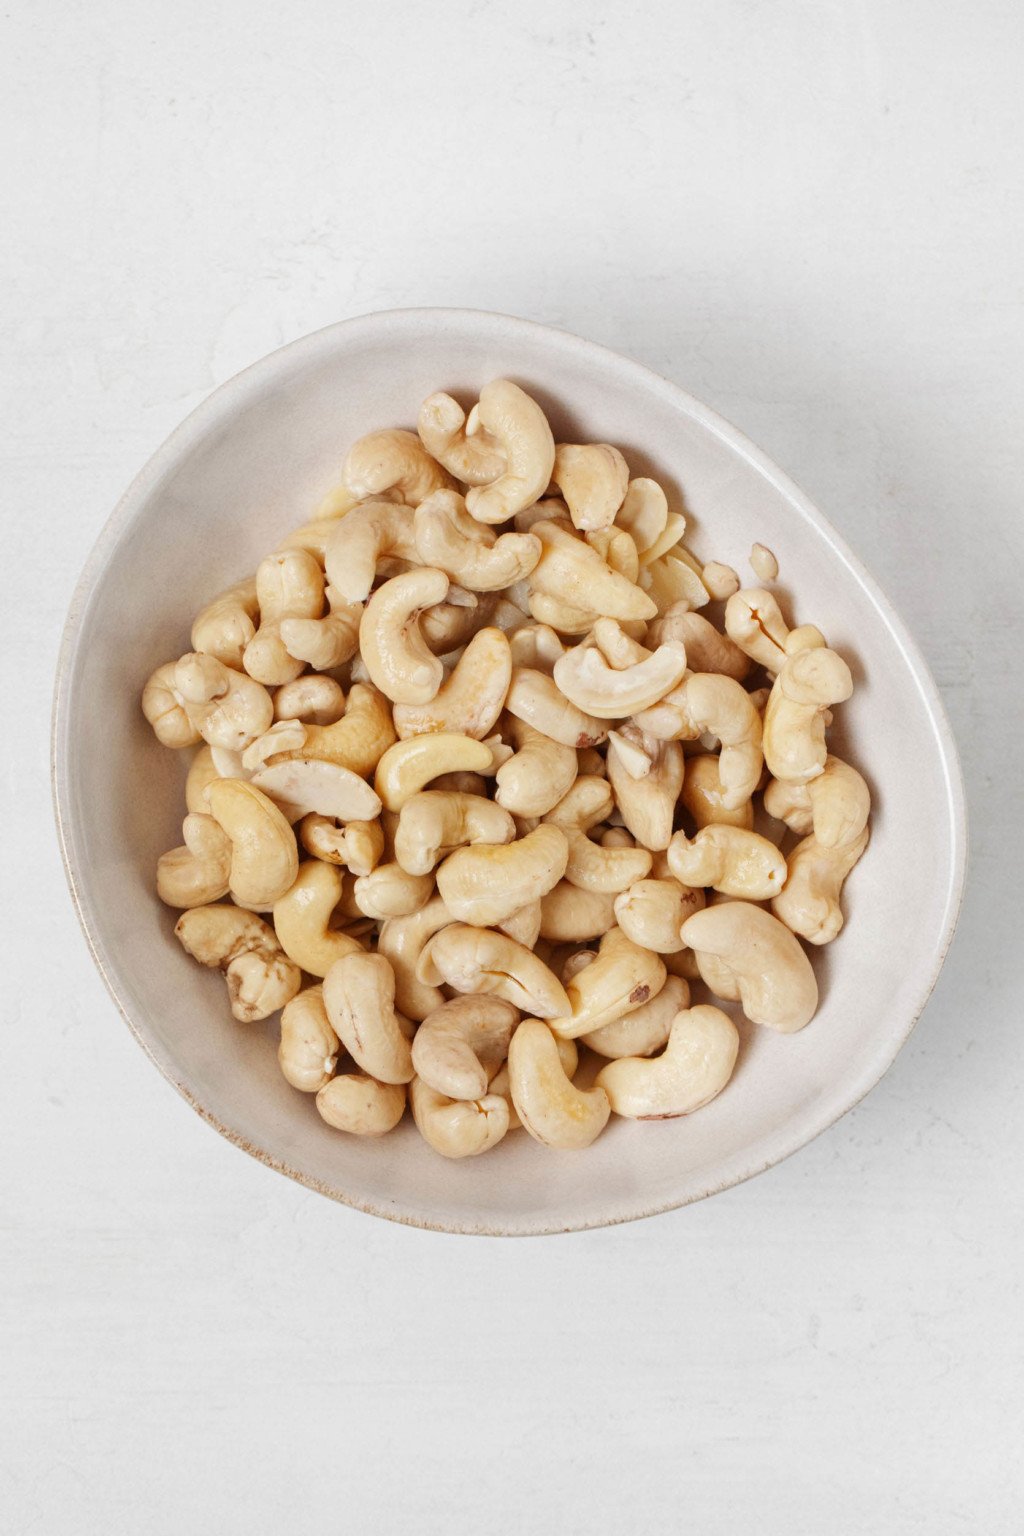
There’s one more twist in my go-to pesto recipe: cashews.
Traditionally, pesto features pine nuts for texture. I like pesto with pine nuts, and I’ve made it that way plenty of times. But honestly, I prefer to use unroasted cashews.
A creamier pesto
I’ve long relied on cashews for creamy texture in my recipes. They’re the main ingredient in the all-purpose cashew cream that adds a rich texture to many of my soups and pasta dishes.
Pesto isn’t a cream sauce, of course. But my personal preference is for pesto that’s thick and a little creamy, rather than loose and oily.
I think that cashews help to achieve this texture more than do pine nuts or walnuts.
There’s a practical element in choosing cashews, too: cashew nuts aren’t inexpensive, but they’re usually cheaper than pine nuts.
If you have a cashew allergy, you simply adore pine nuts, or you’re a stickler for tradition, then it’s no problem to use pine nuts in my pesto—I give that option in the instructions.
But if you’ve already got some cashews at home for other dressings or homemade vegan cheese, then you may want to give them a try in pesto as well.
A greener pesto, too
Have you heard of blanched pesto before?
I hadn’t, until I came across a few recipes (here, here, and here) that made me curious about it.
What is blanched basil pesto?
Blanched basil pesto is just what it sounds like: pesto that’s made with basil that is blanched—or flash cooked in boiling water—before blending.
Why blanch basil leaves before making pesto?
The purpose of blanching the basil is to create a more vibrantly green pesto.
Pesto that’s made with blanched basil will not only be brighter from the start, but it will also remain bright.
As any pesto lover knows, oxidation—exposure of ingredients to air—will often change the color of pesto as it’s stored. It can become darker and more mossy looking, or it may even appear brown. This doesn’t change the flavor of the pesto, but it can be a bummer for the eyes.
There’s a textural advantage to blanching as well. Pesto made with blanched basil emulsifies a little more easily, and therefore becomes a bit creamier, than un-blanched pesto.
When I first read about blanching the basil for pesto, I thought to myself that it’s the sort of step that a chef might want to take, but it’s too impractical for a home cook.
The more I thought about it, though, the more I realized how much I dislike it when my pesto gets muddy colored.
Since I live alone, I end up with leftovers more often than not. There’s an ick factor for me when my food becomes discolored, even if I know it’s not harmful or a threat to flavor.
There are ways of storing pesto that help to prevent browning. But wouldn’t it be nice to keep that bright green color alive more easily?
My curiosity about that question was enough to make me try blanching my basil leaves. When I did, I learned two things:
- Blanching basil leaves is not actually as annoying as it sounds, and
- It really does produce a brighter, greener pesto
In spite of my initial skepticism, I’m now making pesto with blanched basil as a matter of course.
I love having the pesto in my fridge for 3-4 days and continuing to see that vivid green color. And, while the difference is subtle, I like the texture or blanched basil pesto better, too.

Does blanching basil change the taste of pesto?
I’ve read that blanching basil for pesto can take away somewhat from the fresh, zippy, lemony notes of the herb.
I don’t personally notice this effect, but it makes sense that flash-cooking the greens might soften their flavor.
TL;DR: blanching basil leaves will help to create pesto that is and stays greener in color than regular pesto. The flavor might be a little softer than un-blanched pesto.
Whether the brightness in color is enough to justify a blanching step is totally up to you. Below, I’ll share the process for making pesto with or without this step.
How to make vegan pesto (blanched or un-blanched!)
Making a vegan pesto at home is simple. Here are the steps.
Step 1: assemble your ingredients
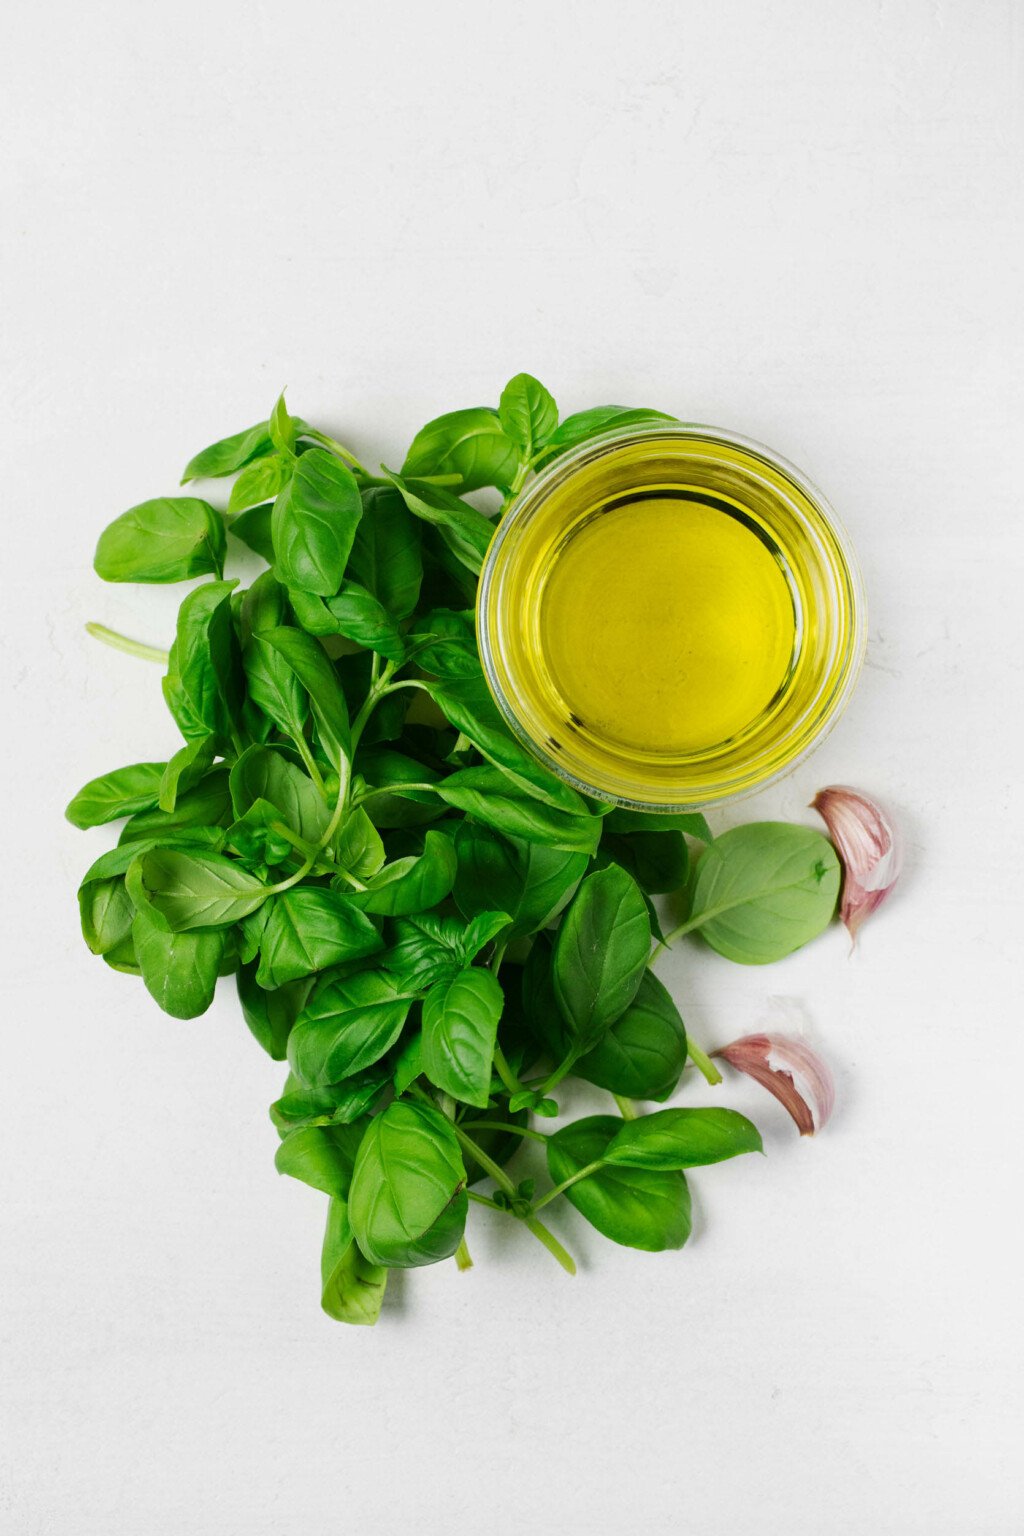
Here’s what you’ll need to make this vegan pesto recipe:
- Basil leaves
- Unroasted cashews (or unroasted pine nuts or walnuts)
- Olive oil
- Garlic
- Salt
- Nutritional yeast
- Freshly squeezed lemon juice
- Freshly ground black pepper
While I’m sharing a basil pesto recipe here, it’s worth saying that other greens can make wonderful pesto.
One of my favorite summer dishes, butternut zucchini pesto pasta, utilizes arugula in the pesto. You can also make pesto sauce with parsley, cilantro, or kale.
Pesto rosso, which has a different flavor profile but similar texture, is made with sun-dried tomatoes. I have vegan sun-dried tomato pesto and pasta recipe of my own, and it’s a wintertime favorite of mine.
Step 2 (optional): blanch your pesto leaves
If you’d like to try blanching the basil, here’s how you do it. If you’re not interested in this step, skip forward to step 3!
Bring a medium pot of water to a boil. While the water is heating up, prepare an ice bath—equal parts ice and water—in a medium sized bowl.
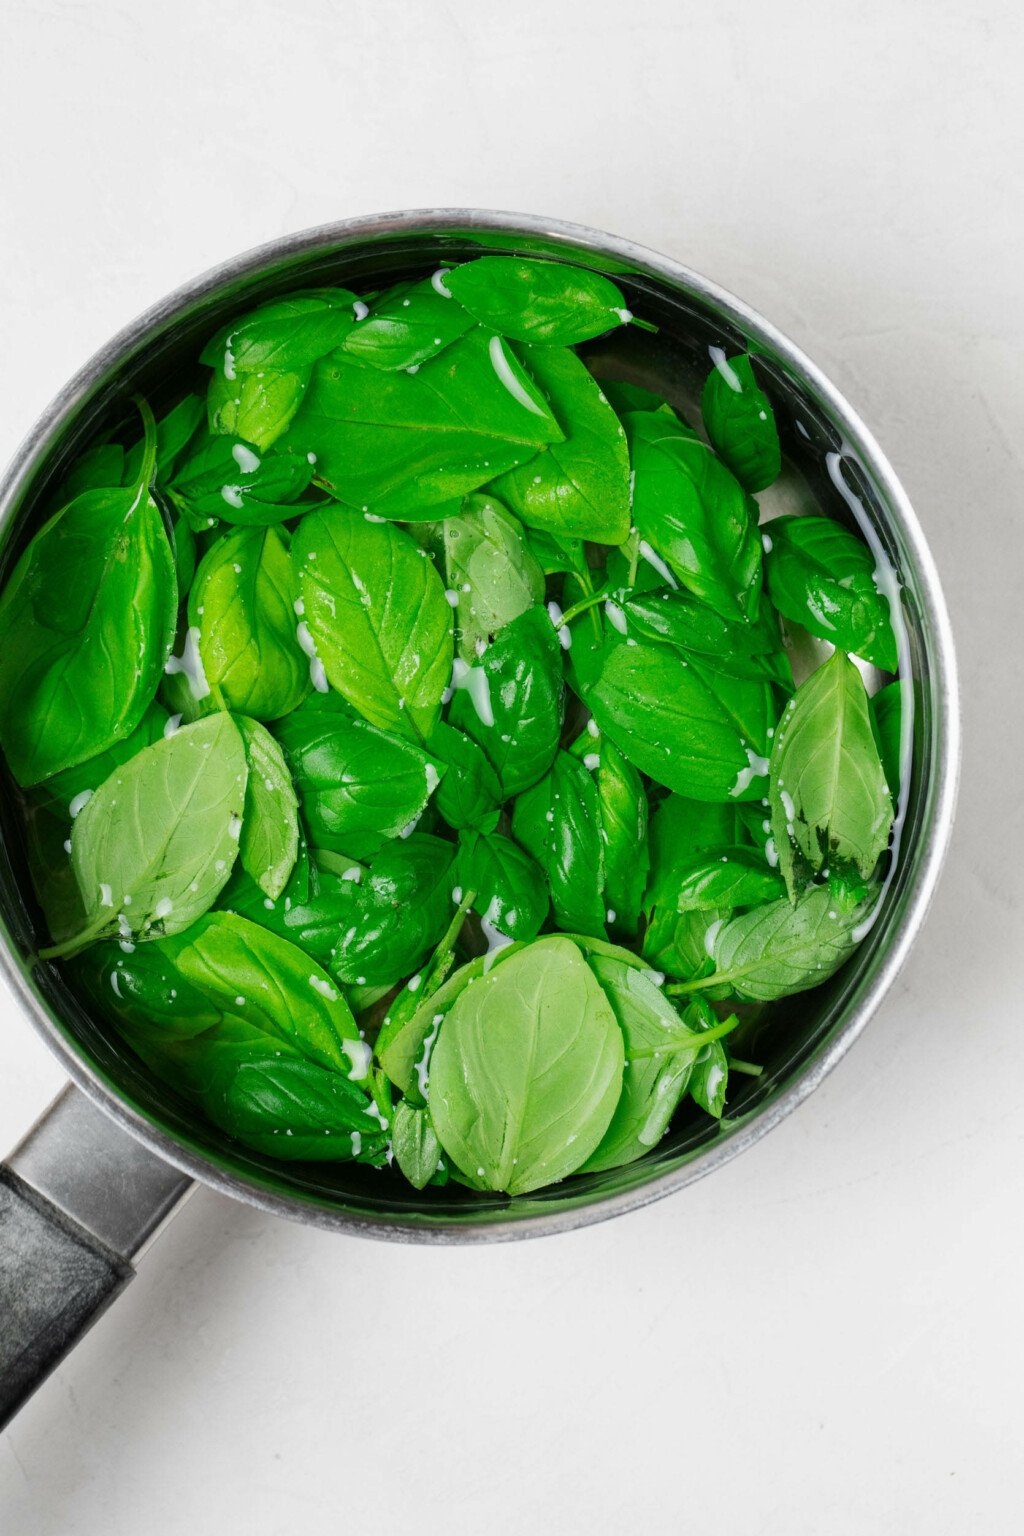
Add the basil to the hot water. Blanch for 15 seconds, then use a slotted spoon to transfer the basil to the ice bath. By the time you transfer all of it, most of the basil will have blanched for about 30 seconds.

After you transfer the basil leaves to the ice bath, allow them to sit for 3-5 minutes. The idea here is to cool the basil down very quickly, halting cooking completely.
Use the slotted spoon to transfer the basil leaves to some tea towels or paper towels. Give them a really good squeeze—enough to wring all of the moisture from them.
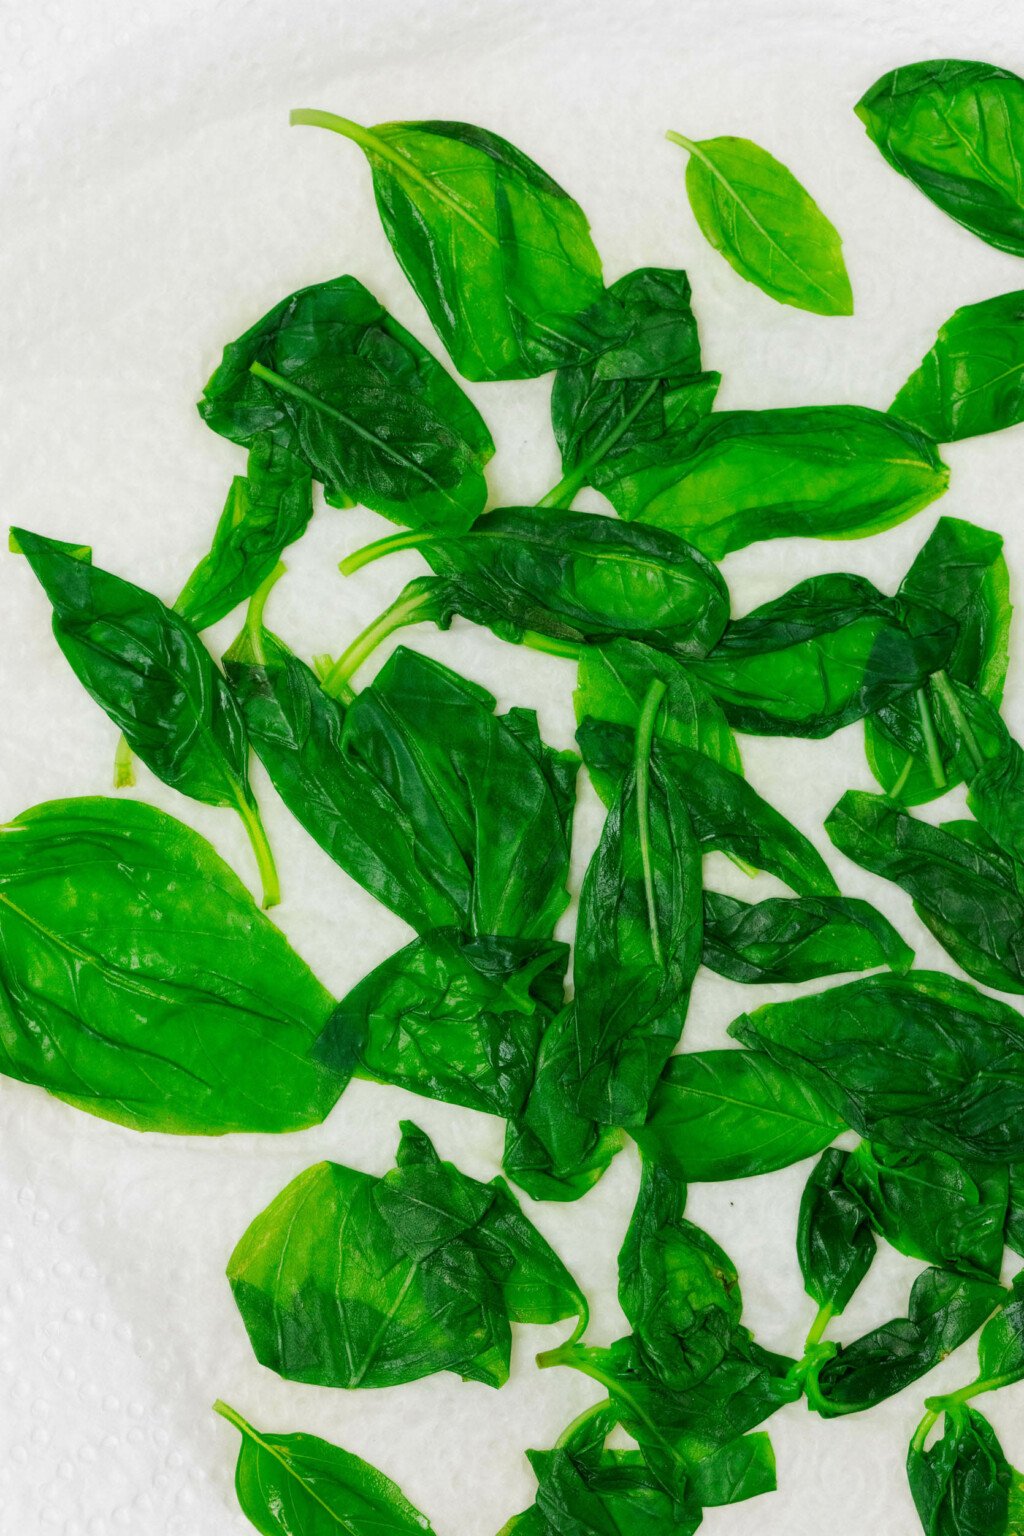
At this point, the basil leaves are ready to become part of your vegan pesto.
Step 3: Process
Begin by adding the cashews, garlic and salt to a food processor fitted with the S blade. Add your blanched or raw basil leaves (raw leaves are pictured below) to the processor.

Pulse these ingredients until they’re coarsely ground.
Step 4: Emulsify
Next, you’ll add the olive oil to your pesto. The goal is to add it in a thin stream, while the processor is running: this emulsifies the pesto, creating a rich and integrated texture.
You can either add the oil by hand in a thin stream, or—depending on your food processor—you can place the plunger into the food processor spout.
This plunger has a tiny hole in it. The purpose of that hole is to allow liquids (usually oil) to drip into the processor in a thin, steady stream. That’s the effect that you want.
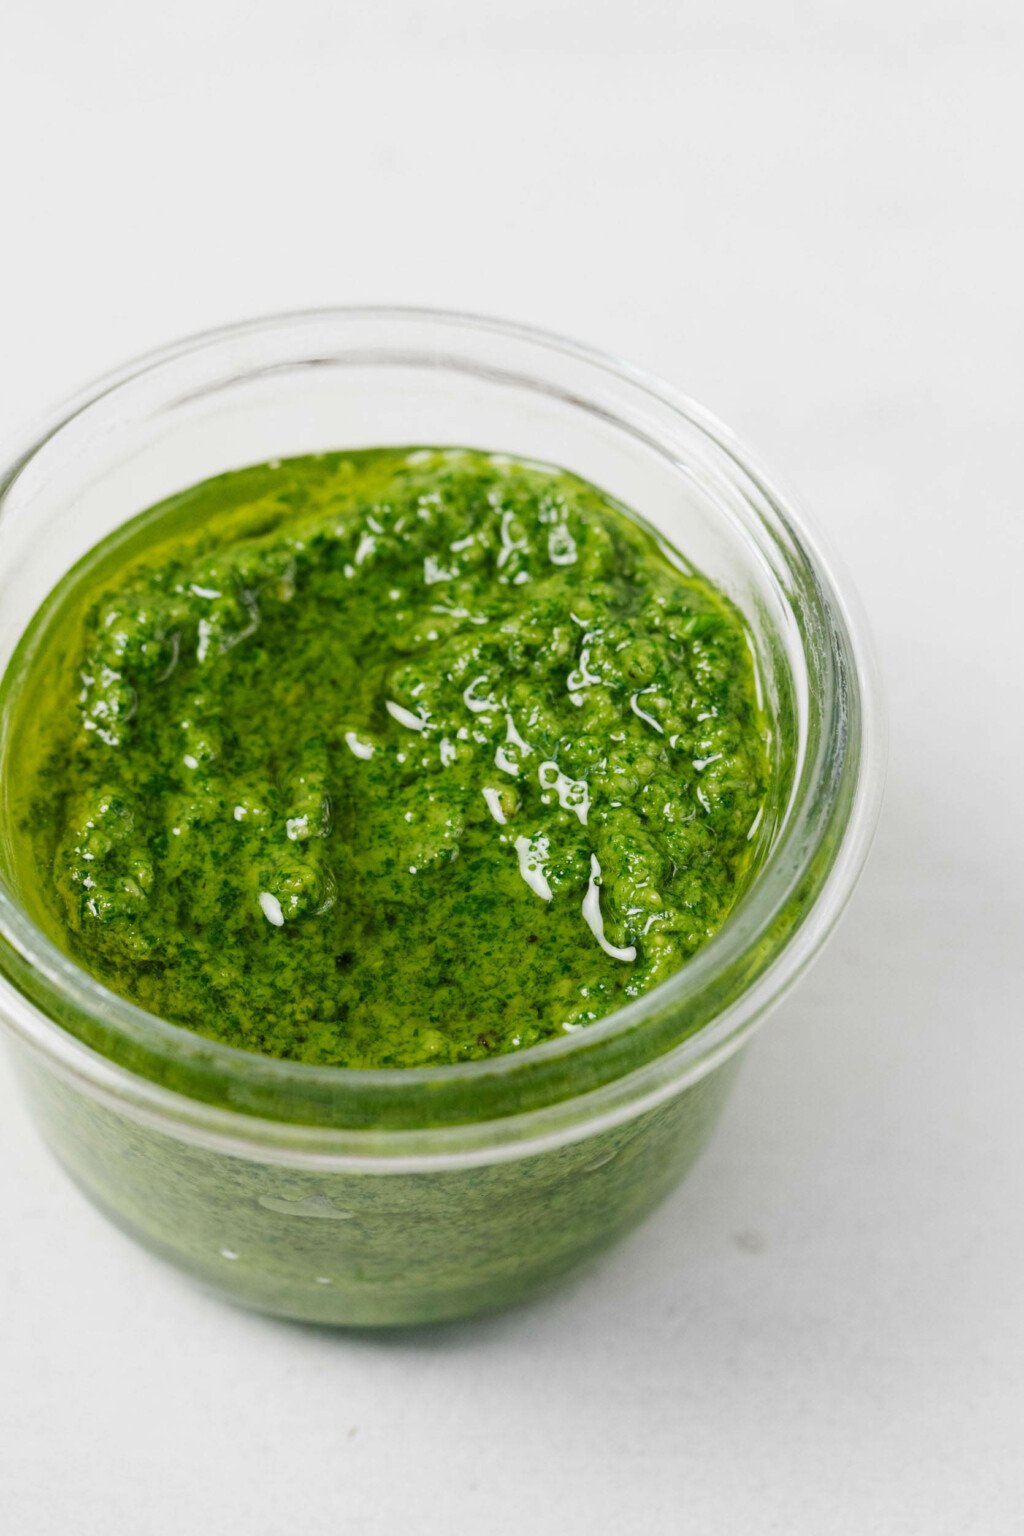
Once the oil has been added to the food processor, you’ll have pesto with a creamy and thick texture.
At this point, you should add your nutritional yeast, freshly squeezed lemon juice, and freshly ground black pepper to taste to the pesto.
If you love heat, you can use crushed red pepper flakes instead of black pepper for a spicy pesto.
Step 5: Store
Store the pesto in an airtight container in the fridge for up to 5 days.

The Vegan Week
Embrace the joy of eating homemade food every day with the hearty and wholesome recipes in The Vegan Week.
Whether you have three, two, or even just one hour of time to spare, The Vegan Week will show you how to batch cook varied, colorful, and comforting dishes over the weekend.
Can pesto be frozen?
Pesto can absolutely be frozen.
If you’d like to do this in small amounts, you can actually use an ice cube tray for pre-portioning.
Instead, I like to use 4-ounce mason jars, which I use for many other things: leftovers, freezing tahini dressing, portioning my beloved silken tofu chocolate pudding, and so on.
Stored this way, pesto can stay in the freezer for up to 6 weeks.
What recipes should I make with my vegan pesto?
Once you prepare your pesto, there will be so many pasta dishes you can use it in.
Pesto is also a great, all-purpose summer condiment. I love spreading it onto any sandwich, especially if thick slices of ripe tomato are involved.
If you’d like more specific ideas, here are a few of my favorites:
- Butternut zucchini pesto pasta (you can use it to replace the arugula pesto)
- Pesto farro baby kale salad
- Pesto white bean bowls
- Chickpea pesto pasta salad
And here’s the recipe.
Vegan Pesto with Basil and Cashews
Author –Yields: 1 cup
Ingredients
- 2 cups tightly packed basil leaves (45 g)
- 1/2 cup unroasted cashews (70 g)
- 2 cloves garlic, roughly chopped
- 1/2 teaspoon fine salt (more to taste)
- 6 tablespoons olive oil (90ml, plus additional oil as needed)
- 3 tablespoons nutritional yeast
- 1 tablespoon freshly squeezed lemon juice
- Freshly ground black pepper to taste
Instructions
Instructions for blanching basil (optional)
- Bring a medium pot of water to a boil over high heat. While the water is heating up, prepare an ice bath in a medium sized bowl.
- Add the basil to the hot water. Blanch for 15 seconds, then use a slotted spoon to transfer the basil to the ice bath. By the time you transfer all of it, most of the basil will have blanched for about 30 seconds.
- Allow the basil to remain in the ice bath for 3-5 minutes. Place a few tea towels or paper towels onto your work surface and use the slotted spoon to transfer the basil over to the towels. Use the towels to press the basil firmly, so that you remove all of the excess ice water.
Process the pesto
- Add the cashews, garlic and salt to a food processor fitted with the S blade. Add the blanched or raw basil leaves to the processor. Pulse the ingredients until they're coarsely ground.
- Run the food processor. Add your olive oil to the processor in a thin stream — using the plunger attachment, with its small bottom opening, makes this easy if your machine has one — so that the oil is incorporated into the pesto slowly and steadily. Stop the processor and scrape down the sides, then process for another few moments.
- Add the nutritional yeast, a few turns of freshly ground black pepper, and lemon juice to the pesto. Process the pesto for one more minute; it will be on the thicker side.
- Taste the pesto and adjust the lemon juice, salt, and pepper to taste. If the pesto is too thick for your liking, add a tablespoon or two of additional olive oil and pulse to combine.
Store the pesto
- Store the pesto in an airtight container in the fridge for up to 5 days. The pesto can be frozen for up to 6 weeks.
Writing this post—which felt good, by the way—has most definitely made me hungry for pasta! I expect that’s what’ll be for supper tonight.
Maybe you’ll be inspired along similar lines. I hope you enjoy this pesto recipe as much as I do.
xo
This post may contain affiliate links. If you use these links to buy something I may earn a commission. Visit my privacy policy to learn more.
Categories: Sauces
Ingredients: Cashew Nuts
Dietary Preferences: Gluten Free, Soy Free, Vegan
Recipe Features: 30 Minute or Less, Meal Prep
Ingredients: Cashew Nuts
Dietary Preferences: Gluten Free, Soy Free, Vegan
Recipe Features: 30 Minute or Less, Meal Prep


Leave a Comment